TL;DR:
- Putting together a studio computer requires matching components to your workflow, not the most expensive hardware.
- For stability and efficiency, choose at least 32 GB of RAM, a fast NVMe SSD and a compatible CPU and motherboard.
Putting together a studio computer seems complicated, but the biggest misconception is that you always need the most expensive parts. That’s not true. For music production, video editing or both, it’s all about the right combination of components, not the most expensive ones. This guide gives you a complete explanation of studio computer building: from what components you need and how to choose them, to practical editing and optimization for your creative workflow. Whether you’re a musician, producer or video editor, after this guide you’ll know exactly where you stand.
Table of contents
- Key points
- Explaining studio computer assembly: the components
- Choosing studio computer parts by size
- Assembling your studio computer step by step
- Maintenance and optimization of your studio computer
- Build yourself or buy ready-made?
- Putting together my take on studio computers
- Studio PCs and gear at I4studio
- FAQ
Key points
| Item | Details |
|---|---|
| CPU and RAM are the core | Choose a powerful processor and at least 32 GB of RAM for stable creative workflows. |
| NVMe SSD is indispensable | Fast storage prevents bottlenecks when loading samples and video files. |
| Check compatibility first | Socket type, memory standard and PCIe version must match before purchase. |
| Custom beats off-the-shelf | A home-built studio computer is easier to upgrade and better suited to your workflow. |
| Driver installation has a sequence | Always start with chipset drivers, then GPU, then audio interface for maximum stability. |
Explaining studio computer assembly: the components
A studio computer is no ordinary office computer with an expensive price tag. The hardware has to perform specifically under the conditions you as a creative professional create every day. Think of hundreds of active plug-ins in a DAW, recording multiple channels simultaneously, or rendering a 4K video timeline with color correction.
Below you can see the core components and their direct impact on your creative work:
| Component | Function in the studio | Impact on workflow |
|---|---|---|
| CPU (processor). | Handles all calculations of plug-ins and renders | More cores = more plug-ins at once |
| RAM | Keeps active project data in memory | Too little = crashes and hiccups |
| SSD (NVMe). | Loads samples, projects and video files | Slow storage = wait times |
| GPU (video card). | Accelerates video rendering and visualizations | Indispensable for video editors |
| Motherboard | Connects all components together | Determines expansion options |
| Power Supply Unit (PSU) | Delivers stable power to all components | Bad power supply causes crashes |
| Housing + cooling | Provides airflow and temperature control | Affects service life and noise level |
The difference from a standard PC is in the details. A gaming PC is built for short peak moments of high load. A studio computer runs for hours at a time at constant load, with minimal latency as an absolute requirement. NVMe M.2 SSDs outperform traditional HDDs in speed and reliability, which is immediately noticeable when loading large sample libraries.
For the best audio PC, it is also crucial to choose a motherboard with enough PCIe slots for an audio interface and possibly DSP cards. That’s something you rarely find on a standard consumer computer.
Choosing studio computer parts by size
Now that you know what each part does, the question is: what do you need? That depends on your work type. A beat producer working with sample-based tracks has different requirements than a filmmaker editing 6K footage in DaVinci Resolve.
Here is a structured approach:
Define your primary workflow. Music production in a DAW requires a strong CPU with many cores and low latency. Video editing requires a powerful GPU in addition to the CPU. If you work both, then you need a machine that performs in both areas.
Choose the right amount of RAM. For creative work, at least 32 GB of RAM is recommended; for heavy video editing, ideally 64 GB or more. An orchestral composition with 150 tracks in Kontakt eats up RAM. Never take less than 32 GB for professional use.
Select your storage wisely. An NVMe SSD as a system drive is non-negotiable. In addition, use a large HDD or a secondary SSD for storage of project files and sample libraries. 32 to 64 GB of RAM combined with a 1 TB NVMe SSD is the minimum standard for professional content in 2026.
Choose a CPU that suits your DAW or software. Ableton Live, Logic Pro X and Pro Tools are optimized for multi-core processors. For video editors working in Premiere Pro or Resolve, single-core performance is also relevant for responsiveness. Read the comparison of CPUs for audio and video to make an informed choice.
GPU: only if you need it. For pure music production, a high-end GPU is not necessary. For video editing, motion graphics or 3D visualizations, a GPU with at least 8 GB VRAM is the norm.
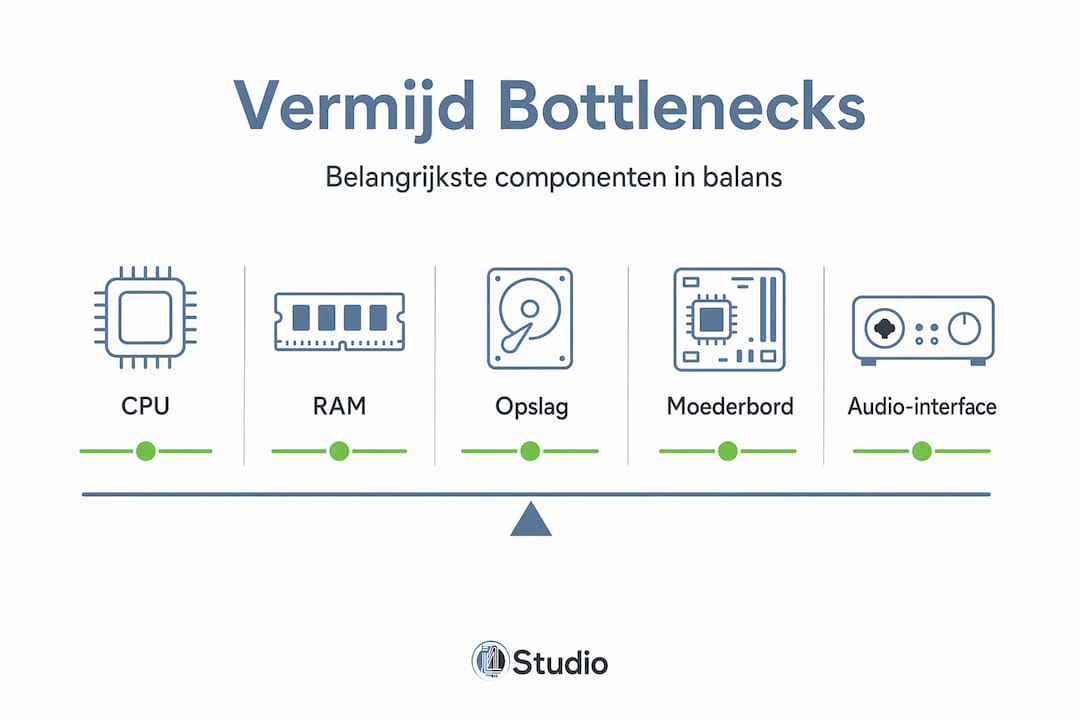
Pro-tip: Don’t throw all your budget into the CPU and forget the rest. A bottleneck in storage or RAM makes even the fastest processor slow. Divide your budget proportionally between CPU, RAM and storage.
Also, always check component compatibility: socket type, memory standard and PCIe version must match. One wrong combination and your system won’t boot, or worse, it crashes in the middle of a session.
Assembling your studio computer step by step
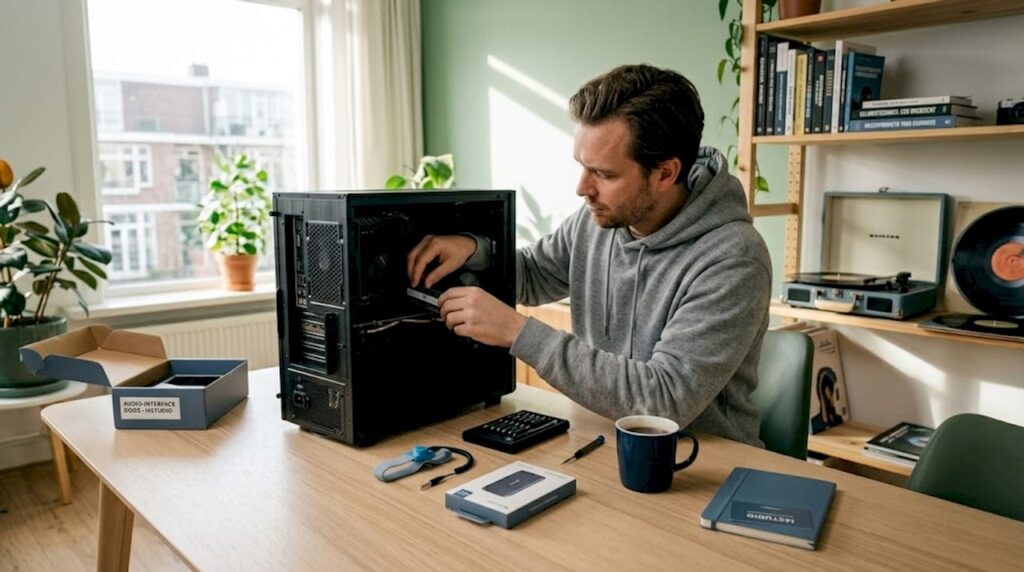
Physically assembling a studio computer is less scary than it seems. With proper preparation, you can avoid the most common mistakes. Follow this sequence:
Check compatibility before purchasing anything. Use tools such as PCPartPicker to verify that your CPU, motherboard, RAM and GPU work together. Socket type, memory standards and PCIe versions should match. This is the step most beginners skip and regret the most.
Prepare the enclosure. Mount standoffs in front of the motherboard. Poor standoff placement causes short circuits. Plan your cable routing in advance: a neat enclosure has better airflow and is easier to maintain.
Install CPU and RAM outside the enclosure. Mount the processor on the motherboard and snap the RAM modules into the correct slots. Always consult the motherboard manual for the correct slot order. With dual-channel RAM, slot selection makes a noticeable performance difference.
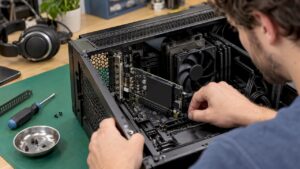
Install the NVMe SSD on the motherboard. Do this outside the enclosure as well, as you will have more difficult access to the M.2 slots after mounting. Attach the SSD with the provided bolt.
Mount the motherboard in the case. Connect the power cables: the 24-pin ATX and the 8-pin CPU connector. Make sure you also connect the small front panel cables (power button, USB, audio header) correctly according to the motherboard manual.
Install the GPU and power supply. Slide the video card into the top PCIe slot and secure it with a screw. Connect the necessary PCIe power cables. A quality power supply with sufficient wattage prevents crashes and overheating during prolonged use.
BIOS configuration and driver installation. After the initial boot test, set the appropriate boot disk in the BIOS and activate XMP or EXPO for your RAM. For driver installation, there is a strict order: chipset drivers first, then GPU drivers, then your audio interface and other peripherals. This order is not arbitrary. Installing in reverse causes conflicts that manifest as mysterious DAW crashes.
Pro-tip: Install Windows on a clean SSD with no partitions from previous systems. Use the official Microsoft Media Creation Tool and choose the Pro version directly. That gives you better control over updates, which is crucial for a stable studio session.
For video editors seeking specific advice on hardware, I4studio offers comprehensive video editing hardware recommendations that directly align with the most commonly used software.
Maintenance and optimization of your studio computer
Building a studio computer is one thing. Keeping it stable over the years is another. Here are the practices that make the difference:
- Make regular backups. Use a 3-2-1 strategy: three copies, on two different media, one of which is offsite. This protects you from hardware failures as well as from ransomware, which is also increasingly affecting small studios.
- Install updates selectively. Regular backups and installing patches are more crucial than expensive hardware. Don’t install OS updates blindly before a session. Schedule updates after a project, not before.
- Maintain a stable driver environment. Choose consciously which GPU driver you use. Not always the latest is the most stable for your DAW or editing software. Test new drivers during a calm period, not right before a deadline.
- Ensure optimal cooling. Clean filters and fans every three to six months. Dust is the silent killer of performance. A CPU that gets too hot automatically slows itself down, which you hear back as audio hiccups or dropped frames in video.
- Monitor system performance. Use software such as HWiNFO64 to monitor temperatures and clock speeds. If your CPU structurally gets above 85 degrees under load, better cooling is needed.
“Security does not stop at large organizations. Even the small studio must implement adequate basic security, with a focus on backups and patching.” (source)
Also plan for future upgrades. RAM is often the cheapest and easiest to expand later. When purchasing, buy a motherboard with free RAM slots and additional M.2 slots. That will save you a full system replacement as your needs grow.
Build yourself or buy ready-made?
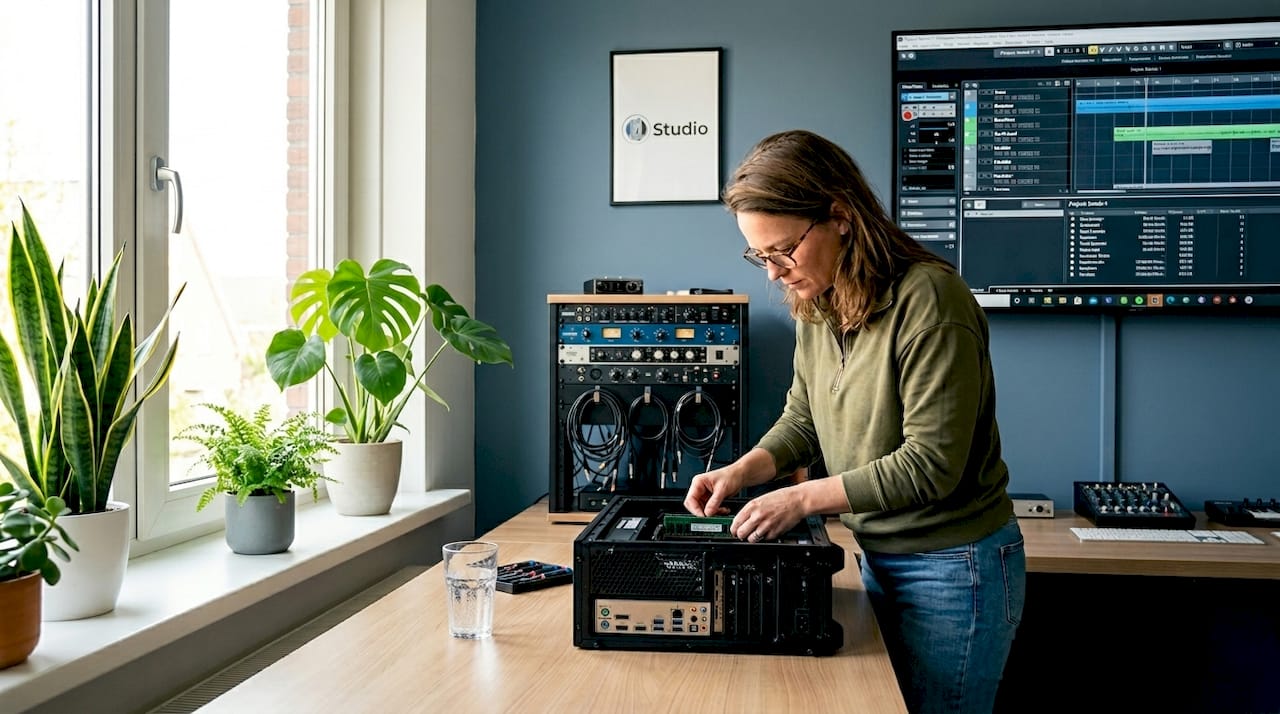
This is the question every creative professional asks sooner or later. The honest answer is that it depends on your time investment and technical readiness.
| Aspect | Build yourself | Ready-made |
|---|---|---|
| Price per performance | More favorable | Higher margin for the manufacturer |
| Customizability | Fully customized | Limited by manufacturer choices |
| Warranty | Per component separately | System covered as a whole |
| Time investment | Several hours of research and construction | Start up immediately |
| Upgrade Ease | Simple | Sometimes limited by proprietary parts |
| Stability for studio | High with good component selection | Varies depending on brand |
Custom studio PCs offer flexibility and longevity versus off-the-shelf systems, especially with changing creative workflows. A consumer-brand off-the-shelf PC is typically built for the average user, not the producer loading 200 plug-ins at once or the editor working with RAW footage from a cinema camera.
The smartest middle? A custom-built PC where a specialist like I4studio takes care of compatibility and component selection for you. Then you get the best of both worlds.
Putting together my take on studio computers
After years of working with creative professionals putting together their first studio PC, I’ve seen one pattern over and over again: the biggest mistakes are made before the first screw is turned. Not during construction, but in preparation.
I’ve seen builds myself where someone chose a brilliant CPU, but took a motherboard that couldn’t fully power the processor. Or where a producer spent a $2,000 budget on just CPU and GPU, and then saved on the power supply. That’s exactly backwards. The power supply is the foundation of everything. A bad PSU also ruins good hardware.
What I recommend to everyone: start by identifying your bottleneck. If you’re working in Ableton with large Kontakt libraries, RAM is your weakest link. If you’re cutting 4K timelines, it’s the GPU. Let that specific need determine the direction of your budget.
One thing few people mention about stable audio computers: disable C-states in the BIOS. These are power-saving sleep modes for the CPU that introduce latency into audio applications. Any DAW user who complains about snapping sounds and hiccups and has adjusted this will see immediate results.
My advice when building studio computers yourself is also simple: take the time to research, use compatibility checkers, and then build with confidence. The knowledge in this guide is enough to put down a solid first machine.
– harold
Studio PCs and gear at I4studio
If you’re ready to choose after this guide, I4studio will help you further with a full range of studio hardware and tailored advice.

At I4studio you will not only find individual components, but also complete custom solutions tailored to music production and video editing. Take a look at the overview of studio computers for music production to immediately see which configuration fits your workflow. Don’t yet have a complete picture of what you need as a beginner? The guide on studio gear for beginners will help you with your first steps. I4studio offers personal advice, component-by-component quality assurance, and builds that are ready for the studio of day one.
FAQ
What are the minimum specs for a studio computer in 2026?
For professional music production or video editing, you need at least a modern multi-core CPU, 32 GB of RAM and a 1 TB NVMe SSD. For heavy video editing, 64 GB of RAM and a GPU with 8 GB VRAM is the recommended standard.
How long does it take to build a studio computer yourself?
Physical assembly takes an average of two to four hours for a beginner. Add to that one to two hours for BIOS settings, Windows installation and driver installation in the correct order.
Why does my DAW crash after building my own PC?
The most common cause is incorrect driver installation order or C-states active in the BIOS. Always install chipset drivers first, then GPU drivers, then the audio interface driver, and disable power-saving CPU sleep modes for stable audio performance.
Is a custom studio computer better than an off-the-shelf one?
For creative professionals, customization is almost always the smarter choice. You choose components that fit your workflow exactly, the system is easier to upgrade, and you don’t pay for parts you don’t need.
Which computer is suitable for both music and video?
An all-around studio computer for both types of work combines a multi-core CPU with high single-core speed, at least 64 GB of RAM, an NVMe SSD as a system drive, and a GPU with at least 8 GB of VRAM. Check out the video editing guide for specific component recommendations by software package.