You should choose the right monitor controller based on three factors: passive or active, the number of speaker pairs you want to control, and which additional features you need on a daily basis.
- Home studio (one pair of monitors, simple setup): a passive controller is sufficient. You can control the volume transparently, without any additional electronics in the signal path. The Mackie Big Knob Studio is a solid choice here: affordable, reliable, and available immediately through I4studio.
- Project studio (two pairs of monitors, headphones, talkback): Choose an active controller with at least two monitor outputs, a headphone amplifier, and a talkback microphone. More I/O and features justify the higher price.
- Pro/control room (surround sound, multiple cue mixes, high reference levels): A high-end unit with relay switching, LFE routing, and multiple headphone outputs is not a luxury here, but a necessity.
Not sure which option is right for your setup? I4studio can help you with personalized advice and has the right models in stock for delivery in the Netherlands.
Key insights
Choosing the right monitor controller depends on the number of monitor pairs, the features you want, and your budget; an active controller is only necessary if you need talkback, multiple outputs, or digital I/O.
| Item | Details |
|---|---|
| Passive vs. Active | Choose passive for transparency with a single pair of monitors; choose active as soon as you need talkback or multiple outputs. |
| Number of monitor pairs | Always buy one more pair of monitors than you currently use, so your setup can grow with you. |
| Click-free switching | Relay-based switching prevents clicking and is a sign of quality; check for this before purchasing. |
| Level Matching | Set your interface to +4 dBu and use the controller only for fine-tuning, not as the primary amplifier. |
| I4studio | I4studio supplies models such as the Mackie Big Knob Studio and Audient ORIA, along with expert advice and a warranty, in the Netherlands. |
Table of contents
- What exactly does a monitor controller do?
- Passive or active: which one is right for your setup?
- Which features really make a difference when buying?
- Which controller is best suited for which application?
- How do you connect a monitor controller correctly?
- How much should a monitor controller cost?
- Definitive Checklist for Purchasing
- Why I4studio Provides Advice on Monitor Controllers
- How do you control multiple speakers and a subwoofer?
- Mono, stereo, and surround: What does the controller switch between?
- Cue mixes and headphone outputs: what do you need?
- Comparison of popular models and brands
- How do you evaluate a controller’s sound quality?
- How does latency affect your monitoring?
- Future-Proofing and Scalability
- What Professionals Do Differently from Hobbyists When Choosing a Controller
- I4studio helps you with selection and installation
- Sources
- Frequently Asked Questions
What exactly does a monitor controller do?
A monitor controller serves as the central hub between your audio interface and your studio speakers. The device controls the listening level, switches between multiple pairs of monitors, and offers features such as dim, mute, mono, and talkback, as described by Bonedo in their comprehensive buying guide.
Why use a separate controller alongside your audio interface? The volume knob on an audio interface is functional, but it rarely offers click-free switching between two pairs of monitors, a reliable mono check, or a mute function for conversations. A dedicated controller gives you that control without having to navigate through software menus every time. For anyone who mixes or records on a daily basis, that makes a noticeable difference in workflow comfort.
You don’t need a separate controller if you’re using a single pair of monitors, don’t need talkback, and are satisfied with the volume control on your interface. As soon as you add a second pair of monitors or regularly switch between headphones and speakers, a controller becomes a worthwhile investment.
Passive or active: which one suits your setup?
Key rule: choose passive if you only want to control volume; choose active if you need additional I/O, talkback, or multiple outputs.
InsideAudio clearly explains the difference: a passive controller is essentially a high-quality volume control without its own power supply. An active controller has its own power supply and offers amplification, digital I/O, talkback, and additional outputs.
When should you choose passive speakers?
- You’re using active studio monitors (with a built-in amplifier).
- Your setup consists of one pair of monitors and one headphone output.
- You want a signal path that’s as transparent as possible without any extra electronics.
When do you actively switch?
- You want to control two or more pairs of monitors and switch between them quickly.
- Talkback to a recording room is part of your workflow.
- You need digital I/O (S/PDIF, AES/EBU) or USB connectivity.
- Multiple musicians or engineers need a headphone mix at the same time.
A practical setup used by many producers: a high-quality audio interface for recording and I/O, combined with a separate controller for daily monitoring. This allows you to get the best out of both devices without compromising signal integrity.
Which features really make a difference when making a purchase?
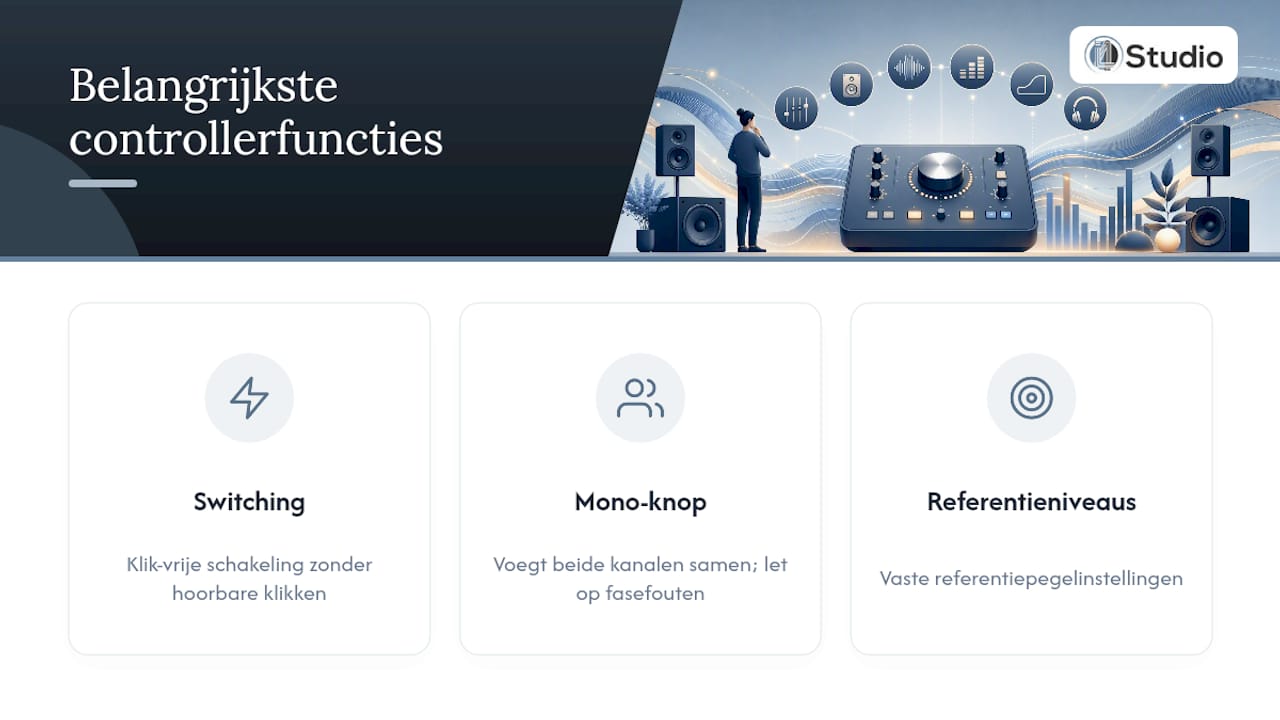
According to Bonedo’s buying guide, the features that have the greatest impact on a daily basis are click-free switching, a reliable single button, and fixed reference level settings. Below is an overview of the key specifications:
Pro tip: The mono switch is the most underrated feature among home studio buyers. A good mix sounds centered and clear in mono. When purchasing, always check to make sure the mono switch actually combines both channels without phase issues, because cheap implementations sometimes introduce subtle phase errors.
Which controller is best suited for which application?
The right set of features depends heavily on what you do on a daily basis.
Home studio and music production: two pairs of monitors and a reliable headphone output are the top priorities here. You regularly switch between your near-field monitors and a second reference pair—such as small bookshelf speakers—to check how a mix sounds on consumer equipment. Read more about why dual-monitor setups improve every studio for additional context on this choice.
Mixing and mastering: reference level settings are crucial here. You want to work at a fixed, calibrated listening level so that your volume decisions are consistent. A controller with adjustable reference levels (often in dB increments) provides that consistency.
Post-production and film: surround capabilities and LFE routing become important. Controllers for 5.1 or 7.1 setups offer a separate subwoofer output with adjustable crossover and LFE trim. For larger film production workflows, a controller with multiple cue outputs is also practical for both the director and the sound engineer.
Recording with musicians: talkback and multiple headphone mixes are key. The engineer speaks into the recording room via the talkback microphone, while each musician hears their own mix. A controller with two or more independent headphone outputs eliminates the need for a separate headphone amplifier.
An integrated audio interface with a built-in monitor controller, such as the Audient ORIA, is a good choice if you want to combine I/O and monitoring in a single device and are limited by space or budget.
How do you connect a monitor controller correctly?
Safe procedure: Always turn off your monitors first before connecting or switching cables, and turn on the controller last and turn it off first.
Basic wiring for a 2.0 setup:
- Connect the stereo output of your audio interface (XLR or TRS) to the controller’s input.
- Connect the controller’s monitor outputs to your active studio monitors.
- Set the output level of your interface to a fixed value (preferably +4 dBu or 0 dBFS as a reference) and use the controller for daily volume adjustments.
2.1 with subwoofer: Connect the LFE output on the controller to your subwoofer. Set the crossover frequency on the controller (typically 80 Hz) and adjust the LFE level until the subwoofer blends seamlessly with your satellite speakers.
Multiple pairs of monitors: Each pair of monitors is assigned its own output channel on the controller. Make sure all monitors are set to the same input level; otherwise, one pair will sound louder than the other when switching.
Grounding and clicking: Use balanced XLR or TRS cables to prevent hum. A clicking sound when switching indicates a DC offset or a controller without relay switching. Check this before purchasing.
Pro tip: Send a pink noise signal at -20 dBFS through your system and use a sound level meter to check whether both monitors are playing at the same volume. This reveals channel differences that you might miss during normal listening. You can read more about the ideal listening setup in the guide on monitor placement in your studio.
How much should a monitor controller cost?
Gearnews provides a clear overview of the price segments: entry-level models offer basic volume control and mute/mono functions; mid-range models add additional outputs and headphone jacks; and high-end units offer relay switching, multiple cue outputs, and reference level settings.
Entry-level (under €150): one pair of monitors, one headphone output, mute, and mono. Suitable for a basic home studio. No talkback, no digital I/O.
Mid-range (€150–400): two pairs of monitors, two headphone outputs, sometimes talkback, and a limited number of digital inputs. This setup is sufficient for most project studios.
Pro/high-end (over €400): relay switching for click-free operation, multiple cue mixes, LFE routing, reference level settings, and full digital I/O. Invest in this segment if durability and daily professional use are your top priorities.
It’s worth investing a little more as soon as you find yourself switching between two pairs of monitors every day or needing to use multiple pairs of headphones at the same time. A cheap controller with mechanical switches wears out faster and is more likely to produce clicking noises or channel discrepancies.
Final Purchase Checklist
Use these questions for every controller you’re considering:
- How many pairs of monitors do I want to use now, and how many in two years?
- Do I need talkback for recording sessions?
- What is the minimum number of headphone outputs required?
- Do I want digital I/O (S/PDIF, AES/EBU) or USB connectivity?
- Does the controller offer adjustable reference level options?
- Is the switching click-free (relay-based)?
- Are the I/O specifications fully documented in the manual?
- What are the warranty terms, and is there shipping to the Netherlands or a dealer in the Netherlands?
- Are replacement parts or repairs available after the warranty expires?
- Can I test the controller or request a demo unit?
Red flags: a clicking or cracking sound when switching between monitors, unclear or missing I/O specifications in the product documentation, no mention of the maximum input level, and salespeople who cannot provide warranty information.
When visiting a store or attending a demo: play a familiar reference track and quickly switch between pairs of monitors. Pay attention to volume differences, clicks, and whether the mono button works correctly without phase errors.
Why I4studio Provides Advice on Monitor Controllers
I4studio specializes in studio equipment, custom-built studio PCs, and acoustic solutions, offering immediate availability and personalized advice for customers in the Netherlands.
Customers can get advice through the online store, product pages with detailed specifications, and direct support for installation and configuration. Whether you’re setting up a home studio or building a professional control room, I4studio is there to help you every step of the way—from your initial purchase to a fully functional setup.
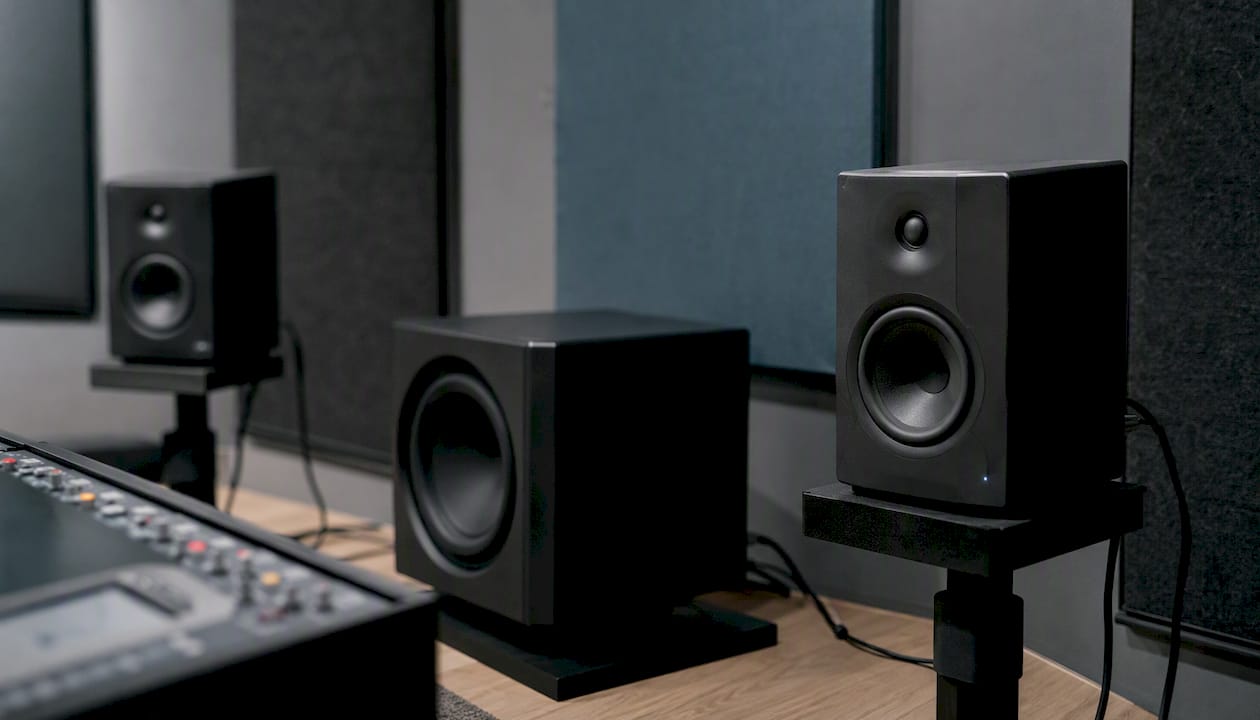
How do you connect multiple speakers and a subwoofer?
A controller with multiple monitor outputs lets you quickly switch between, for example, near-field monitors and larger mid-field speakers. This is standard in project studios where engineers want to check how a mix sounds on different reference systems.
Subwoofer control adds an extra dimension. The LFE (Low Frequency Effects) output sends the low-frequency signal to a separate subwoofer, while the crossover determines the frequency at which the satellite speakers take over. An adjustable crossover on the controller—typically between 60 and 120 Hz—gives you the flexibility to integrate the subwoofer properly regardless of which pair of monitors is in use. Without this setting, the subwoofer will sound too dominant or too subdued as soon as you switch monitor pairs.
Mono, stereo, and surround: What does the controller switch to?
The mono button is more than just a handy feature. It combines the stereo channels into a single signal sent to both speakers, allowing you to immediately hear whether your mix remains stable in mono. Elements that sound wide in stereo but disappear in mono indicate phase issues.
Stereo is the standard mode for most music productions. Surround options, such as 5.1 or 7.1, are reserved for specialized controllers used in post-production and film mixing. These controllers offer separate output channels for center, surround, and LFE, and allow you to adjust the balance between all channels from a single central point. For most home studio users, stereo with a good mono check is more than enough.
Cue mixes and headphone outputs: What do you need?
A cue mix is a separate monitor mix for the musician in the recording room, independent of what the engineer hears through the speakers. The more musicians are recording at the same time, the more independent cue mixes you’ll need.
Controllers with a single headphone output are suitable for solo recordings. Two independent headphone outputs with their own volume controls are the minimum requirement for a band recording where the singer and guitarist each want their own mix. High-end units offer four or more cue outputs, each with its own volume control and sometimes its own mix routing. For the audiovisual sector and larger productions, this is by no means overkill.
Comparison of Popular Models and Brands
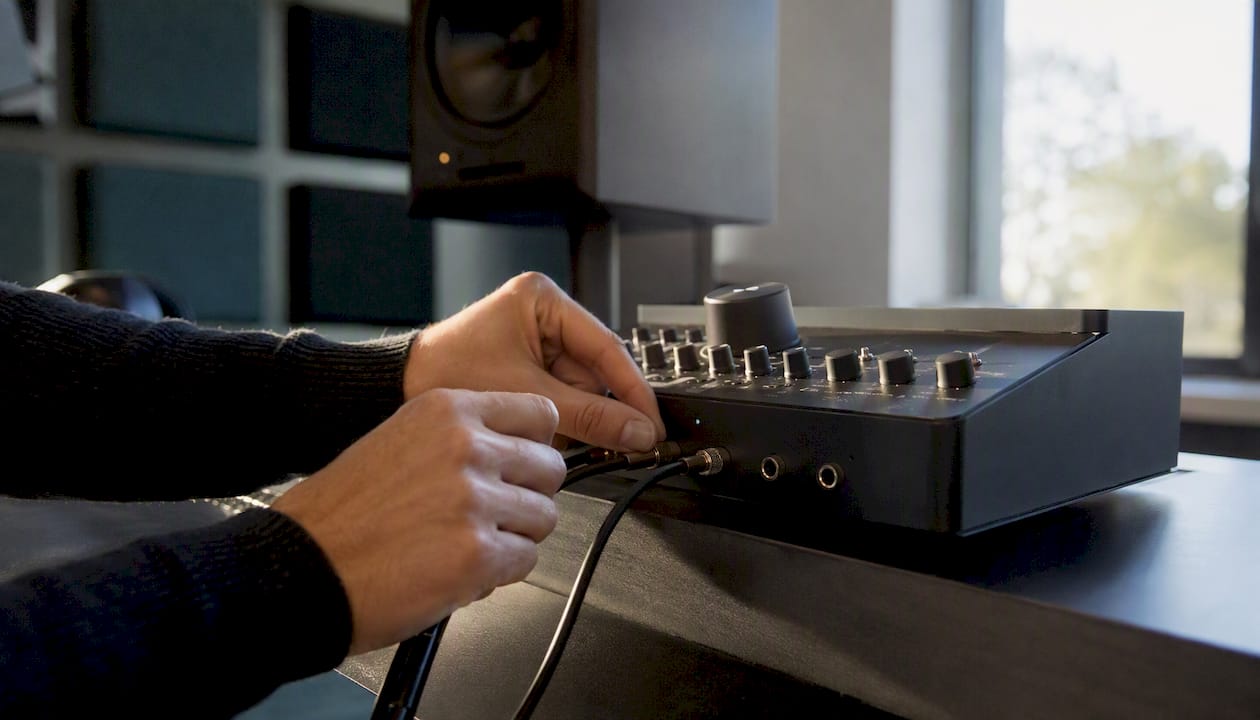
Four models that are frequently used in professional setups:
The Mackie Big Knob Studio is the most affordable option for the project studio. Three stereo inputs, two pairs of monitor outputs, a headphone output, and a talkback microphone—all in a compact design. Delamar places this model in the mid-range category for those looking for a full feature set without the price tag of a high-end unit.
The Heritage Audio R.A.M. System 2000 is designed to meet the high standards of professional control rooms. It features a fully passive signal path for maximum transparency, with extensive switching options and solid build quality that will last for decades. Not for the home studio beginner, but for those who prioritize transparency above all else, this is a serious option.
Softube Console 1 Fader occupies a different niche: it is primarily a DAW controller with fader and transport controls, not a traditional monitor controller. Those looking to combine DAW integration with a hardware feel will find a unique solution here, but don’t expect LFE routing or multiple pairs of monitors.
SSL UF8 is also a DAW fader controller, designed to enhance workflow and provide mix control directly from the DAW. Like the Console 1 Fader, it is not a replacement for a dedicated monitor controller, but rather a supplement for those who place the DAW at the center of their workflow.
How do you evaluate the sound quality of a controller?
Ideally, a passive controller should not alter the signal in any way: no coloration, no noise, no frequency deviation. Test this by placing the controller in the signal path and comparing it to a direct connection between the interface and the monitors. An audible difference in clarity or bass indicates a subpar implementation.
With active controllers, pay attention to the noise level at high volumes and the quality of the headphone amplifier. A weak headphone amplifier sounds thin and lacks control over the low frequencies. Play a bass-heavy reference track at high volume and listen to see if the bass stays tight or starts to distort.
How does latency affect your monitoring?
Analog monitor controllers do not introduce any measurable latency. The signal travels directly from the input to the output, without any digital conversion. That is one of the reasons why many engineers prefer an analog controller to a digital mix bus for monitoring.
Digital controllers with built-in DSP, such as some units with digital I/O or built-in EQ, do introduce latency. That latency is usually small (a few milliseconds), but when using direct monitoring during recording, even a slight delay is audible as an echo. Always check the latency specifications of a digital controller if direct monitoring is required.
Future-proofing and scalability
Buy a controller that supports one more pair of monitors than you think you’ll need right now. The move from one pair of monitors to two is the most common upgrade in a growing studio, and a controller that already supports that will save you from having to buy a second one.
Digital I/O (S/PDIF or AES/EBU) makes the controller compatible with future interfaces and converters that use digital connections. USB connectivity is useful if you want to connect a second computer or a laptop later on without needing additional cables. Also check whether the controller supports firmware updates: with higher-end units, this is a sign of long-term support from the manufacturer. You can read more about building a future-proof studio PC on the page “Studio PC Components for Music Production.”
How Pros Differ from Hobbyists When Choosing a Controller
The most common mistake is buying too little I/O. Producers who start with a single pair of monitors and an entry-level controller find themselves a year later with a setup that can’t be expanded. Adding a second pair of monitors then requires a new controller.
Ergonomics is consistently underestimated. A large, smooth volume knob that you can operate without looking isn’t a luxury; it’s something you use dozens of times a day. Cheap potentiometers wear out faster and are more likely to cause channel imbalances.
Level matching is a blind spot for many home studio users. If your interface is set to an output level that’s too low and you turn the controller all the way up to compensate for the volume, you’ll also increase the controller’s noise level. Set the interface to +4 dBu and use the controller for fine-tuning, not as your primary amplifier.
Buying for the future means: consider the controller you’ll need in three years, not just the one you’re using now.
I4studio will help you with your selection and installation
I4studio supplies studio equipment, custom-built studio PCs, and acoustic solutions directly to producers and studio owners in the Netherlands. When it comes to monitor controllers, this means: personalized advice on which model suits your setup, models in stock—such as the Mackie Big Knob Studio and the Audient ORIA—and fast delivery with a warranty.

Are you looking for a complete studio solution where the controller, interface, and PC are all designed to work together? Check out the Audient ORIA as an integrated option, or have I4studio put together a customized recommendation through the I4studio web shop. Delivery in the Netherlands is fast, and our team is ready to help with any questions about installation or configuration.
Sources
- Buying Guide: Which Is the Best Monitor Controller? – Bonedo
- Passive or Active Monitor Controller – InsideAudio
- Delamar
- The Best Monitor Controllers for Every Budget in 2026
Frequently Asked Questions
What is a monitor controller?
A monitor controller adjusts the listening level between your audio interface and studio speakers, and offers functions such as mute, mono, dim, and switching between multiple pairs of monitors. It serves as the central control point for your listening environment.
When do you need an active controller?
You’ll need an active controller as soon as you want to use talkback, multiple headphone outputs, digital I/O, or more than one pair of monitors. For a simple setup with a single pair of monitors, a passive controller is sufficient.
What should you look for when buying a monitor controller?
Check the number of monitor pairs, whether it features click-free relay switching, talkback capabilities, reference level settings, and the quality of the headphone amplifier. A clicking sound when switching is an immediate red flag.
Which monitor controller is suitable for a home studio?
The Mackie Big Knob Studio is a popular choice for home studios: two monitor pairs, talkback, a headphone output, and a clear volume knob, available through I4studio with shipping to the Netherlands.
Does a monitor controller add latency?
Analog monitor controllers do not add any measurable latency. Digital controllers with built-in DSP or digital I/O can introduce a few milliseconds of latency, which is relevant for direct monitoring during recording.