Briefly:
- A good workflow for a home studio ensures fast, creative, and professional work on a limited budget. With the right equipment, a well-treated room, and a structured workflow, you can record and mix effectively.
Setting up a workflow for a home studio is the process of organizing your recording and production space so that you can work quickly, creatively, and professionally. Many musicians and producers start with good equipment but get bogged down by a chaotic workspace or an unclear workflow. Setting up a good home studio workflow means knowing exactly which steps to take and when—from connecting your audio interface to exporting your mix. With the right approach, you can set up a functional home studio on a budget of between €300 and €500, and have everything up and running within a weekend.
What basic equipment and software do you need?
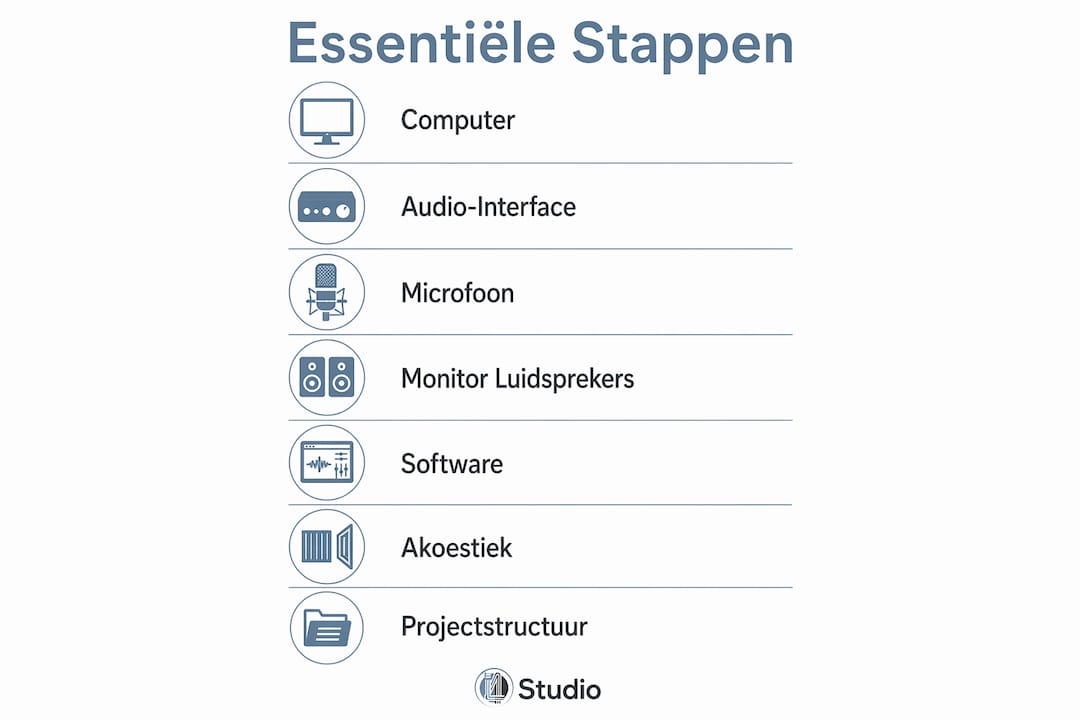
The core of every home studio consists of five elements: a computer, an audio interface, a microphone, monitor speakers or headphones, and a DAW (Digital Audio Workstation). Each component serves a specific purpose in your workflow. Buy them in this order, because each component builds on the previous one.
| Device | Role in the workflow |
|---|---|
| Computer | Processes audio, runs the DAW and plugins |
| Audio interface | Converts analog audio to a digital signal |
| Microphone | Records vocals, instruments, or speech |
| Monitor Speakers | Provides an accurate representation of your mix |
| DAW (software) | Organizes, edits, and mixes all your recordings |
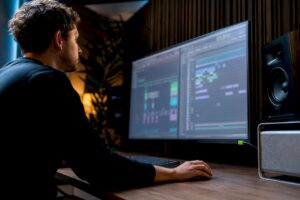
A studio PC for music production is the foundation of your setup. A slow computer causes latency and crashes, which immediately disrupt your workflow. Choose a machine with enough RAM and a fast SSD so that your projects load smoothly and plugins respond without delay.
The audio interface serves as the bridge between your microphone and your computer. For most producers, an interface with two inputs is sufficient to get started. Compatibility with your operating system and your DAW is not a minor consideration, but an absolute requirement.
When it comes to software, start simple. Many DAWs offer a free or inexpensive entry-level version that’s already powerful enough to deliver professional results. Free plugins like TDR Nova and Valhalla Supermassive provide studio-quality sound when used properly. That makes expensive paid plugins unnecessary at first.
Pro-tip: Invest the majority of your budget in your audio interface and microphone. These two components directly determine the recording quality. You can upgrade a cheap computer later; a poor-quality interface will be audible in every recording.
How do you set up the physical space of your home studio?
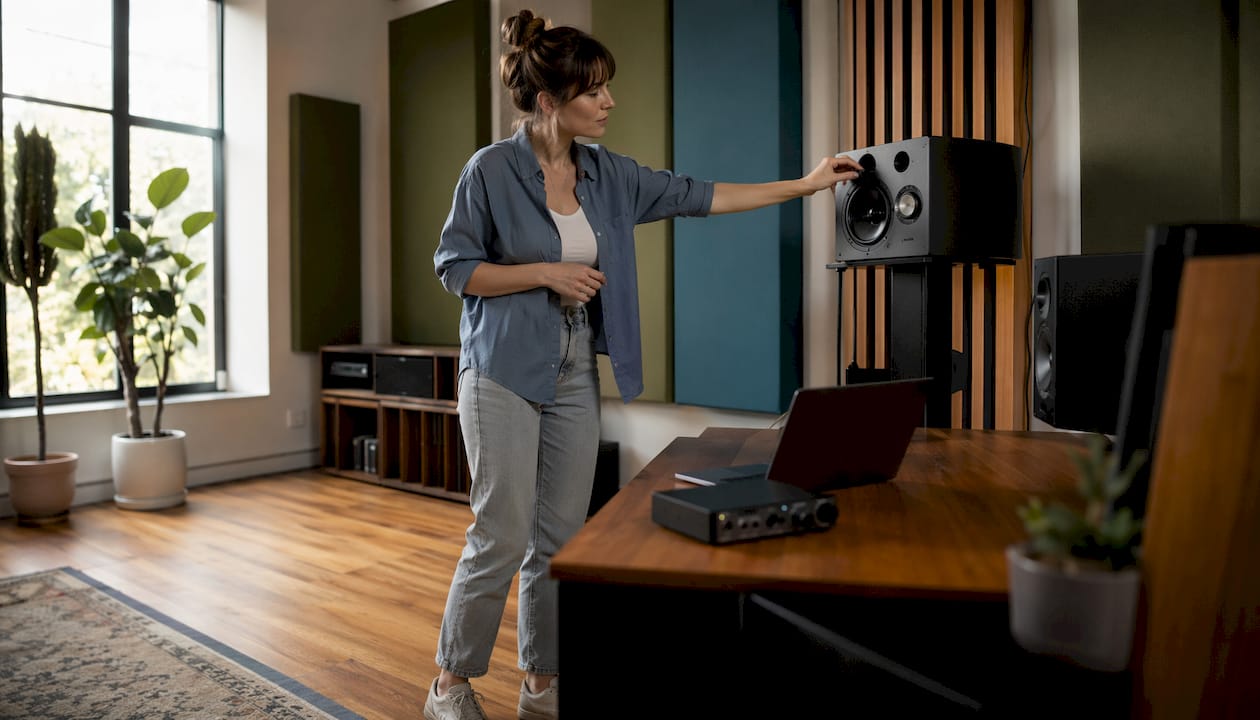
The choice of your room largely determines how your recordings sound. A small room with many hard surfaces produces unwanted echoes and room tones. A room with carpet, curtains, and furniture significantly dampens those reflections.
Basic acoustic treatment using simple materials such as thick blankets and bookshelves significantly improves the sound quality. You don’t need to buy expensive acoustic panels to achieve a usable result. Do-it-yourself solutions work well as a starting point:
- Hang heavy curtains on the windows to absorb high frequencies
- Place a bookshelf full of books behind your mixing station to act as a diffuser
- Lay a thick rug on the floor to reduce floor reflections
- Use moving blankets as temporary sound-absorbing panels around your microphone
- Build simple bass traps out of rock wool in corners where low frequencies tend to accumulate
The placement of your desk and monitors is just as important as acoustic treatment. Position your monitor speakers at the same height as your ears and at an equal distance from the side walls. This way, you’ll hear a symmetrical stereo image, which makes your mixing decisions more reliable.
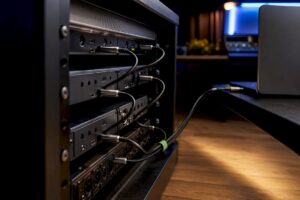
Cable management using Velcro and labels prevents malfunctions and keeps your workspace organized. A tangled mess of cables is not only distracting, but also increases the risk of humming and signal loss. Take ten minutes to bundle and label your cables. This will save you hours of troubleshooting later on.
Pro-tip: Keep your recording space separate from your mixing space, even if they’re only a few meters apart. Separating recording and mixing demonstrably improves your workflow and creativity. Your brain switches more easily between “recording” and “evaluating” when the physical context changes.
What steps do you need to take to start recording?
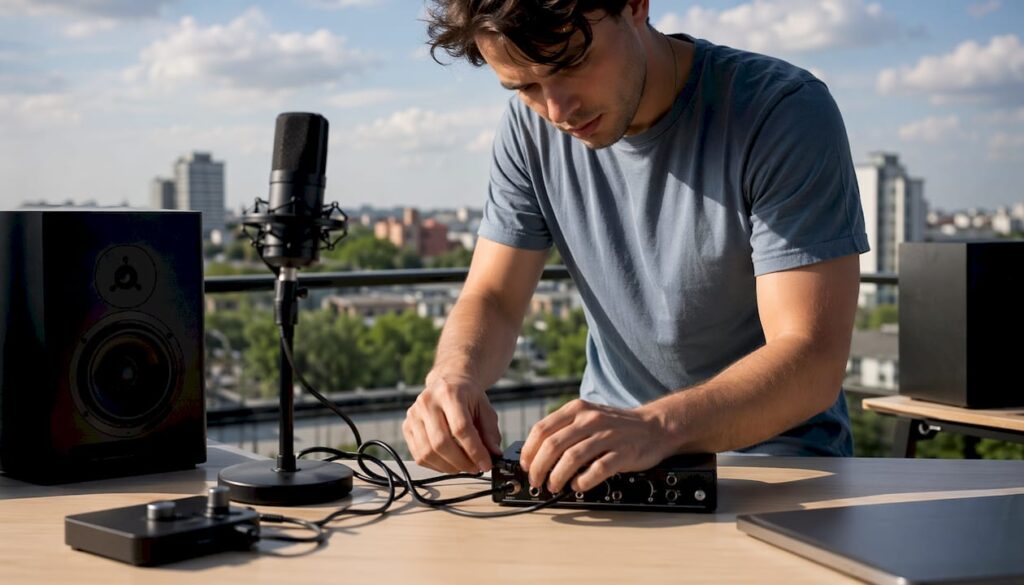
The order in which you connect the devices is crucial: computer, audio interface, microphone, and then software. If you reverse this order, you’ll run into driver errors and signal errors that are difficult to trace.
- Connect the audio interface to the computer via USB or Thunderbolt and install the corresponding driver.
- Install your DAW and set the audio interface as the default input and output device.
- Connect the microphone to the interface and enable phantom power (+48V) if you’re using a condenser microphone.
- Set the gain so that peaks stay around -12 dB. Gain staging at -12 dB prevents distortion and gives you plenty of headroom when mixing.
- Create a project template in your DAW with default tracks, routing, and basic settings. That way, you can start every project right away without wasting time on setup.
A project template is one of the most underrated tools in home music production. Set up your standard drum track, vocal track, and master bus once, save it as a template, and open it for every new project. You’ll instantly save ten to fifteen minutes per session.
The table below shows how the complexity of a workflow varies by level:
| Level | Equipment | Software | Point to Note |
|---|---|---|---|
| Basic | Interface, microphone, headphones | Free DAW, free plugins | Gain staging and cable management |
| Average | Interface, microphone, monitors, MIDI keyboard | Paid DAW, a few plugins | Acoustic treatment and templates |
| Advanced | Multiple interfaces, custom studio PC, diffusers | Full plugin suite, automation | Space separation and data management |
For advanced producers, a custom-built studio PC is the logical next step. Standard consumer computers aren’t optimized for low latency and heavy plugin loads. A custom-configured machine with the right BIOS settings and an optimized operating system provides a measurably more stable working environment.
What mistakes should you avoid in your home studio workflow?
The most common mistake is recording at too high a level. Excessively high input levels cause digital distortion that you can’t fix in the mix. Digital distortion sounds harsh and unpleasant, and unlike analog saturation, there’s no creative way to use it.
Poor acoustics are the second major pitfall. Many producers invest in expensive microphones while their room is full of untreated reflections. A less expensive microphone in a well-treated room sounds better than an expensive microphone in a hard, untreated space.
Common Mistakes and Their Solutions:
- Excessive gain: Set peaks to a maximum of -12 dB and use the gain control on your interface, not the fader in your DAW.
- Poor acoustics: Start with curtains, carpet, and a few sound-absorbing panels before buying expensive equipment.
- Tangled cables: Use Velcro and labels. Do this right from the start, not later.
- Excessive use of plugins: Use no more than three to four plugins per track during recording. Using more plugins increases latency and clouds your judgment.
- No backups: Save projects in two locations, such as locally and in the cloud. A single hard drive does not count as a backup.
Pro-tip: Always test your setup with a short test recording before you start a real session. Listen back through both your headphones and your monitors. That way, you’ll catch any issues with gain, acoustics, or routing before they ruin an entire project.
The proximity to the microphone significantly affects the tone. Singing or playing close to the microphone produces more low frequencies due to the proximity effect. Experiment with distance and angle before recording a session.
How can you further optimize your workflow after the initial setup?
A good project structure saves more time than any plugin. Create dedicated folders for each production: one for raw recordings, one for edited files, and one for exports. Give each file a clear name that includes the date and version number. This may sound tedious, but it prevents you from spending an hour searching for “finalfinal_v3_really_def.wav.”
Use presets for recurring tasks. Save your favorite EQ curve for vocals as a preset, save your standard reverb for guitar, and create a master bus template with a limiter and a reference track. Every time you use a preset instead of starting from scratch, you’ll save time and ensure consistency.
Automation in your DAW goes beyond volume and panning. Set up automation for plugin parameters such as filter width or reverb tail length. This adds movement to your mixes without having to manually draw out every parameter. Producers who incorporate automation early in their workflow have been shown to work faster and produce tracks with a wider variety of sounds.
Communication between your recording and mixing spaces also works on an organizational level. After each recording session, make a quick note of what sounded good, which microphone position you used, and what gain setting you chose. Those notes are worth their weight in gold when you return to a project a week later. Musicians who earn extra income in the performing arts know how valuable consistent documentation is for recurring sessions.
Creative routines are the final piece of the puzzle. Schedule fixed recording times, even when you’re working from home. A digital audio workflow that you start at the same time every day trains your brain to enter creative mode more quickly. That sounds like discipline, but it’s really just a good habit.
Key insights
An effective home studio workflow depends entirely on the combination of the right equipment, a well-treated room, and a clear workflow that you follow consistently.
| Item | Details |
|---|---|
| Budget and Starting Point | A functional home studio can be set up for as little as €300–500 and is ready to go in just one weekend. |
| Gain Staging | Set peaks to -12 dB to prevent digital distortion and preserve headroom. |
| Acoustics First | Treat your room with curtains and carpet before investing in expensive microphones. |
| Connection Order | Always connect in this order: computer, interface, microphone, then software. |
| Templates and Presets | Create project templates and save presets to start every session off on the right foot. |
Why Workflow Is the Most Underestimated Factor in Home Production
I see it time and time again: producers who spend thousands of euros on gear but have no idea how to get their session started. They open their DAW, stare at a blank project, and close it again ten minutes later. Not because the gear isn’t any good, but because there’s no structure.
A good workflow isn’t sexy. It’s not a new synthesizer or a shiny microphone. But it’s the difference between a producer who finishes tracks every week and someone who tinkers with the same project for years. The best home studio I’ve ever seen was in a small bedroom with secondhand monitors and an entry-level interface. The owner had his workflow set up so efficiently that he was already recording within five minutes of booting up his computer.
My advice: Spend one day setting up your workflow before you record a single note. Create your template, label your cables, test your gain, and write down your microphone positions. That day will pay off in every session that follows. And if you’re unsure which equipment actually contributes to a better workflow, check out the home studio setup ideas that I4studio has put together for musicians of all levels.
– harold
I4studio helps you make the right choices for your home studio
Your workflow is only as strong as the equipment and space you use. I4studio specializes in studio gear and custom-built studio PCs tailored to the demands of music production. Whether you’re just starting out or looking to expand your setup, the product categories at I4studio are perfectly aligned with what you need for a seamless workflow.

Check out the overview of studio gear for beginners to see which equipment really makes a difference. Are you also looking for acoustic solutions for your space? I4studio offers a wide range of acoustic products for home studios that will instantly improve your sound. From diffusers to absorptive panels: there’s something available for every budget.
Frequently Asked Questions
How much does it cost to set up a home studio?
You can set up a functional home studio on a budget of €300 to €500. That includes an audio interface, a microphone, headphones, and a free DAW.
Which DAW is best for beginners?
The best DAW for beginners is the one that comes with your audio interface. That way, you can be sure it’s compatible, and you won’t have to spend any extra money before you know what you need.
How can I improve the acoustics in my room without spending a lot of money?
Hang heavy curtains, lay down a rug, and place a bookcase behind your mixing station. These three changes will significantly reduce most harmful reflections without requiring you to buy acoustic panels.
What is gain staging and why is it important?
Gain staging is the process of setting your input level so that peaks remain around -12 dB. This prevents digital distortion and gives you enough headroom to make adjustments later in the mix without losing quality.
How can I start recording quickly without any technical issues?
Connect your equipment in the correct order: computer, audio interface, microphone, and then software. Next, create a project template in your DAW so you can get started right away with each new session without having to reconfigure everything.