Briefly:
- A structured digital audio workflow improves efficiency, reduces errors, and ensures consistent, high-quality results. Optimizing recording settings, project organization, and hardware is essential for a smooth production process. A good workflow lays the foundation for better music and a creative production environment.
A digital audio workflow is the structured series of steps you follow from recording to the final mix. If you consciously organize these steps, you’ll work faster, make fewer mistakes, and deliver more consistent quality. The digital audio workflow tips in this article are immediately applicable for musicians, producers, and audio engineers who want to get more out of their sessions. You’ll learn which recording settings make a difference, how to organize projects without chaos, and which hardware and software choices truly speed up your workflow.
1. Which recording settings optimize your digital audio workflow
The right recording settings are the foundation of any efficient audio workflow. If you make mistakes here, you’ll pay the price at every subsequent step in the process.
Sample Rate and Bit Depth
Use a sample rate of 44.1 or 48 kHz as the default. Higher values, such as 96 kHz or 192 kHz, result in files that quickly become several times larger, while the difference to the listener is negligible. For video work, choose 48 kHz because that is the standard in the film industry. For music, 44.1 kHz is sufficient in virtually all cases.
Set the bit depth to 24-bit. This gives you enough headroom to handle peaks without any loss of quality. There’s no need to aim for maximum volume levels during recording. Peaks around -6 to -12 dB prevent clipping and give you much more freedom when mixing.
Gain staging
Gain staging is the deliberate adjustment of signal levels at every point in the chain. Set your microphone preamp so that the signal is strong enough but never goes into the red. A properly set input level will save you from having to make corrections later with compressors and limiters.
Pro-tip: Record a test take and check the peak volume in your DAW before you start a full session. This way, you can identify gain-staging issues before they’re recorded in dozens of takes.
Microphone Placement
Microphone distance and angle largely determine the recording quality. For vocals, a distance of 15–20 cm is recommended, positioned slightly off-axis from the capsule to avoid plosive sounds. For acoustic guitar, a position of 15–30 cm at the twelfth fret works well. Making small adjustments to the placement yields better results than applying a lot of EQ afterward.
2. How to Organize Projects for an Efficient Audio Workflow
Project organization is the step most producers skip until they can no longer find a session. A consistent structure takes five minutes per project and saves hours of searching.
Use this folder structure as the default for each project:
- Audio for all recorded and imported audio files
- Bounces for interim exports and votes
- Samples for loops and samples you use
- Presets for project-specific effect settings
- Notes for lyrics, chord charts, and session notes
- Archive for old versions you still want to keep
Project templates in your DAW can significantly speed up recurring workflows. Create a template with your standard channel layout, favorite effect chains, and routing structure. Open your next session with that template, and you can start producing right away instead of spending time on setup.
Naming conventions are just as important as the folder structure itself. Use a consistent format such as “Project Name_Date_Version” for your DAW files. Name audio files in a way that makes it immediately clear what’s inside: “Vocals_Verse_Take3” is always better than “Audio_001.”
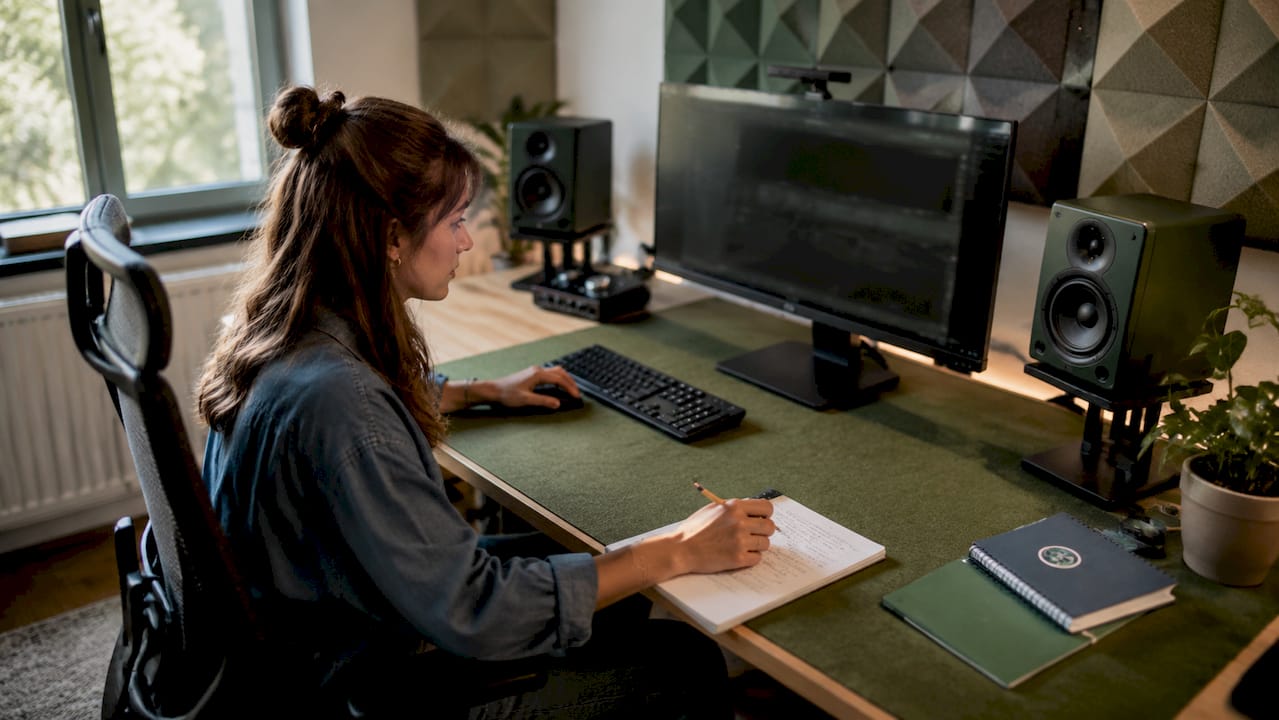
Backup and version control are essential to any serious workflow. Save your project in two locations: a local drive and external or cloud storage. Create a new version after every significant session. That way, you can always revert to an earlier point without having to start over.
3. What software techniques can speed up your audio editing and mixing?
A smart software workflow is the fastest way to get more done in less time. Most producers use only a fraction of the capabilities their DAW offers.
Keyboard Shortcuts and Macros
Keyboard shortcuts and macros automate repetitive tasks and are the biggest time-savers you can use. Memorize the ten most commonly used keyboard shortcuts in your DAW. These include cutting, pasting, quantizing, zooming in and out, and switching between tools. Every time you reach for the mouse to perform a task that can also be done with a key, you lose focus and time.
Macros take it a step further. You can link a series of actions to a single keystroke. Set up a macro that automatically creates a new audio track, prompts you for a name, and starts recording. That reduces three steps to just one.
- Assign keyboard shortcuts to your most frequently used plug-ins
- Create a keyboard shortcut for exporting stems
- Use the shortcut keys for markers to quickly navigate through sessions
- Set up a keyboard shortcut to duplicate channels, including effects
Presets and Effect Chains
Save effect chains as presets as soon as you find a sound that works. A compressor-EQ combination that you have to set up over and over again will cost you ten minutes every session. As a preset, you can load it in ten seconds. Create categories: vocals, drums, bass, synths. That way, you can quickly find what you need.
Pro-tip: Create a “starting point” preset for each instrument type with neutral settings that you can always adjust. That’s faster than starting with a blank channel strip, yet more consistent than choosing a random preset every time.
Automation and Bus Routing
Automation is the tool that brings a mix to life. Use volume automation to control energy levels by section instead of relying solely on compressors. Bus routing groups related channels so you can control them with a single fader. Send all the drums to a drum bus, all the vocals to a vocal bus. This gives you control without having to adjust each channel individually.
Monitor calibration is a step that many producers skip, but it directly affects mixing decisions. Without calibration, you’re relying on monitors that distort reality. Problems you don’t hear in the studio will become apparent on other systems.
4. Which hardware optimizations improve the digital audio workflow?
Hardware determines how smoothly your software runs and how reliable your audio sounds. A weak link in the chain costs you time and quality.
| Hardware component | Impact on workflow | Point to note |
|---|---|---|
| Audio interface | Reduces latency, improves signal quality | Choose an interface with stable drivers for your operating system |
| Studio PC | Prevents crashes and slowdowns | Sufficient RAM and a fast SSD are minimum requirements |
| Studio Monitors | Reliable sound reproduction | Always calibrate before use |
| Acoustic Treatment | Reduces reflections and coloration | Diffusers and absorbers work together |
| Cable Management | Reduces malfunctions and the need to search for cables | Label all cables at both ends |
Audio Interface
A good audio interface reduces latency and immediately improves signal quality. Latency is the delay between what you play and what you hear. Higher latency causes you to lose the sense of immediate feedback, which makes recording uncomfortable. Choose an interface with an ASIO driver on Windows or Core Audio on macOS for the lowest latency.
Studio PC Configuration
A stable studio PC is not a luxury. Crashes during a recording or mix cost you work and concentration. The minimum requirements for a serious workflow are a fast processor, at least 16 GB of RAM, and an SSD as the system drive. Use a separate drive for audio files so the system doesn’t compete with the recording for disk speed.
Acoustic treatment
Acoustic treatments are the most underrated investment in a home studio. Reflections and standing waves color the sound you hear, causing you to make mixing decisions based on a distorted picture. Absorbers reduce high- and mid-frequency reflections. Diffusers distribute sound more evenly throughout the room. Together, they create a more neutral listening environment. Professionals in the audiovisual industry know that acoustics are just as important as the equipment itself.
5. How to Stay Productive and Creative Within Your Digital Workflow
Efficiency and creativity sometimes seem to be at odds with each other. A workflow that’s too rigid can make it feel like you’re running a factory instead of making music. The solution is a structure that leaves room for flexibility.
Templates and standardized workflows help get creative processes off the ground more quickly. They provide structure and consistency without limiting your creative freedom. Use a template as a starting point, but feel free to deviate from it if an idea calls for it.
Practical tips for staying productive and creative:
- Set a time limit for each session. Two hours of focused work is more productive than six hours of aimless wandering.
- Use an “idea track” in your DAW for individual sounds and melodies that you want to develop later.
- At the start of each session, make a short list of what you want to accomplish. Three specific goals are enough.
- Alternate between technical tasks like mixing and creative tasks like songwriting. That keeps your energy levels up.
- Take regular breaks. Your ears get tired faster than you think, and tired ears lead to poor mixing decisions.
Over-editing is a common pitfall. You keep tinkering with a track because you feel like something is still missing. Set a deadline for each mix and stick to it. A finished track that’s 90% good is always better than a perfect track that never gets finished.
Key insights
An efficient digital audio workflow rests on three pillars: proper recording settings, an organized project structure, and hardware that fully supports your software.
| Item | Details |
|---|---|
| Recording Settings | Use 24-bit and 44.1 or 48 kHz as the default; keep peaks between -6 and -12 dB. |
| Project Organization | A fixed folder structure and DAW templates save setup time for each session. |
| Software Workflow | Keyboard shortcuts, macros, and presets eliminate repetitive work and speed up editing. |
| Hardware Foundation | A good audio interface and a stable studio PC prevent latency and crashes. |
| Managing Creativity | Time limits and session goals keep you productive without creative blocks. |
Workflow as the Foundation for Better Music
After years of working as an audio engineer, I’ve seen one thing time and time again: the producers who consistently make good music are rarely the most talented. They’re the most organized.
I’ve been in sessions where a producer spent twenty minutes searching for an audio file that was tucked away somewhere in a folder full of unnamed files. Those twenty minutes aren’t just a waste of time. They disrupt your creative flow at a moment when you’re really immersed in the music. It’s not something you can just get back.
What surprised me the most is how few producers consciously think about their gain staging. They record at the highest possible level because it feels “safer,” and pay the price during mixing with a signal that’s already too loud before it even hits the first plug-in. Peaks around -12 dB feel uncomfortable, but they give you exactly the headroom you need when mixing.
My honest advice: spend one session setting up your workflow. Create templates, set up keyboard shortcuts, and build a folder structure. That’s not a waste of time. It’s the investment that makes every subsequent session faster and more enjoyable. A good workflow doesn’t limit your creativity. It’s the structure within which creativity can flourish.
– harold
I4studio helps you take your workflow to the next level
A good workflow starts with reliable hardware. If you notice that your computer is slowing down during demanding projects, or that your audio interface is causing latency that makes recording frustrating, it’s time to take a look at your setup.

I4studio specializes in custom-built studio PCs and studio acoustics for musicians and producers. Whether you’re building your first serious setup or looking to upgrade an existing studio, I4studio’s best studio PC configurations are tailored to the demands of modern audio production. Be sure to check out our selection of acoustic panels for a more neutral listening environment in your studio.
Frequently Asked Questions
What’s the best sample rate to use?
Use 44.1 kHz for music and 48 kHz for video projects. Higher sample rates offer no audible benefit but significantly increase the size of your files.
How can I prevent clipping when recording?
Keep your recording peaks between -6 and -12 dB. This provides enough headroom for mixing without distorting your signal.
What is gain staging and why is it important?
Gain staging is the deliberate adjustment of signal levels at every point in your signal chain. Proper gain staging prevents noise and distortion and gives you more control when mixing.
How do I create a DAW template?
Set up a session with your default channel layout, effect chains, and routing structure, and save it as a template. That way, you can start producing right away in every new session.
Which hardware has the greatest impact on my workflow?
A good audio interface and a stable studio PC have the greatest direct impact. They determine latency, stability, and the quality of your signal path.