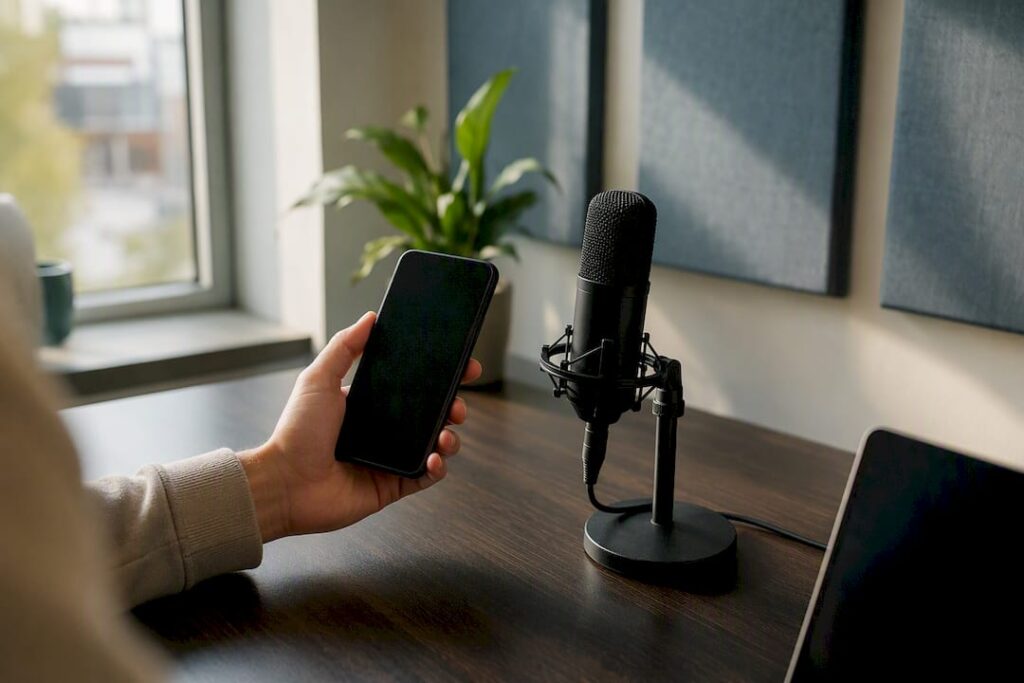
Want to record audio right now? Use the built-in recorder on your phone or computer: it’s the fastest option and doesn’t cost a thing. Open the app, grant microphone access, tap “Record,” and then save or export the file.
- Quick memos: Voice Memos (iPhone) or Voice Recorder (Android)
- Voice-over for video: Clipchamp or Canva in your browser
- Internal PC audio or editing: Audacity
- Simple voice recording on a PC: Sound Recorder (Windows)
Key insights
For most users, a free, built-in app like Voice Memos, Voice Recorder, or Sound Recorder is sufficient; you only need to switch to Audacity when working with internal audio or editing.
| Item | Details |
|---|---|
| Get started with the built-in app | Voice Memos, Voice Recorder, or Sound Recorder work right away, with no installation or cost. |
| Browser recorders for voice-overs | Clipchamp exports directly as an MP3, with a limit of 30 minutes per voice-over recording. |
| Audacity for internal audio | Use Windows WASAPI with “Speakers (loopback)” to record system audio. |
| Always keep the original | Export MP3 for distribution; keep the WAV file for archiving and further editing. |
| Acoustics often trump expensive gear | A quiet room with soft surfaces improves sound quality more than an expensive microphone. |
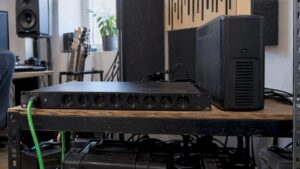
| Scaling Up with I4studio | For those who want more than just a phone or laptop, I4studio offers microphones, audio interfaces, and acoustic panels. |
Table of contents
- Quick Guide: Which Recording Option Is Right for Which Need
- How do you record audio with your iPhone or Android?
- Recording on your computer: Windows, macOS, and Audacity
- Recording in your browser: Clipchamp, Canva, and other online tools
- Basic editing: remove noise, cut out silences, and get it ready to use
- Quick Acoustics and Microphone Tips from a Studio Expert
- Quick Solutions for Common Recording Problems
- What Most Guides on Recording Overlook
- Ready to go beyond your phone or laptop?
- Resources
- Frequently Asked Questions
Quick Overview: Which Recording Option Is Right for Which Need?
The right choice depends on what you’re recording and what you’re going to do with it. Recording a conversation requires a different approach than recording a voice-over for a video project.
- Built-in apps (Voice Memos, Voice Recorder, Sound Recorder): lightning-fast, no installation required, great for voice recordings and memos, but limited editing options.
- Browser recorders (Clipchamp, Canva): ideal for voice-overs, direct export to MP3, but some features—such as AI noise reduction—are behind a paywall.
- Audacity: the go-to choice as soon as you need internal computer audio, multiple tracks, or more advanced editing.
- Need an external microphone? If you want to go beyond a phone or laptop microphone, I4studio offers beginner-friendly studio gear that will instantly take your recording quality to the next level.
How do you record audio with your iPhone or Android?
Open the app, allow microphone access, tap the red record button, and press stop when you’re done. The file is automatically saved in the app.
On the iPhone, use Voice Memos. You can choose between mono, stereo, and—on newer models—even spatial audio, and the app offers a voice isolation setting that mutes background noise. Recordings can be edited afterward: trim them, replace a section, or resume recording where you left off, as Apple describes for Voice Memos.
- Open Voice Memos or Voice Recorder.
- Grant the app access to the microphone (the first time you use it).
- Tap the record button and speak calmly and close to the microphone.
- Tap stop and name the file.
- Share or export using your phone’s sharing feature.
On Android, open the Voice Recorder app, grant the requested permissions, and choose where you want to save the file or share it.
Pro tip: If your phone doesn’t ask for permission to use the microphone, go to Settings → Privacy (or App Permissions) and manually enable the microphone for the recorder app.
Recording on Your Computer: Windows, macOS, and Audacity
To quickly record audio on Windows, use the Sound Recorder app. If you want to record internal computer audio or edit multiple tracks, Audacity is the better choice.
- Open the Sound Recorder by going to Start → Sound Recorder.
- Start recording by clicking the button or using the Ctrl+R shortcut.
- Stop recording by pressing Esc or the stop button.
- The file is automatically saved in the Documents\Sound Recordings folder.
The app supports recordings of up to three hours per file, which is more than enough for an interview or podcast session.
Do you want to record sound coming from your computer itself, such as system audio or a streaming window? Download Audacity and set the host to Windows WASAPI with “Speakers (loopback)” as the input device. This allows you to record whatever is playing through your speakers or headphones— a method that wikiHow also describes step by step.
On macOS, use QuickTime Player or Voice Memos for simple recordings. If you need professional-quality audio, an external audio interface is the logical next step.
Always save your original recording as a WAV file for archiving and export an MP3 for distribution. MP3 files are more compact, while WAV preserves the full quality for later editing, as explained in this overview of audio converters.
Pro tip: Manually save a long recording every fifteen minutes. An app crash is annoying, but lost work is even worse.
Recording in your browser: Clipchamp, Canva, and other online tools
Browser recorders are the fastest way to record without installing anything. Select your microphone, press “Record,” and export immediately.
- Open the Clipchamp or Canva recorder in your browser.
- Select your microphone and do a quick test before you start the actual recording.
- Start recording, speak your text, and stop when you’re done.
- Place the recording on the timeline and export it as an MP3 or WAV file.
- You can re-record as many times as you want for free, but voice-overs in the editor are limited to 30 minutes per recording.
The big advantage: no download required, instant results, and features like fade-in/fade-out work right away. The downside is that extras like removing silences and AI noise reduction are sometimes behind a paywall, and that with some tools, processing takes place in the cloud rather than locally on your device. So always do a quick test first to make sure your microphone is picking up sound properly before you start a long recording.
Basic editing: noise removed, silences cut out, ready to use
Always work on a copy and keep the original separate. That way, you’ll never mess something up that can’t be undone.
- Trimming: Remove long silences at the beginning and end, and any distracting stutters in the middle.
- Normalize: Adjust the volume to a consistent level so that quiet and loud sections are better balanced.
- Noise reduction: Apply a light, basic setting. Filtering too aggressively actually makes a voice sound unnatural.
- Compression: Subtle compression smooths out volume peaks without flattening the recording.
For delivery, you usually export as an MP3—a compact format that can be played anywhere—which is often required in the audiovisual production industry. For archiving or further editing in video production, it’s best to keep the WAV version, which preserves the original quality.
Pro tip: Use the built-in editing features in Voice Memos or Clipchamp for minor corrections. Only if you want more control over multiple tracks at once should you switch to Audacity.
Quick Acoustics and Microphone Tips from a Studio Expert
Small adjustments to your recording environment often yield better results than a more expensive microphone. Sit or stand closer to the recording device; this will immediately and noticeably improve the signal quality.
- Record in a quiet room, away from fans, traffic, or devices that hum.
- Soft surfaces such as a pillow, blanket, or carpet help dampen harsh reflections in the room.
- Keep the microphone at a consistent distance from your mouth—not too close to prevent popping sounds.
- Consider an entry-level USB microphone for desktop recordings, a lavalier microphone for mobile use, or a simple pop filter and tripod.
These basic principles apply just as much to home studios as they do to professional spaces. I4studio brings together practical techniques for minimizing noise in your studio, and anyone seriously working on setting up a permanent recording space will find inspiration in this guide to setting up a home studio.
Pro tip: Always test a 10-second recording first and listen to it back with headphones. That way, you’ll hear any distracting noise before you have to redo an entire interview.
Quick Solutions for Common Recording Problems
No sound, a recording that’s too quiet, or distracting noise can usually be resolved quickly by running a few checks.
- Check whether the app has access to the microphone in your system settings.
- Make sure the correct input device is selected—don’t accidentally select the wrong headphones or webcam.
- Test the volume level beforehand, and speak closer to the microphone if the sound is too quiet.
- Check the cables and try a different USB port if you’re using an external microphone.
- Still not working? Restart the app or browser, update your drivers, or restart your device, as Microsoft also recommends for the Sound Recorder app.
- If the problem persists, consider using an external microphone or contact I4studio for a permanent solution.
What Most Travel Guides Overlook
Most advice on recording sound focuses on apps and settings, which makes sense: that’s exactly what you need right away. But the biggest improvement in sound quality rarely comes from the software. An inexpensive microphone in a quiet, soundproofed room often sounds better than an expensive microphone in a reverberant living room.
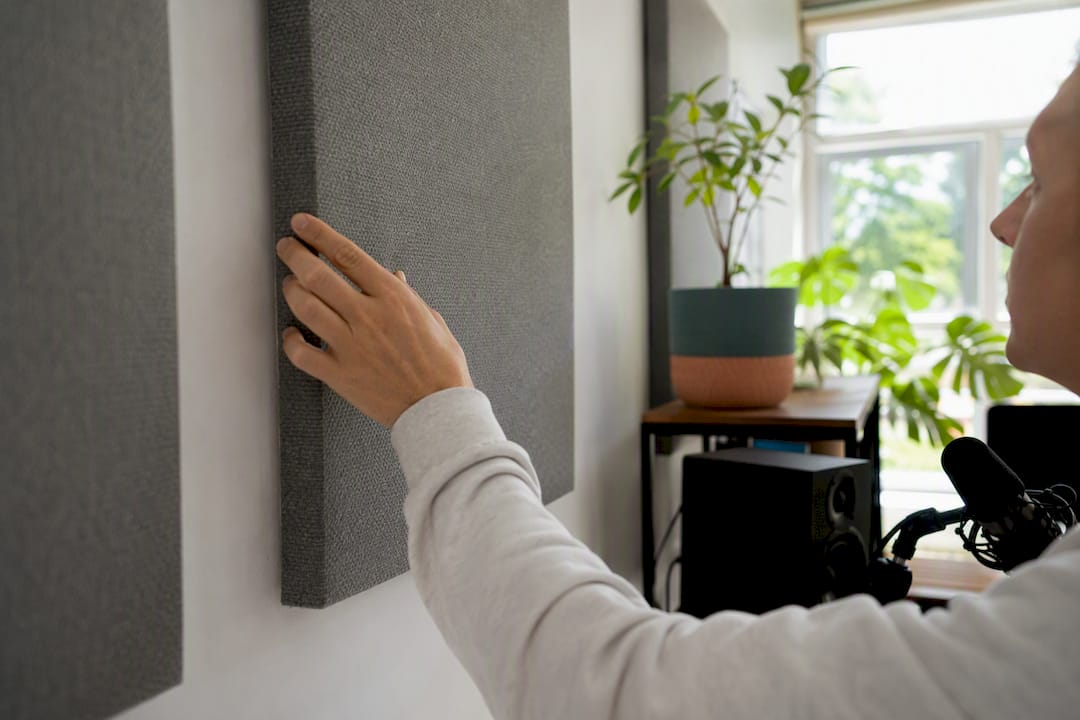
No matter what conventional advice may underestimate, people are too quick to invest in expensive equipment without first addressing their surroundings. Placing a pillow against the wall or inside a closet costs nothing and yields immediately audible results. Only when you’re recording on a regular basis will an external microphone or acoustic panel pay for itself.
My advice: always start with the free, built-in tools. Learn what distracting noise is and where it comes from. Only then, once your recordings become more serious, is investing in gear and acoustics the logical next step—not the first.
Ready to go beyond your phone or laptop?
I4studio is the go-to resource for anyone who, after trying free apps, wants to record more professionally without the hassle of expensive agencies or unclear consulting processes. While Voice Memos, Voice Recorder, and Clipchamp get you started, I4studio offers the next step: entry-level microphones, audio interfaces, and acoustic panels that instantly improve your recording quality—without having to build an entire studio.

Not sure exactly what you need? The “Studio Gear for Beginners” guide shows you which essential equipment really makes a difference, from your first microphone to a simple acoustic panel. Check out the selection and put together your own recording setup today.
Sources
- Online Audio Recorder
- The Sound Recorder app for Windows: Frequently Asked Questions
- Recording Audio and Video on the iPhone – Apple Support (NL)
- Download Audacity
- How to Record Audio on a PC (with Pictures) – wikiHow
Frequently Asked Questions
How can I quickly record audio?
Open a built-in app such as Voice Memos, Voice Recorder, or Sound Recorder, grant microphone access, tap Record, and save the file when you’re done.
How do I record audio for free with my iPhone?
Use Voice Memos (Dictaphone), the default app on every iPhone. Tap the red record button, speak, and tap stop; the recording can be edited and shared right away.
Which app records audio?
Voice Memos (iPhone), Voice Recorder (Android), Sound Recorder (Windows), and browser tools like Clipchamp and Canva are the most commonly used options, each suitable for a different purpose.
How can I record audio for free without installing any software?
Use a browser recorder like Clipchamp. Simply select your microphone, start recording, and export directly as an MP3—no installation or fees required.
What’s the difference between MP3 and WAV when recording?
MP3 is compact and suitable for distribution, while WAV preserves the full quality and is better for archiving or further editing in software such as Audacity.
Recommendation
- Home Studio Audio Recording Tips: From Room to Mix – https://i4studio.nl/
- Troubleshooting Audio Interface Issues: Practical Tips for Studios (troubleshooting audio interface issues) – https://i4studio.nl/
- Digital Audio Explained for Beginner Music Producers
- Essential Music Recording Equipment for Your Home Studio