The choice in recording equipment is overwhelming. Musicians and home studio owners struggle daily with the question of which microphone, interface or accessory they really need for professional recording. A thoughtful essentials list prevents costly mistakes and gets you started on quality sound recording right away. In this article, you’ll discover the criteria for smart equipment choices, concrete options that fit your skill level and practical tips for getting the most out of your home studio.
Table of contents
- Key takeaways
- Criteria for choosing recording equipment
- Major recording devices and their options
- Comparison and summary of microphones and sound interfaces
- Practical tips for optimal recording and sound quality
- Discover complete studio sets and equipment at i4studio
- Frequently Asked Questions
Key Insights
| Item | Details |
|---|---|
| Choice USB or XLR | The choice depends on budget, desired flexibility and desired sound quality, with USB for simplicity and XLR for growth. |
| Gain staging prevents clipping | Gain staging optimizes signal levels during recording and mixing to prevent noise and clipping. |
| Acoustics determine performance | Room treatment and hardware choices determine how much detail and feedback are possible in recordings. |
| Essential recording equipment | Provide an audio interface with phantom power, pop filter, tripod and quality cables. |
Criteria for choosing recording equipment
The right equipment starts with understanding technical specifications and practical considerations. Gain staging prevents clipping and optimizes plugins by setting your signal levels correctly during recording and mixing. This is fundamental to any home studio setup, regardless of your experience.
Several factors come into play when selecting a microphone. USB microphones offer plug-and-play convenience, ideal for beginners who want to get started quickly without technical complexity. XLR microphones require an audio interface but deliver superior sound quality and more control over your recording chain. The choice depends on your ambitions and budget.

The acoustical characteristics of your recording room help determine which equipment performs optimally. A reverberant room requires different microphone characteristics than a well-damped office. Specifications such as signal-to-noise ratio (SNR) and maximum sound pressure level (SPL) provide insight into performance under different conditions.
Pro-tip: choose a microphone with at least 110 dB SPL if you are recording loud instruments such as drums or guitar amps in an untreated room.
When purchasing, pay attention to these essential criteria:
- Signal-to-noise ratio of at least 70 dB for clear recordings
- Dynamic range to match your sound sources
- Robustness and build quality for long-term use
- Compatibility with your existing or planned setup
For further depth in practical recording techniques, check out our home studio sound recording tips that will help you get the most out of your equipment.
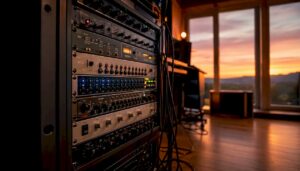
Major recording devices and their options
Essential recording equipment consists of several components that make up a complete chain. Dynamic microphones such as the Shure SM58 are rugged and suitable for live performances and loud sources. Condenser microphones offer greater detail and sensitivity, perfect for vocals and acoustic instruments in controlled environments.
USB microphones such as Rode NT-USB+ and Shure MV7+ score high on signal-to-noise ratio and ease of use. These models deliver professional results without complex setup, ideal for podcasters and singer-songwriters who want to get started right away.
XLR microphones with an audio interface offer more flexibility. You get access to preamps, phantom power for condenser microphones and the ability to record multiple channels simultaneously. This opens doors to more complex production work and group recording.
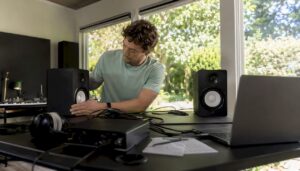
A complete setup requires more than just a microphone:
- Audio interface with at least one XLR input and phantom power
- Pop filter to reduce plosive sounds
- Microphone stand or boom arm for stable placement
- Good quality XLR cable for reliable signal transmission
- Closed headphones for monitoring without feedback
For specific home studio microphone recommendations that fit your situation, explore our comprehensive overview of product specifications and application areas.
Follow these steps to put together your setup:
- Determine your primary use: vocals, instruments or podcasting
- Choose between USB for simplicity or XLR for quality and growth
- Select a microphone within your budget with appropriate specifications
- Add essential accessories such as pop filter and tripod
- Invest in basic acoustic treatment for your recording room
Comparison and summary of microphones and sound interfaces
A direct comparison helps in making an informed choice. The table below shows key specifications of popular options for different levels and budgets.
| Model | Type | SNR | SPL | Cable | Price segment |
|---|---|---|---|---|---|
| Red NT-USB+ | Capacitor | 96 dB | 125 dB | USB-C | Medium |
| Shure MV7+ | Dynamic | 87 dB | 132 dB | USB/XLR | Medium-high |
| Audio-Technica AT2020 | Capacitor | 74 dB | 144 dB | XLR | Low-medium |
| Shure SM58 | Dynamic | N/A | 94 dB | XLR | Low |
| Focusrite Scarlett Solo | Interface | 111 dB | N/A | USB | Low-medium |
The contrasting views between USB microphones and XLR setups show that both approaches have their place. USB microphones excel in ease of use and are perfect for beginners who don’t want to build up technical knowledge before they start. XLR microphones with an interface offer professionals more control, better upgrade paths and superior sound quality.
Your choice depends on several factors. Beginners with a limited budget and simple recording needs will benefit from a quality USB microphone. Advanced users who want to grow or record multiple sources simultaneously are better off investing in an XLR microphone with a decent audio interface.
Acoustics play a crucial role in the final sound quality. Even the best microphone underperforms in a poorly treated room. Therefore, always combine your equipment selection with basic acoustic treatment for optimal results.
For a complete overview of home recording equipment including budget-friendly bundles, explore our comprehensive product categories with expert opinions.
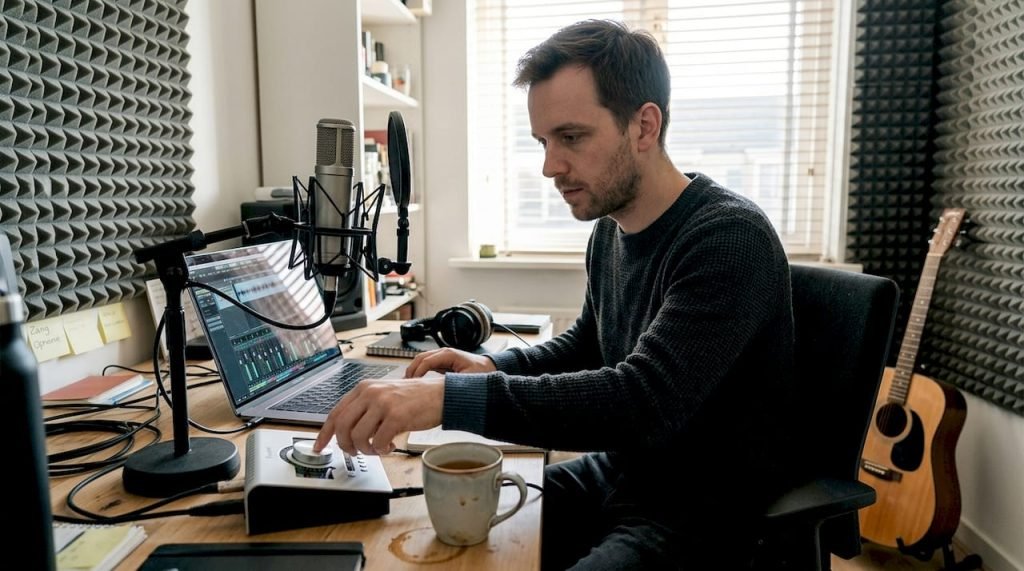
Practical tips for optimal recording and sound quality
Correctly applying gain staging during recording and mixing is fundamental. Gain staging ensures optimal headroom and prevents your signal from clipping during recording or processing. Set your input gain so that peaks stay between -12 and -6 dBFS, this gives plugins and effects enough room to work without distortion.
Acoustic treatment of your recording room dramatically improves sound quality. Absorption materials such as acoustic panels and bass traps reduce unwanted reflections and standing waves. Start with the corners of your room and the first reflection points on either side of your listening position.
Microphone placement affects your recording more than you think:
- Place condenser microphones 15-30 cm from the sound source
- Use the pop filter 5-10 cm away from the microphone
- Experiment with angles to find the sweet spot
- Avoid placement close to walls or corners for vocals
Pro-tip: invest in good acoustic treatment before upgrading to more expensive microphones, the impact on your sound quality is often greater and more cost-effective.
Monitoring and digital workflow also deserve attention. Use closed headphones during recording to avoid feedback. Organize your projects with clear naming and folder structure. Make regular backups of your recordings to external drives or cloud storage.
“The best recording comes from a combination of decent equipment, good acoustics and correctly applied techniques. No expensive microphone compensates for a poorly treated room.”
For in-depth advice on studio acoustics improvement and practical home studio setup tips, explore our knowledge base of step-by-step tutorials.
Discover complete studio sets and equipment at i4studio
Are you ready to take your home studio to the next level? i4studio offers complete studio set and recording bundle solutions that perfectly match the criteria and tips in this article. Whether you’re a beginner or professional, our assembled sets include all the essential components to get started right away.

Our specialists will help you purchase studio equipment that fits your ambitions and budget. From USB microphones for podcasters to complete XLR setups for music producers, we offer personalized advice based on years of expertise in studio equipment and acoustics. Find out exactly what do I need for a home recording studio with our practical guides and ready-to-use bundles.
Frequently Asked Questions
What is gain staging and why is it important?
Gain staging is the process of optimizing signal levels throughout your recording chain, from microphone to final mix. It prevents clipping and distortion while creating sufficient headroom for plug-ins and dynamic processing. Correctly applied gain staging results in clear, professional recordings with minimal noise.
What is the difference between USB and XLR microphones?
USB microphones include a built-in audio interface and connect directly to your computer, ideal for beginners and simple recording setups. XLR microphones require a separate audio interface but offer superior sound quality, more control over preamps and the ability to expand your setup. Professionals typically choose XLR because of its flexibility and upgrade options.
How do I improve the acoustics of my home studio?
Start with absorption materials such as acoustic panels at initial reflection points and bass traps in the corners of your room. Strategically place furniture and bookcases to break up sound waves and create diffusion. Provide a quiet, well-insulated recording environment free of background noise. For optimal results, consider professional acoustics modules specifically designed for studio acoustics improvement.
Which microphone is best for vocals in a home studio?
For vocals in a home studio, large-diaphragm condenser microphones such as the Audio-Technica AT2020 or Rode NT1-A are excellent choices. They capture detail and nuance essential for professional vocal recordings. Be sure to provide adequate acoustic treatment, though, as condenser microphones are sensitive to room reflections and background noise.
Do I need an expensive audio interface for good recordings?
No, entry-level models like the Focusrite Scarlett Solo or Behringer U-Phoria UM2 deliver excellent results for home studios. More important than price are specifications such as low latency, decent preamps and a signal-to-noise ratio above 100 dB. Rather invest your budget in a good microphone and acoustic treatment, upgrade to a more expensive interface later as your needs grow.
Recommendation
- Recording Equipment For Home: Complete Guide For The Home Studio – https://i4studio.nl/
- What do I need for a home recording studio? i4studio.co.uk
- Home Studio Sound Recording Tips: From Space to Mix – https://i4studio.nl/
- Home Studio Setup Tips: Complete Guide To A Professional Studio At Home – https://i4studio.nl/