Briefly:
- A home studio checklist helps you systematically purchase essential equipment for professional-quality sound at home.
- The basics consist of a computer, an audio interface, a microphone, headphones, and a DAW, followed by acoustic treatment and monitors.
A home studio checklist is an overview of all the equipment and setup elements you need to record and produce professional-quality audio at home. Without such a checklist, you’re likely to buy the wrong things too quickly—and in the wrong order. The basic equipment for a home studio consists of a computer, an audio interface, a microphone, headphones, and a DAW. Add acoustic treatment and good monitors to that, and you’ll have a fully functional studio. This guide provides a step-by-step plan for setting up a home studio, from your first purchase to a fully equipped workspace.
1. What equipment should be on your home studio checklist?
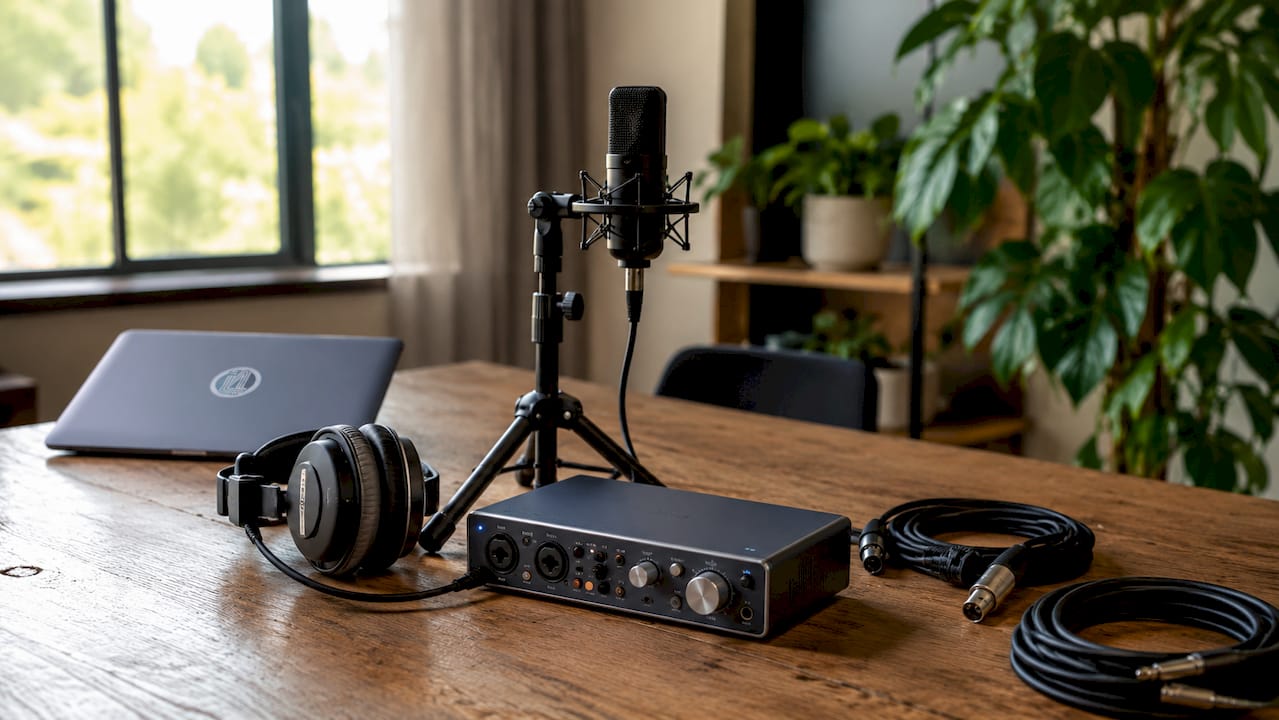
The absolute essentials of any home studio consist of five components: a computer, an audio interface, a microphone, headphones, and a DAW (Digital Audio Workstation). Without any one of these five, you can’t record or produce music. Everything else is an add-on.
Computer and DAW
The computer is the central hub of your studio. A fast processor and sufficient RAM (at least 16 GB) ensure that your DAW runs smoothly even on complex projects. Popular DAW choices include Ableton Live, Logic Pro, Reaper, and FL Studio. Reaper has a low entry price and is suitable for both beginners and advanced users.
audio interface
The audio interface converts the analog signal from your microphone or instrument into digital audio that your computer can process. The signal path runs from the microphone through an XLR cable to the interface, then via A/D conversion to your computer, through the DAW, and back via D/A conversion to your monitors or headphones. This diagram can also help you troubleshoot audio issues.
Microphones and Accessories
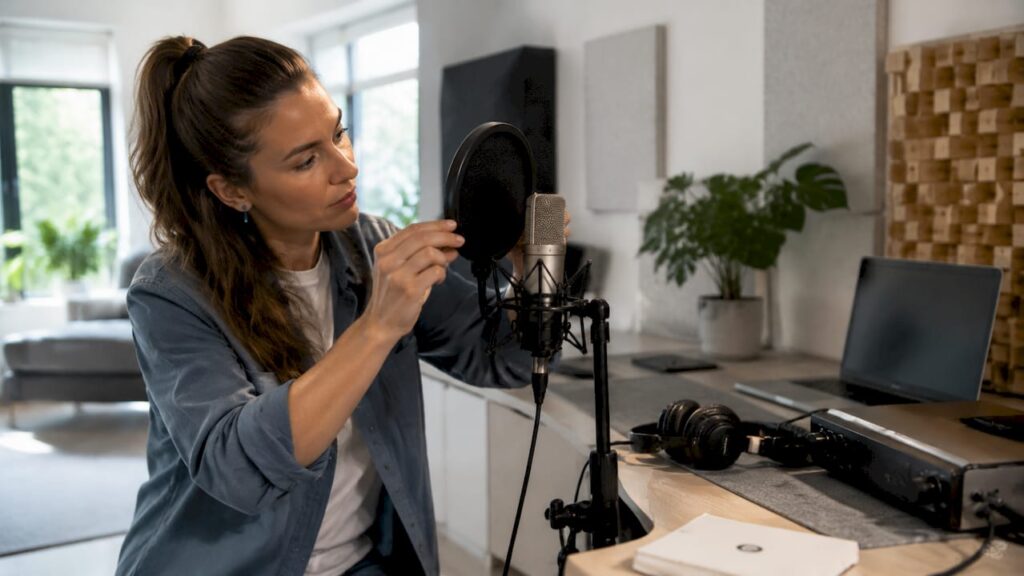
A condenser microphone is the standard choice for vocals and acoustic instruments. Always buy a pop filter and a microphone stand to go with it. Without a pop filter, you’ll hear annoying plosive sounds when pronouncing letters like “p” and “b.”
Headphones: closed-back and open-back
Closed-back headphones block out sound during recording so that the signal doesn’t leak into the microphone. Open-back headphones provide a wider stereo image and are better suited for mixing. Combining the two gives you the most flexibility.
Studio Monitors
Monitors are speakers designed to deliver a flat frequency response. They let you hear how your mix actually sounds, without the coloration added by consumer speakers.
Cables and Connections
Buy XLR cables for microphones, TRS cables for monitors, and a good cable organizer. Cheap cables are the most underestimated cause of noise problems.
Pro-tip: Check out secondhand marketplaces for audio interfaces and microphones from well-known brands. You can save up to half the retail price without compromising on quality.
2. How to Optimize the Acoustics of Your Home Studio
Acoustic treatment is the most underrated investment in a home studio. Acoustic treatment is more important than an expensive microphone or audio interface. Bass traps in the corners and absorption panels at the first reflection points can significantly reduce coloration in your sound.
Soundproofing vs. Acoustic Treatment
These are two different things. Soundproofing keeps sound out of or inside a room. Acoustic treatment improves the sound inside the room. For most home studios, acoustic treatment is the priority, not soundproofing.
Where do you start?
- The first reflection points on the side walls between the monitors and the listening position are the most effective locations for absorption panels.
- Bass traps placed in the corners of the room tackle low frequencies that would otherwise build up and muddy your mix.
- Treating the rear wall with a combination of absorption and diffusion prevents flutter echo.
Inexpensive Alternatives
Soft furnishings such as beds, clothing racks, and bookshelves already provide noticeable natural sound absorption. Use them as a starting point before investing in professional panels.
Monitor placement
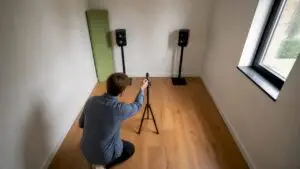
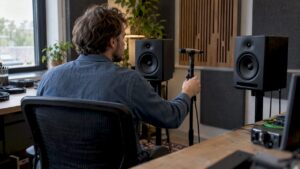
Place studio monitors in an equilateral triangle: the distance between the two monitors should be equal to the distance from each monitor to your ears. The tweeters should be at ear level. Keep a minimum distance of 30 cm from the back wall to minimize bass buildup.
Pro-tip: Download Room EQ Wizard (REW), a free measurement program. Measure the acoustics of your room before you buy panels. That way, you’ll know exactly where the problems are and won’t waste money on the wrong spots.
3. Efficient Workflow and Ergonomics in Your Home Studio
A good workspace boosts your productivity and helps prevent physical discomfort. Your home studio setup determines not only how you sound, but also how long you can work comfortably.
Recording Location and Mixing Position
If space allows, separate your recording position from your mixing position. At the mixing position, sit directly in front of your monitors, at an equal distance from both. The recording position should have a microphone on a stand and is preferably located in a corner of the room with sound absorption behind you.
Cable Management
Cable clutter wastes time and causes malfunctions. Use cable trays, Velcro, and labels on each cable. Write on each label what the cable connects, for example, “interface to left monitor.” This may sound like overkill until you have to troubleshoot a problem at 11:00 p.m.
Ergonomics
Your desk should be at a height where your elbows form a 90-degree angle. Your monitors should be at ear level—not on the desk itself, but on monitor stands or risers. A good studio office chair with back support isn’t a luxury—it’s a necessity during long sessions.
Calibration and Monitoring
Use a monitor controller to centrally adjust the volume of your monitors without changing the settings in your DAW. Calibrate your listening volume to a fixed reference level so that your mixes sound consistent on other systems.
Hybrid Workflows
Connect analog hardware, such as a compressor or EQ, to your digital DAW via the audio interface. Make sure your signal chain is documented so you can quickly find the right settings for each session.
4. Budgeting and Making Smart Choices When Setting Up Your Home Studio
You can put together a basic home studio for €300 to €500. That budget covers an audio interface, a microphone, headphones, and a DAW license. A professional setup costs €1,500 to €3,000, plus €300 to €800 for acoustic treatment.
| Cost Item | Starter Budget | Professional |
|---|---|---|
| Audio interface | €80 to €150 | €300 to €600 |
| Microphone | €60 to €120 | €200 to €500 |
| Headphones | €50 to €100 | €150 to €300 |
| DAW License | Free up to €60 | €200 to €600 |
| Acoustic Treatment | €50 to €100 | €300 to €800 |
Where do you cut back?
Save money on cables by buying brand-name cables instead of the cheapest option, but don’t go for the most expensive ones. Save money on furniture by buying secondhand. Use free DAW options like GarageBand or the free version of Reaper during the trial period.
What do you invest in?
Invest in your audio interface. A poor-quality interface introduces noise into every recording, no matter how expensive your microphone is. Also invest in acoustic treatment. A room with poor acoustics renders an expensive microphone useless.
Starter setups can deliver professional-quality results if you set the right priorities: interface, microphone, headphones, DAW, and acoustics—in that order.
Pro-tip: Start with recording equipment and scale up based on your actual needs. First, buy a computer and headphones; then add an audio interface and a microphone; and only after that should you invest in monitors and acoustic panels.
5. Setting Up Your Home Studio Step by Step
The best way to set up a home studio is in phases. Each phase adds a tangible improvement without requiring you to buy everything at once.
Phase 1: The Digital Foundation
Start with a computer and a DAW. Use your computer’s built-in sound card for now. Get familiar with the software before adding hardware.
Phase 2: Add a track
Add an audio interface and a microphone. This is when you’ll record high-quality audio for the first time. Use closed-back headphones for monitoring during recording.
Phase 3: Improving Monitoring
Add studio monitors and treat the primary reflection points in your room. This is the step that makes the biggest difference in the quality of your mixes.
Phase 4: Refinement
Add bass traps, calibrate your listening environment, and consider using a monitoring controller to make your work more comfortable. Also, see if improving your studio’s acoustics with professional panels would be beneficial for your space.
Phase 5: Expansion
Add MIDI controllers, additional microphones, or hardware effects based on your specific production needs. Buy only what will actually improve your workflow.
6. Common Mistakes When Setting Up a Home Studio
Many musicians make the same mistakes when setting up their first studio. You can avoid them if you know what they are in advance.
Buying too much too soon
The most common mistake is buying expensive equipment before you know what your workflow requires. An expensive microphone in an untreated room sounds worse than a cheaper microphone in a well-treated room.
Ignore Acoustics
Acoustic treatment is often added last, when it should actually be the first step. An untreated room introduces resonances and echoes that make your mixes unusable on other playback systems.
Incorrect monitor placement
Monitors that are placed too close to the wall or not at ear level will give you a distorted view of your mix. Follow the standard geometric setup: an equilateral triangle, with the tweeters at ear level and at least 30 cm from the back wall.
Defective cables
Cheap cables are the silent saboteurs of your studio. They introduce noise, cut out in the middle of a session, and are difficult to pinpoint as the source of problems. Buy cables from well-known brands and store them neatly coiled.
No reference level
Mixing at varying volumes leads to inconsistent results. Set a fixed reference level and always use it. This will train your ears and help you make better decisions when mixing.
Key insights
A functional home studio requires the right order of investment: first, an interface and a microphone; then, monitors and room acoustics; and only after that, expansion with additional hardware or software.
| Item | Details |
|---|---|
| Start with the basics | Start with an interface, microphone, headphones, and DAW before you buy monitors. |
| Room Acoustics vs. Equipment | An acoustically treated room improves your sound more than an expensive microphone. |
| Monitor placement is standard | Equilateral triangle, tweeters at ear level, at least 30 cm from the wall. |
| Budget starter kits: €300 to €500 | This covers all the basic equipment needed for a functional home studio. |
| Phase in your purchases | Buy based on actual workflow needs, not on wish lists. |
What I’ve Learned After Years of Building a Home Studio
The biggest pitfall I see among musicians setting up their first studio is the tendency to start with the most fun part instead of the most essential one. A nice microphone on a stand in an untreated bedroom sounds like a recording made in a bathroom. That’s no exaggeration.
What really works is starting with the space—not the equipment. I’ve seen studios with equipment worth thousands of euros that sounded like a garage band, and studios with a modest setup that produced professional results. The difference was always in the acoustics.
My second piece of advice: document everything. Write down what settings you use, which cables go where, and what monitor volumes you use as a reference. You think you’ll remember it. You won’t. After three months, you’ll be glad you took those notes.
Finally: build in phases. A studio is never “finished.” Each phase gives you new insights into what you’ll need next. If you accept that, you’ll make better choices and waste less money. Check out I4studio’s tips for setting up a home studio if you want a specific step-by-step guide tailored to your situation.
– harold
I4studio helps you get the right studio gear
Now you know what to include on your home studio checklist. The next step is to find the right products that fit your budget and workflow.

I4studio specializes in studio gear, custom-built studio PCs, and acoustic solutions for home studios. Whether you’re just getting started or want to improve your existing setup, our guide to studio gear for beginners provides a concrete starting point with products selected for their quality and value for money. For those looking to improve their listening environment, I4studio also offers a wide range of acoustic panels and diffusers that have a direct impact on your mix quality.
Frequently Asked Questions
How much does a basic home studio cost?
A basic, functional home studio costs €300 to €500, including an audio interface, microphone, headphones, and DAW license. A professional setup costs €1,500 to €3,000, plus additional costs for acoustic treatment.
What is the difference between soundproofing and acoustic treatment?
Soundproofing keeps sound out of or inside a room. Acoustic treatment improves the sound inside the room by reducing reflections and resonances. For home studios, acoustic treatment is the priority.
What kind of headphones do I need for my home studio?
You’ll need two types: closed-back headphones for recording, so the sound doesn’t leak into the microphone, and open-back headphones for mixing, because they provide a more accurate stereo image.
How do I set up my studio monitors correctly?
Place the monitors in an equilateral triangle with your listening position, with the tweeters at ear level and at least 30 cm away from the back wall. This provides the most neutral reproduction of your mix.
Should I buy equipment or acoustics first?
Start by purchasing the basic equipment: an interface, a microphone, and headphones. Then add acoustic treatment before investing in expensive monitors or additional hardware. Acoustic treatment has a greater impact on your final result than any piece of equipment.