Record your hardware synth by connecting the main line-out to a line-in on your audio interface, or route the signal directly via USB audio. Then make a conscious decision: will you record through your DAW or through a standalone recorder? And will you record with effects applied right away, or record dry for more flexibility later?
- Synth main out → line input of your interface (or via USB audio for synths with a built-in sound card)
- MIDI runs separately, via a MIDI interface or USB-MIDI
- Always set the input to LINE, never to instrument or microphone
- Maintain headroom and choose between mono and stereo
Key insights
A clean hardware synth recording requires proper LINE input routing, careful gain staging with headroom, and a “dry-first” approach for maximum flexibility in the mix.
| Item | Details |
|---|---|
| Check the routing first | Main out to line input; always set the input to LINE, not instrument or mic. |
| Monitoring Headroom | Aim for peaks well below the maximum, especially in a 24-bit workflow. |
| Record dry by default | Only print onboard effects if they are essential to the character of the patch. |
| Avoid Double Monitoring | Mute your driver output or use direct monitoring to prevent echo artifacts. |
| Reliable hardware as a foundation | A custom-built studio PC from I4studio prevents dropouts and latency issues during recording. |
Table of contents
- What hardware do you need to record a synth?
- How do you properly connect a synth for recording?
- What is the step-by-step process for recording in your DAW?
- Can you record a synth without a DAW?
- What are safe recording levels for a hardware synth?
- Should you record in mono or stereo, and should you include effects in the recording?
- What mistakes do producers often make when recording a synth?
- I4studio’s Practical Checklist for a Smooth Recording Session
- Sources
- Frequently Asked Questions
What hardware do you need to record a synth?
Before you record even a single note, check that your gear is correct. A wrong cable or incorrect input setting is the most common reason why beginners get a thin or distorted recording.
- An audio interface with true line inputs and stable ASIO drivers (essential for low latency on Windows)
- TRS or XLR cables for a balanced signal; TS cables work, but are more susceptible to interference over longer distances
- A MIDI interface or USB-MIDI cable if you want to control the synth from your DAW
- A portable recorder, such as a Zoom or Tascam model, as an alternative to using a computer
- Headphones or studio monitors for monitoring during recording, and high-quality cables to prevent noise
Not sure about the role of your interface in this setup? Read more about the role of an audio interface in your studio before continuing.
How do you connect a synth correctly for recording?
Most routing errors occur at the input setting, not with the cable itself. Follow these steps:
- Connect the main outputs of your synth to a line input on your interface, and make sure to set that input explicitly to LINE—not to instrument or microphone.
- Whenever possible, use balanced TRS or XLR cables: they suppress hum much better than unbalanced TS cables, especially with longer cable runs, as Violet Recording points out.
- Does your synth have built-in USB audio? In that case, a direct USB connection to your computer may sometimes suffice, but if you have multiple outputs or want to preserve that analog warmth, routing through your interface is often more stable.
- For MIDI, you can set whether the synth has local control enabled or disabled, and adjust the clock and sync settings so that multiple devices run in sync.
Do you use Ableton Live? If so, you can create a separate External Instrument instance or individual audio track for each hardware output, as Ableton itself documents.
Pro tip: Always test with a short note or drone first before recording the full take. That way, you’ll immediately hear if there’s any hum, noise, or an incorrect input route creeping into the signal.
What is the step-by-step process for recording in your DAW?
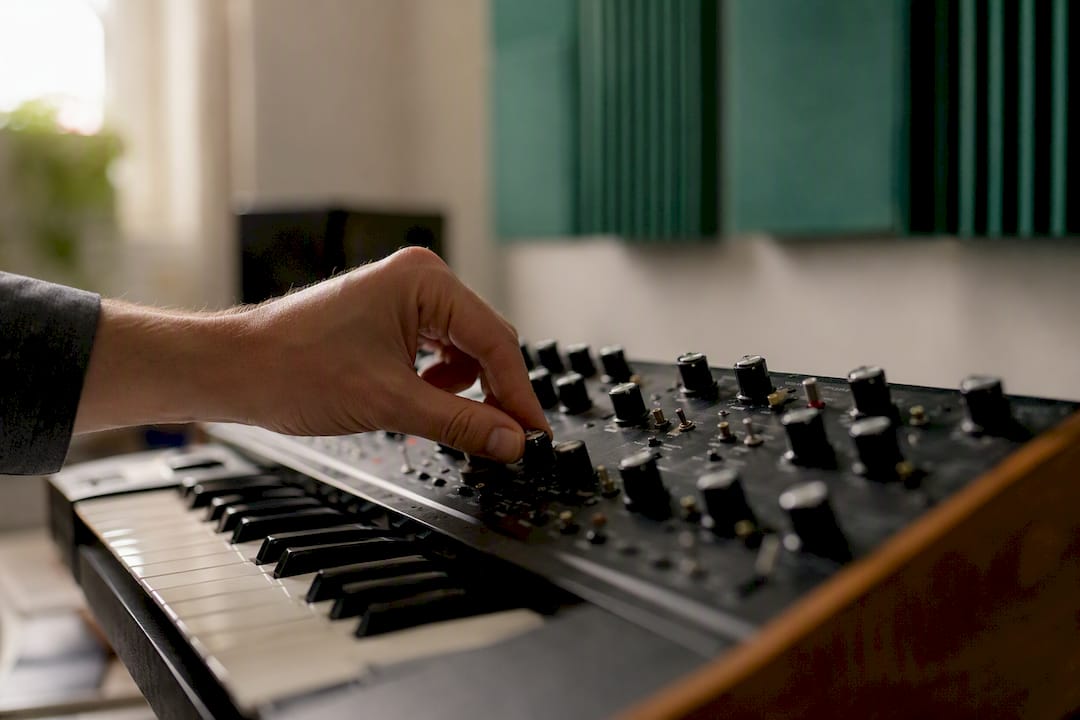
Once the routing is set up correctly, it’s all about having a repeatable workflow. This prevents you from having to figure out how it all works all over again every session.
- Configure the correct input in your DAW and set the track to record mode (arm).
- Choose between direct monitoring through your interface or software monitoring with ASIO delay compensation, depending on how much latency you hear.
- Set the gain based on the loudest part of your patch and leave plenty of headroom.
- Record pre-FX whenever possible: this gives you much more freedom in the mix later on than a signal with effects already baked in, as Ableton confirms in their documentation.
- When recording multiple takes, use comping and a click track or fixed tempo reference to keep everything in sync.
Want to fine-tune your driver settings? The instructions in Step-by-Step Guide to Connecting an Audio Interface This follows directly from that.
Can you record a synth without a DAW?
Yes, and for many producers, this is actually the faster way to go. A portable recorder works just fine when you’re recording a single synth without having to deal with drivers or routing.
- A single Zoom or Tascam recorder is enough for a simple, live-recorded patch or jam
- Multitrack hardware recorders are better suited for live setups with multiple synths or a full band
- Afterward, you simply import the files into your DAW, where you sync them based on a shared tempo reference or waveform matching
This DAW-free approach is also explained in practical terms in Thomann’s article on recording without a DAW, with concrete examples of when this works.
What are healthy recording levels for a hardware synth?
A recording that comes in too quiet will sound thin and noisy once you amplify it later. A recording that comes in too loud will clip and be irreparably damaged.
- Set the interface input to LINE and check both the output of your synth and the input of your interface for clipping
- Aim for clear peaks that stay well below the maximum; with a 24-bit workflow, you have much more headroom than with 16-bit, so you don’t need to push the signal right to the limit
- First, record a short segment of silence and a long sustained note as a noise reference, so that later in the mix you’ll know what’s background noise and what’s signal
A healthy peak is somewhere in the middle of the meter, not right at the maximum. That’s exactly the advice that comes across in Violet Recording’s explanation of gain staging: it’s better to run it a little too soft with headroom than too loud with the risk of clipping. Not sure how this works in your own session? The guide to gain staging in your DAW shows you step by step.
Do you record in mono or stereo, and do you record your effects along with the track?
These two decisions largely determine how much freedom you’ll have later in the mix.
- Record in mono for monophonic synths or patches with a single output
- Choose stereo as soon as your synth has stereo outputs or if the onboard effects already add stereo widening
- In most cases, record dry and add reverb or delay in your DAW; this gives you much more control later on
- Only send onboard effects to the output if they truly define the character of the patch, such as a specific filter drive
A middle ground often works best: record movements such as LFO or filter modulation, but keep the reverb and delay dry. This way, you preserve the character of the patch without locking in the spatial effects. This approach aligns with the advice to give keyboard recordings a pro-studio sound by consciously choosing what to record and what to add later.
Pro tip: Not sure if an effect is essential? Record it both dry and with the effect on two separate tracks. That way, you can decide later, with a fresh pair of ears, which one works best.
What mistakes do producers often make when recording a synth?
Most problems with hardware synth recordings can be traced back to a handful of patterns that are easy to avoid.
- Echo or chorus-like distortion: This is often caused by dual monitoring, where both your driver and your DAW are outputting the signal. Mute the output in your control panel or switch to direct monitoring.
- A thinner sound than expected: Check to see if you accidentally recorded a stereo signal as mono, or vice versa. Incorrect channel summing is a common cause.
- Buzz or hum: Replace unbalanced cables with balanced TRS or XLR cables, and keep power adapters away from signal cables.
These issues also come up regularly in forum discussions such as who post on Synthforum about recording hardware synths in FL Studio, where users often describe the same dual-monitoring pitfall.
I4studio’s Practical Checklist for a Hassle-Free Recording Session
Before you start a session, it’s best to go through a set checklist. That will save you hours of searching later on.
- Are all the cables correct: TRS/XLR where possible, no loose connections?
- Is each input channel set to LINE and not to instrument or mic?
- Have you recorded a silence and sustain clip as a noise reference?
- Have you noted down your patch settings, including the preset name and knob positions, so you can figure out later how a particular sound was created? For a professional online presentation of your studio, check out Adworth’s recording studio website.
- Check your routing from the synth to the interface
- Set the gain to the loudest passage
- Record a short test phrase and play it back through your monitors
Is your recording stuttering or do you hear a persistent glitch, even though the routing is correct? If so, the problem is often with your computer itself. An unstable processor or insufficient RAM causes exactly this kind of DAW issue. In that case, check out which studio PC recommendations suit your workload.
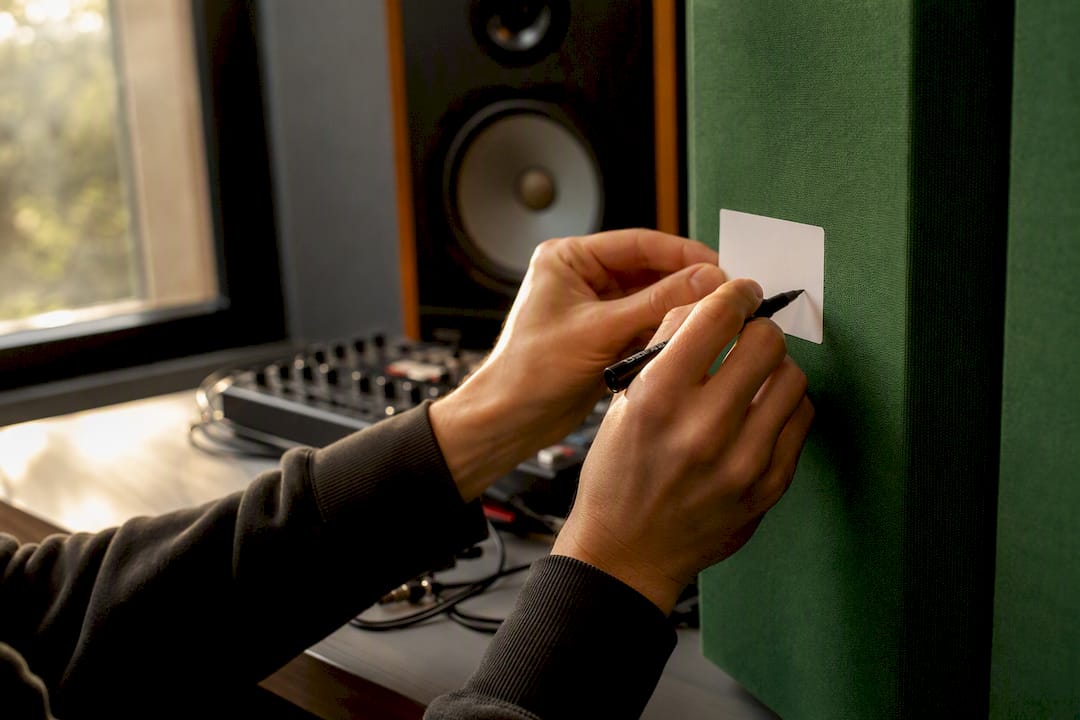
Pro tip: Label each take right away with the synthesizer, preset name, and date. Otherwise, if you have a session with ten patches, you’ll completely lose track of the names after a week.
Why “dry-first” Prevents Most Recording Problems
The common belief is that you should include onboard effects right away to preserve “character.” In practice, the opposite works better: recording dry doesn’t compromise sound quality and gives you plenty of room to make corrections later. The only trade-off is time, since you’ll have to add effects yourself later. For those who record regularly, that’s a small price to pay for the control it provides. My advice: build a consistent, verifiable check into your workflow, and don’t rely on memory or intuition when setting levels.
– harold
How I4studio Helps You Achieve a More Stable Recording Setup
Proper routing and gain staging solve a lot of problems, but not all of them. If your DAW stutters at higher buffer sizes or your recordings suffer from dropouts, the problem often lies with your computer or the acoustics of your room, not your cables.

I4studio provides custom-built studio PCs specifically configured for stable recording and monitoring tasks, with drivers and components optimized for low latency. Check out the studio PC examples with configurations for 2026 to see which setup fits your workflow. Do you also notice that your recordings suffer from reverberation or reflections in your space? In that case, an acoustic panel is often more effective than tinkering with your interface settings again. Want to know which PC configuration is right for your productions? Request advice via the studio PC page and start your next session without technical noise.
Sources
Frequently Asked Questions
What software can I use to record music?
Any modern DAW, such as Ableton Live, Cubase, or Reaper, can record a hardware synth as long as your audio interface has the correct drivers installed. For a DAW-free approach, a portable recorder will also suffice.
What equipment do I need to record music?
At a minimum, you’ll need an audio interface with line inputs, balanced cables, and possibly a MIDI interface. A stable computer with sufficient processing power prevents dropouts during recording.
How can I record music myself?
Connect your synth’s main out to a line input on your interface, set the input to LINE, adjust the gain to match the loudest passage, and preferably record dry for maximum flexibility in post-production.
What’s the difference between a keyboard and a synthesizer?
A keyboard is often a more versatile instrument with samples and accompaniment features, while a synthesizer generates sound using oscillators, filters, and modulation. When recording, this mainly affects how you handle mono or stereo outputs and effects.
Why does my recorded synth sound thinner than it does live?
This is usually due to an incorrect mono/stereo setting or gain that’s too low without enough headroom. Check the routing and set the input back to LINE with a healthy signal level.