Yes, room correction software is useful, but only under the right conditions. If you have a reasonable listening position and measure correctly, the software will bring out noticeably more detail and balance in your monitoring. If your room is full of deep frequency dips due to poor acoustics, no algorithm can solve that problem.
The order is simple: first, physical treatment; then, software as the final step. Acoustic panels and strategic monitor placement solve the biggest problems. Room correction tools such as Dirac Live or REW then handle the fine-tuning.
Three factors determine whether software will work for you:
- Measurement quality — an incorrectly calibrated microphone produces a correction that doesn’t correct anything.
- Time-domain correction — software that also addresses the impulse response, not just the frequency, sounds noticeably more natural.
- Realistic expectations — software improves your listening position; it does not replace acoustic treatment.
Key insights
Room correction software works best as a supplement to physical acoustic treatment, not as a replacement for it.
| Item | Details |
|---|---|
| First physical, then digital | Address the initial considerations and basic structure using panels before implementing software. |
| Measurement quality is crucial | Use a calibrated microphone and take measurements at multiple positions around your listening spot. |
| The time domain matters | Choose software that also corrects impulse response and phase, not just frequency. |
| Deep nulls require physical work | Software cannot safely fill gaps in the response without resonance damping or absorption. |
| I4studio as the contractor | I4studio provides acoustic panels, measurement consulting, and custom PCs that lay the foundation for effective software correction. |
Table of contents
- What exactly does room correction software do?
- When does correction software help, and when doesn’t it?
- FIR, IIR, and phase: the technical choices you can hear
- How to measure and install correction software step by step
- What types of tools are available, and when should you choose which one?
- How to choose the right room correction software for your setup
- Checklist for Accurate Measurement and Correction
- What I see at studios that are starting to use correction software
- How I4studio helps you take the next step
- Sources
- Frequently Asked Questions
What exactly does room correction software do?
Room correction software measures how your space distorts sound and calculates a digital filter that compensates for that distortion. The process consists of four steps.
- Measurement: A measurement microphone records the frequency and impulse responses at one or more positions.
- Analysis: The software compares the actual input with the expected input and identifies both pitch differences and time delays.
- Generate filter: Based on that analysis, a corrective filter is created, typically as an FIR, IIR, or convolution filter.
- Application: That filter runs as a plugin in your DAW, as hardware DSP, or via a convolution host.
The difference between the frequency domain and the time domain is at the heart of effective correction. Frequency correction only considers volume relative to pitch: too much bass, not enough treble. Time-domain correction also considers when sound waves arrive, revealing resonances and phase distortion that a standard EQ cannot detect. Dirac Live uses exactly this approach: it corrects both frequency and impulse response simultaneously, with optional add-ons for subwoofer integration.
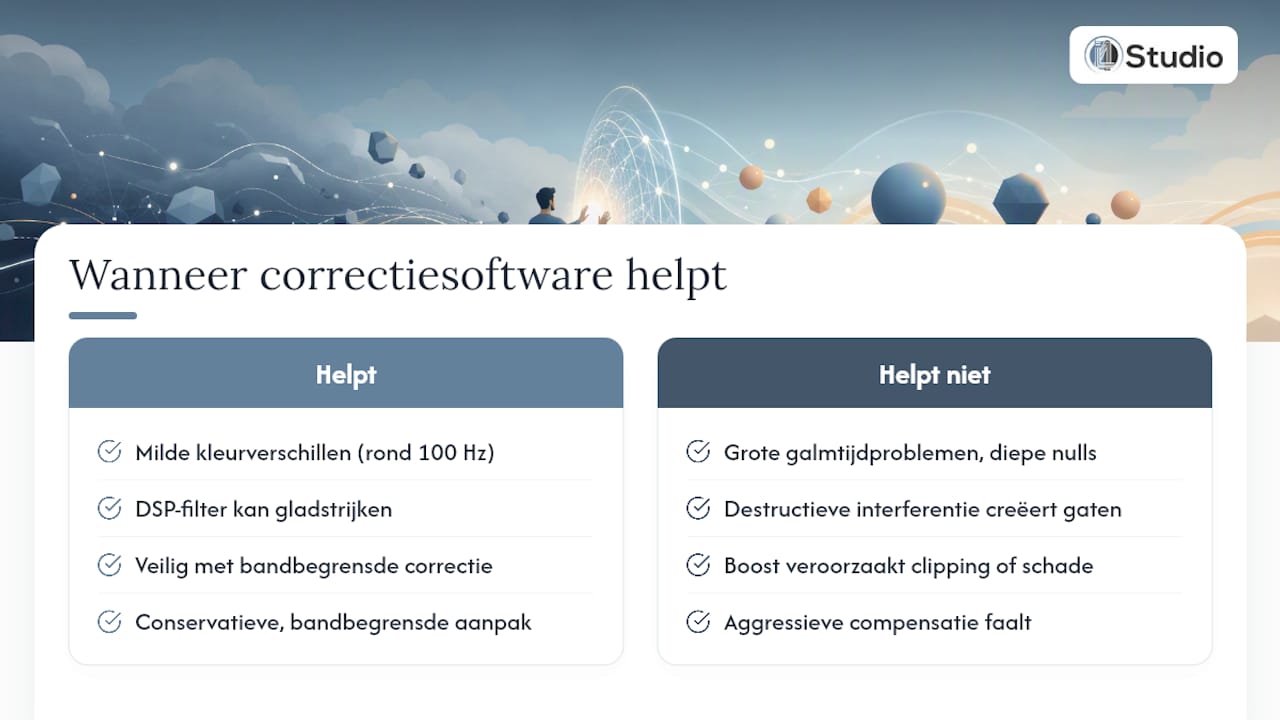
When is correction software helpful, and when isn’t it?
Software works well with subtle color differences: a slight peak around 100 hertz, seat-to-seat variation between two listening positions, or a mid-high range that’s just a bit too bright. These are issues that a DSP filter can smooth out nicely.
When dealing with significant reverberation time issues or deep nulls—areas where certain frequencies are almost completely eliminated due to destructive interference—software falls short. Research by Room EQ Wizard shows that these nulls cannot be safely filled with digital boost. You would have to significantly increase your amplifier’s output to fill a gap that wouldn’t have existed physically with the proper absorption.
Overcorrection is the greatest risk. Software that aggressively attempts to compensate for deep nulls can cause clipping or put unnecessary strain on speakers. DecayCore therefore deliberately opts for conservative, band-limited correction rather than “flattening at all costs.”
Pro tip: Start by measuring without any preconceived notions. An inaccurate measurement will result in a correction that exacerbates your problem rather than solving it, even if the software itself works perfectly.
FIR, IIR, and Phase: The Technical Choices You Can Hear
Not every corrective filter works the same way, and that difference is audible, especially in a studio where the stereo image and transients require precision.
- FIR (finite impulse response) can maintain linear phase, which means that all frequencies arrive simultaneously. That’s exactly what you want for tight transients and a realistic stereo image.
- IIR (infinite impulse response) is computationally more efficient and is often used for bass correction, where phase behavior is less critical than in the midrange and treble.
- Hybrid, phase-aware systems combine both: FIR for timing and imaging, and IIR for efficient bass correction. According to an overview of room correction techniques, this is often the most practical choice for real-time monitoring.
For a home studio where you mainly mix using two monitors, a good hybrid solution is usually sufficient. In a control room with multiple subwoofers and more complex acoustics, it’s worth looking into systems with specific subwoofer integration, such as the Bass Control add-on from Dirac Live.
Pro tip: With every tool, ask yourself whether it corrects phase or just amplitude. Two systems can have the same frequency response and still sound completely different.
Pure frequency-based correction remains useful for quick checks, but lacks the subtlety that time-domain correction offers during critical listening.
Here’s how to measure and install correction software step by step
A good measurement starts before you open the software.
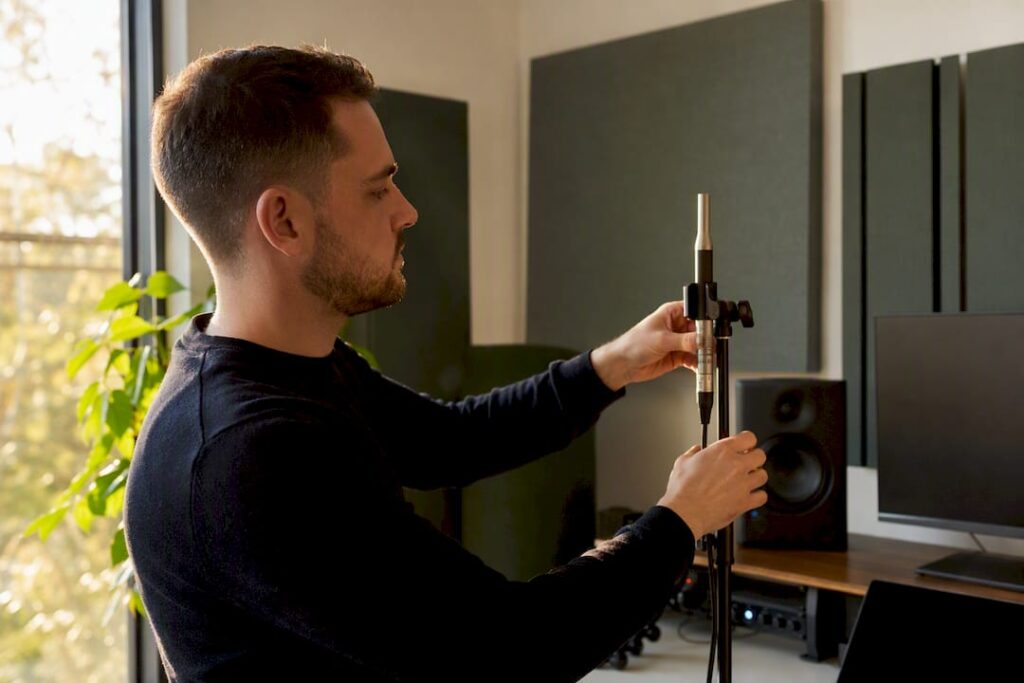
- Position your monitors correctly. The starting point is to form an isosceles triangle with your listening position; our guide to studio monitor placement shows you exactly how to determine that.
- Address the biggest problems physically. First, ensure that reflection points and corners benefit from absorption before you begin measuring.
- Calibrate your measurement microphone. Use the included calibration file or a certified omnidirectional microphone, such as the one included with the IK Multimedia ARC X.
- Take measurements at multiple locations. A single measurement at your listening position isn’t enough: take measurements just to the left, right, in front of, and behind that position.
- Generate the filter. Choose FIR for phase correction, IIR for efficient low-pass correction, or a hybrid option, depending on your goal.
- Implement the filter— as a DAW plugin, via hardware DSP, or as a convolution within your host.
- Validate using an A/B comparison. Turn the correction on and off during the same piece of music, and pay attention to the stereo image, bass, and speech intelligibility.
As for the measurement workflow itself: an incorrectly placed microphone or a missing calibration file undermines the reliability of the entire correction, as a practical guide to Dirac Live measurement also emphasizes. Our workflow for microphone placement goes into greater detail regarding consistent measurement positions.
Pro tip: Always save your “before” measurement. Without a reference, you won’t be able to assess afterward whether the correction actually solved the problem.
What kinds of tools are there, and when should you choose which one?
There are roughly four categories of tools, each with a different purpose.
- Commercial room correction suites combine time-domain and frequency-domain correction into a single package with a user-friendly interface. Dirac Live is the most comprehensive example of this, offering support for multichannel setups.
- Measurement and analysis tools such as REW are free and are considered the gold standard for acoustic analysis. They take measurements but do not generate a ready-made correction filter on their own; you export the data to a DSP solution.
- Free FIR generators like DecayCore create convolution-ready WAV files based on your measurement data, with a choice of linear-phase, minimum-phase, or mixed-phase FIR.
- Studio-specific suites that come with a microphone, such as the IK Multimedia ARC X, offer a fast measurement process and virtual monitoring so you can hear how your mix sounds on other speakers.
A typical workflow combines these categories: you measure with REW, analyze the results, and then apply a filter using a commercial suite or a self-generated FIR file. If you want to correct multiple channels for home theater or surround monitoring, a more compact tool usually isn’t enough; in that case, a full-featured suite is preferable. For quick stereo checks in a project studio, a lightweight, fast tool is often sufficient.
How to Choose the Right Room Correction Software for Your Setup
The choice depends on five specific criteria.
- Correction type: Do you want only frequency correction, or also time-domain and phase correction?
- Filter export: Does the tool support FIR, IIR, or convolution files that you can use elsewhere?
- Measurement workflow: Is a calibrated microphone included, or do you need to purchase one separately?
- Integration: Does the correction run as a plugin in your DAW, or does it require external hardware DSP?
- Cost and CPU load: License costs vary widely, and time-domain correction requires more processing power than simple EQ.
Free tools like REW and DecayCore are ideal if you want to tinker on your own and don’t have the budget for a license. Commercial packages with a graphical interface and support are more valuable if you want to save time or are working with more complex multichannel setups.
A simple decision-making process: first, determine your goal (critical listening versus mixing); then, check what hardware you already have; see what integration your workflow requires; and only then set your budget.
Checklist for Reliable Measurement and Correction
Before you purchase or set up software, review these points.
- Use a calibrated measurement microphone with the correct calibration file.
- Take measurements at at least three to five locations around your listening position.
- Physically treat the first reflection points before taking measurements.
- Always compare your results with a validation measurement after correction.
I4studio provides custom-built studio PCs with sufficient processing power for real-time FIR correction, acoustic panels to create the physical foundation, and advice on monitor placement. Are you unsure whether your space is ready for correction software, or are you having trouble interpreting your measurements? In that case, on-site consultation is often faster than continuing to test on your own. Be sure to check out our guide to acoustic panels in a home studio for the physical foundation underlying any correction.
What I’ve noticed among studios that are starting to use color-correction software
Most skepticism about room correction software stems from a single misunderstanding: people expect it to make a room with poor acoustics sound like a certified control room. That doesn’t happen. What I do consistently see is this: a studio with reasonable basic acoustics and an accurate measurement sounds noticeably tighter in the low end and more consistent across listening positions after correction.
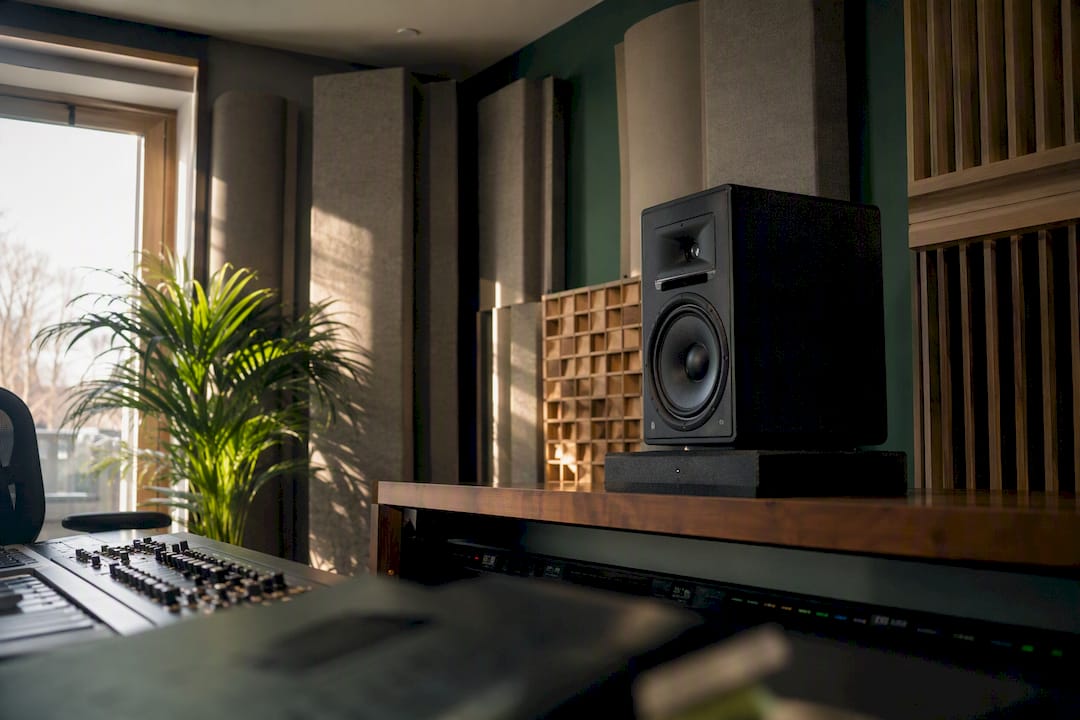
That’s why, at I4studio, we always start by assessing the physical space. Panels and proper monitor placement solve most of the problems. Software accounts for the last ten percent—not the first. Not sure if your space is ready for that final step? Seek specific advice before investing in a license.
How I4studio Can Help You Take the Next Step
Room correction software only delivers results when the fundamentals are right: a physically treated room, properly positioned monitors, and reliable measurements. I4studio focuses precisely on those fundamentals, offering acoustic panels, diffusers, and customized advice on their placement, while software tools such as Dirac Live or REW handle the final fine-tuning.

If you want to measure and correct the sound yourself, computing power is key: real-time FIR filters and convolution processing require a stable system without dropouts during your session. I4studio builds custom studio PCs for audio and video production that are tailored to these needs. If you’re not sure where to start, first check out our guide to acoustic panels and installation, or ask for advice about your specific space. If you’d also like to showcase your studio to clients, Adworth can help you create a professional studio website. Contact us for tailored advice or order the panels your space needs right away.
Sources
- Dirac | Room Correction and Audio Optimization Software – Dirac
- Room EQ Wizard (REW)
- DecayCore – FIR Room Correction and Acoustic Measurement Tool
Frequently Asked Questions
Does room correction software really work?
Yes, provided your room has reasonably good basic acoustics and your measurements are reliable; in that case, the software noticeably improves the balance and consistency between listening positions.
What exactly does Dirac do?
Dirac Live measures both the frequency response and the impulse response of your room and generates an adaptive filter that corrects both, with optional add-ons for subwoofer integration and resonance damping.
What is the latest version of Dirac Live?
Dirac is constantly working on updates for Dirac Live; the exact current version and latest features are always listed on the official Dirac product page.
Can software resolve deep nulls in my room?
No, deep dips caused by destructive interference cannot be safely corrected with digital boost; this requires physical absorption or adjustment of the speaker placement.
Recommendation
- Video Editing Tips and Tricks: A Practical Guide for Creative Professionals – https://i4studio.nl/
- Home Studio Software: The Complete Guide for Producers, Musicians, and Content Creators – https://i4studio.nl/
- Home Studio Software: The Complete Guide for Producers, Musicians, and Content Creators – https://i4studio.nl/
- Video Editing Software Tips for Fast, Professional Results – https://i4studio.nl/