
Balanced audio reduces noise through differential signal transmission and common-mode rejection. That’s the essence of it. In a balanced connection, the cable transmits the same audio signal twice: once in normal phase and once in reverse phase. Interference picked up along the way affects both conductors equally. The receiver calculates the difference between the two signals, thereby canceling out the interference, while the desired audio signal doubles in strength.
When do you make a balanced choice?
- Long cable runs: Unbalanced RCA connections are noticeably prone to hum and noise at lengths exceeding 5–8 meters; balanced lines operate reliably up to 15–30 meters and beyond.
- Complex studios and performance venues: a large amount of equipment, dimmer boxes, and power cables in the vicinity increase the risk of interference.
- Sensitive microphones and preamplifiers: A microphone’s signal is weak and particularly susceptible to interference.
- Professional AV systems— including broadcast, theater, and live sound—typically use balanced lines.
Pro tip: Use balanced connections whenever your cables are longer than 5–8 meters in a consumer setup, and as standard for anything longer than 15 meters or in environments with high levels of electromagnetic interference.
Table of contents
- How does balanced audio work from a technical standpoint?
- Balanced vs. Unbalanced: When Should You Choose Which?
- What connectors and cables do you use for balanced connections?
- How do you fix hum, ground loops, and wiring problems?
- When should you use a DI box or transformer for conversion?
- What practical guidelines apply to a professional studio?
- Key insights
- Balanced Audio in Practice: What Really Matters?
- I4studio helps you create a balanced studio setup
- Useful Resources and Further Reading
- Frequently Asked Questions
How does balanced audio work from a technical standpoint?
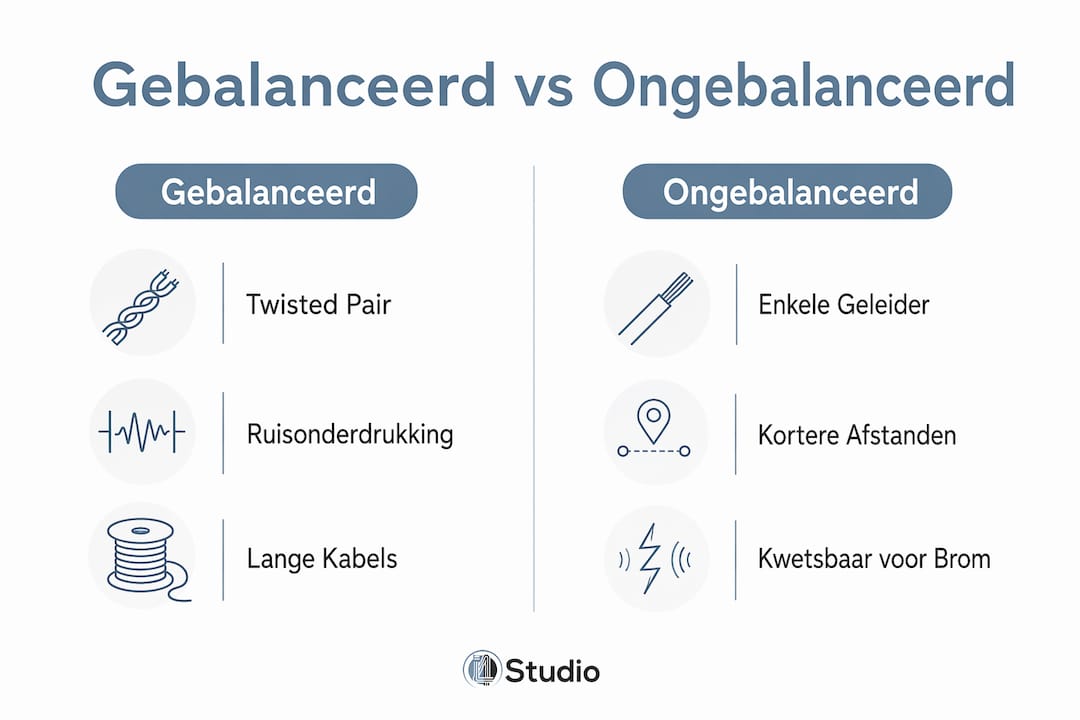
A balanced line consists of three conductors: a positive conductor (hot), a negative conductor (cold), and a shield. The hot conductor carries the original signal, while the cold conductor carries exactly the same signal but 180 degrees out of phase. External interference, such as electromagnetic fields from transformers or dimmer boxes, induces an identical interference signal on both conductors. This is called a common-mode signal.
The receiving input, known as a differential input, subtracts the value of the cold conductor from that of the hot conductor. This effectively doubles the desired audio signal, which is out of phase on the two conductors. The common-mode noise signal, which is the same on both conductors, is completely canceled out. This principle is called differential signaling and is the reason why balanced connections are so effective in noisy environments.
CMRR is listed as a specification on every reputable datasheet for a professional receiver or preamplifier. Manufacturers of professional equipment focus on high CMRR values because this directly determines the equipment’s usability in complex installations.
Balanced signal transmission has its roots in the long microphone cables used on stages, where transformers and balanced line drivers were employed to control noise over distances of tens of meters, as further explained in a side article on the performing arts and music in the context of professional venues and technical applications. Modern equipment uses active balanced drivers (electronic circuits) or transformers, depending on the application and the desired sound profile.
XLR pinout (3-pin): pin 1 = shield/ground, pin 2 = hot (+), pin 3 = cold (−). This is the global standard for professional balanced connections.
Balanced vs. Unbalanced: When Should You Choose Which One?
The fundamental difference lies in how the signal is transmitted. An unbalanced cable uses a single signal conductor and a shield that also serves as ground. Interference induced on the cable enters the signal path directly.
| Location | Recommended connection | Reason |
|---|---|---|
| Home setup, short cables (< 5 m) | Unbalanced (RCA/TS) | Simple, inexpensive, no noticeable loss of quality |
| Project/home studio, medium-length runs | Balanced (TRS/XLR) | Reliable up to 15–30 m, less susceptible to hum |
| Professional stage or broadcast | Balanced (XLR) | Standard, reliable at any cable length |
Speed Bumps in Practice:
| Connection Type | Maximum Recommended Length | Risk if exceeded |
|---|---|---|
| Unbalanced (RCA/TS) | 5–8 meters | Buzz, hum, audible noise |
| Balanced (TRS/XLR) | 15–30+ meters | Minimum with proper wiring |
Unbalanced is perfectly fine for a guitar plugged directly into a combo amp right next to you, or for a CD player 1.5 meters away from your amp. As soon as your cables run through a room, past power cords or dimmers, or as soon as you connect microphones to a mixing console, balanced is the better choice.
Pro-tip: Do you have consumer electronics with RCA outputs that you want to connect to a professional input? If so, use a DI box or an active line matcher. Simply plugging in an adapter cable won’t solve the impedance and noise issues.
What connectors and cables do you use for balanced connections?
The choice of connector helps determine whether a connection is balanced or unbalanced.
- XLR (3-pin): the standard for professional balanced connections. Microphones, mixing consoles, preamps, and high-end receivers use XLR for the quietest and most reliable connection. Pin 1 = shield, pin 2 = hot, pin 3 = cold.
- TRS (6.35 mm / 1/4″): a stereo headphone jack that also supports balanced mono connections. Tip = hot, Ring = cold, Sleeve = shield. Commonly used on studio monitors, audio interfaces, and insert points on mixing consoles.
- RCA (tulip): always unbalanced. Tip = signal, outer ring = ground/shield. Suitable for consumer electronics over short distances.
Cable Construction: Twisted Pair and Shielding
A balanced cable uses a twisted pair of conductors. By twisting the conductors together, the induced interference on both conductors is kept virtually equal, which enhances common-mode rejection. This is surrounded by a shield: a foil shield (aluminum foil) or a braided shield (braided copper wire). Foil provides better shielding against high-frequency interference; a braided shield is more flexible and durable with frequent use.
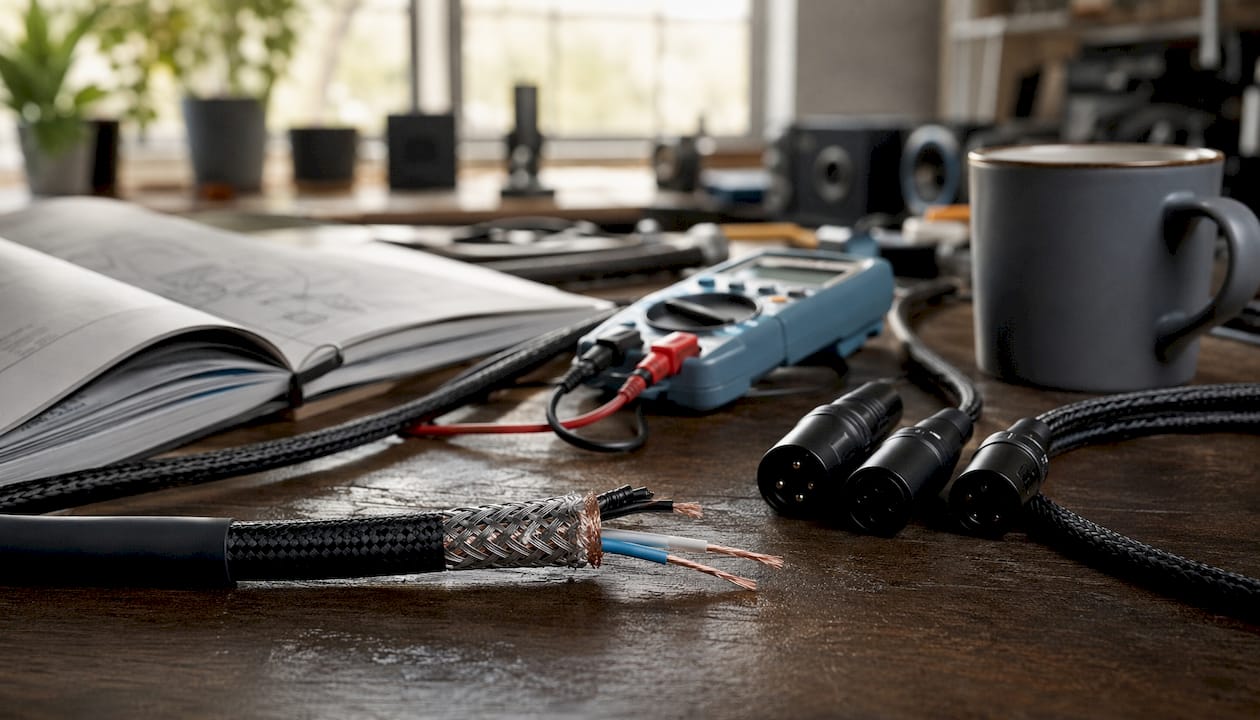
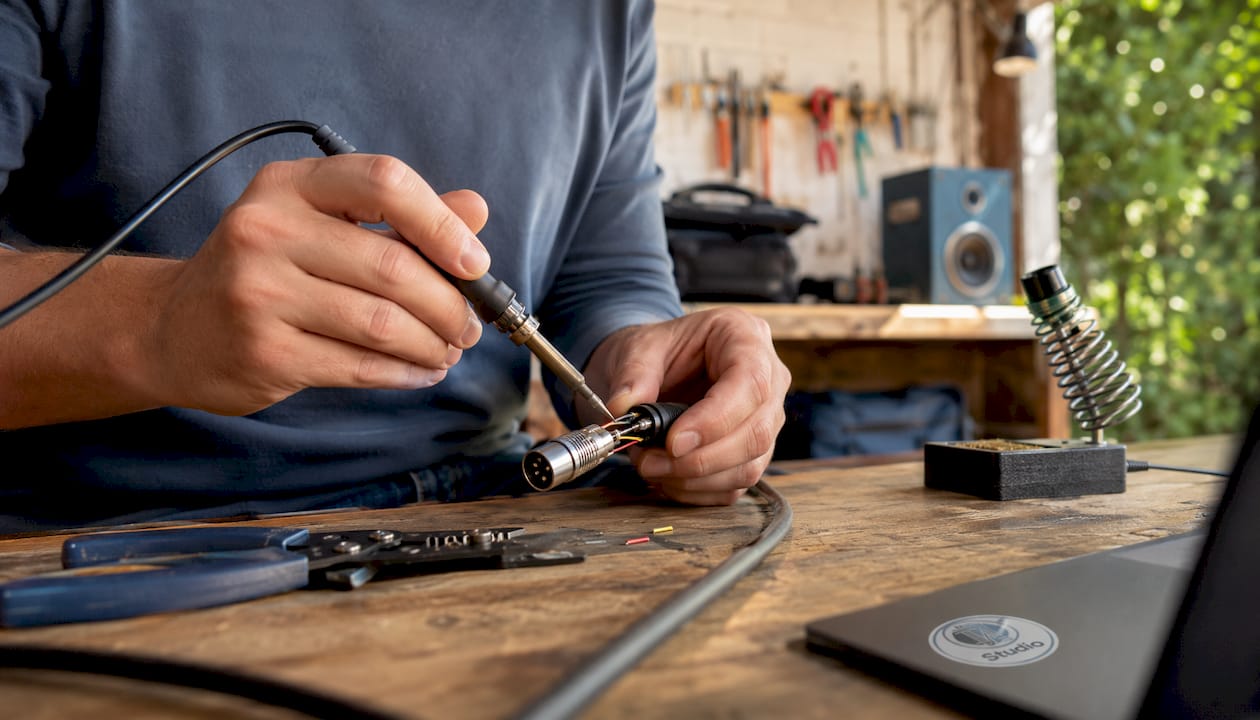
The quality of the connector matters. A poorly soldered XLR plug or a broken shield connection renders even the best cable useless. Choose connectors from well-known brands like Neutrik or Amphenol for durable connections. Expensive “audiophile” cables made with exotic materials are rarely necessary; a well-constructed cable with good connectors will do the job.
How do you fix hum, ground loops, and wiring problems?
Buzzing and humming are the most common issues with audio connections, and they almost always have a logical cause.
Typical symptoms:
- A constant hum at a fixed pitch (50 Hz or 100 Hz in Europe), regardless of the volume
- Noise that changes when you touch or unplug a specific device
- A humming noise that occurs only with certain cable routes or combinations of equipment
Step-by-Step Diagnostic Plan:
- Check the wiring and pinouts. An incorrectly connected pin 3 or a broken screen is the most common cause.
- Replace the cable. Connect a cable that you know works to rule out the cable as the cause.
- Apply a ground-lift. Many DI boxes and amplifiers have a ground-lift switch that disconnects the shield from ground, thereby breaking a ground loop.
- Increase the distance from power cables and dimmers. Never run signal cables parallel to power cables; it is best to cross them at right angles.
- Switch to balanced connections. If unbalanced cables cause hum over longer runs, this is the definitive solution.
Pro-tip: A ground loop occurs when two devices are connected to different outlets and there is a potential difference between their grounds. An isolation transformer or an active DI box with a ground lift provides a permanent solution to this problem. For more home studio troubleshooting tips, check out the i4studio guide.
When should you use a DI box or transformer for conversion?
A DI box (Direct Injection box) converts an unbalanced, high-impedance signal into a balanced, low-impedance signal suitable for professional inputs. That’s exactly what you need if you want to connect a guitar, keyboard, or consumer device to a mixing console or audio interface with XLR inputs.
- Passive DI box: uses a transformer for galvanic isolation and impedance matching. No power supply required. Excellent for guitars and basses with passive pickups; the transformer also provides excellent ground-loop isolation. Drawback: With low-impedance sources or long cable runs, the signal may be slightly weaker.
- Active DI box: features an active circuit (battery or phantom power) and offers higher input impedance. Better suited for keyboards, synthesizers, active pickups, and line-level sources. Provides greater control over the signal and is less susceptible to impedance issues.
- Transformer isolation: In addition to DI boxes, you can also use inline transformers to break ground loops between two devices that already have balanced connections.
Criteria for purchasing a DI box:
- Signal direction: instrument/line to XLR (not the other way around)
- Ground-lift switch included
- Frequency range that matches your source (guitar, keyboard, subwoofer)
- CMRR characteristics of the built-in transformer or active circuit
A practical example: connecting a subwoofer with an LFE output (unbalanced RCA) to a balanced input on an amplifier. Use an active DI or an inline transformer with the proper impedance matching—not a simple adapter cable.
What practical guidelines apply to a professional studio?
A well-designed signal chain starts with cable routing and ends with the correct specifications for your equipment.
Cable lengths: Keep unbalanced connections under 5–8 meters. Balanced lines are safe for 15–30 meters and, in professional installations using high-quality cables, even longer. For a professional studio: plan your cable routes in advance and use balanced connections as the standard for all permanent installations.
CMRR Specification: Professional preamplifiers and line inputs specify their CMRR in datasheets. The higher the CMRR value, the better the input suppresses interference in complex environments. Always consult your equipment’s datasheet for the exact value.
Practical Measurement Tips:
- Check cable continuity with a multimeter or cable tester before installation.
- Measure the insulation resistance of the shield relative to the conductors.
- Use a signal generator and a meter to measure the noise level before and after switching to balanced connections.
- If problems persist, an oscilloscope is useful for identifying the interference signal.
Installation Guidelines:
- Run signal cables in separate cable trays, away from power cables.
- Always cross power and signal cables at right angles when they need to cross each other.
- Label all cables at both ends for easy maintenance.
- Use fixed cable routes for permanent installations; avoid having loose cables on the floor.
Key insights
Balanced audio is the standard for any professional signal chain because differential signaling actively cancels out interference, and CMRR makes the quality of that cancellation measurable.
| Item | Details |
|---|---|
| Distance Rule | Use the unbalanced setting for distances up to 5–8 m; choose the balanced setting for distances of 15–30 m or more. |
| CMRR as a Quality Metric | The higher an input’s CMRR, the better the noise rejection in practice. |
| XLR Pinout | Pin 1 = shield, pin 2 = hot (+), pin 3 = cold (−); check this for every cable you make yourself. |
| DI Box for Conversion | Use an active DI for keyboards and line-level signals, and a passive DI for guitars with passive pickups. |
| I4studio for Your Setup | I4studio provides audio interfaces, DI solutions, and advice for balanced studio setups. |
Balanced Audio in Practice: What Really Matters?
There is a persistent misconception in audio circles: that balanced connections automatically “sound better.” That is not true. Balanced connections do not sound any different from unbalanced ones, provided both types of connections are used in a quiet environment at close range. The difference lies in reliability under challenging conditions.
What professionals tend to underestimate is how quickly an environment can become “problematic.” A single dimmer installation nearby, a power adapter placed too close to a signal cable, or a cable that’s just a little too long for the space—these are the situations where balanced connections prove their worth. The CMRR of your equipment then determines how quiet your setup remains.
My advice: Don’t invest in expensive cables, but rather in good connectors and proper wiring. A solidly soldered XLR cable with Neutrik connectors performs better than an “audiophile” cable with a poor solder joint. And if you’re unsure whether your setup is balanced enough: measure it. A simple cable tester and a noise floor measurement in your DAW will tell you more than any spec sheet ever could.
I4studio helps you create a balanced studio setup
Now you know why balanced connections are the standard in any professional studio. The next step is to choose the right equipment that actually supports this standard.

I4studio offers audio interfaces with XLR inputs that combine high CMRR values with professional preamps, allowing you to get the most out of your balanced lines right away. In addition to interfaces, I4studio offers custom-built studio PCs for audio and video, acoustic panels, and advice on complete studio setups. Do you have questions about which DI box or interface is right for your setup? Contact us through the online store or view the full selection at i4studio.nl.
Useful Resources and Further Reading
- The Benefits of Balanced XLR Connections on High-End Receivers (RMGI): A Practical Explanation of Distance Limits and Applications of XLR on Receivers and Preamplifiers.
- Balanced or Unbalanced Cables (Hifi.nl): Technical Background on CMRR, Transformers, and the Historical Development of Balanced Signal Transmission.
- The Difference Between an Unbalanced and a Balanced Cable (Maxiaxi): An Easy-to-Understand Explanation of the Differences and Use Cases.
- Audio Interconnects: Cable Types and Connectors Explained (Soydemac): Overview of connectors, pinouts, and twisted-pair construction.
- Features of a Professional Studio for Top-Notch Sound (i4studio): A Practical Checklist for Professional Signal Chains and Studio Setup.
- Home Studio Audio Recording Tips (i4studio): A Step-by-Step Guide to Home Studio Setup and Troubleshooting.
- Always consult the datasheet for your preamp or audio interface to find the exact CMRR value for the inputs.
Frequently Asked Questions
Why is balanced audio better than unbalanced audio?
Balanced audio actively suppresses interference through differential signaling: interference signals that are identical on both conductors are canceled out by the differential input. In unbalanced connections, this interference is directly introduced into the signal.
How long can an unbalanced cable be?
Unbalanced connections work reliably up to about 5–8 meters; beyond that, the likelihood of hum and noise increases noticeably.
What is CMRR, and why is it important?
CMRR (Common-Mode Rejection Ratio) measures how effectively a balanced input suppresses common-mode noise. A higher CMRR results in a quieter input in environments with high levels of electromagnetic interference.
When should you use a passive DI box versus an active DI box?
A passive DI box is suitable for guitars and basses with passive pickups; an active DI box is used for keyboards, synthesizers, and line-level sources that require a higher input impedance.
Which connector is always unbalanced?
RCA (tulip) is always unbalanced. XLR (3-pin) is balanced by default; TRS (6.35 mm) can be either balanced mono or unbalanced stereo, depending on the application.