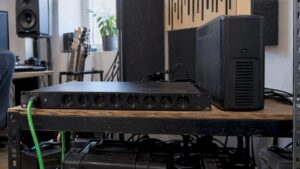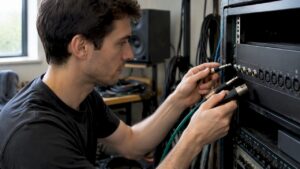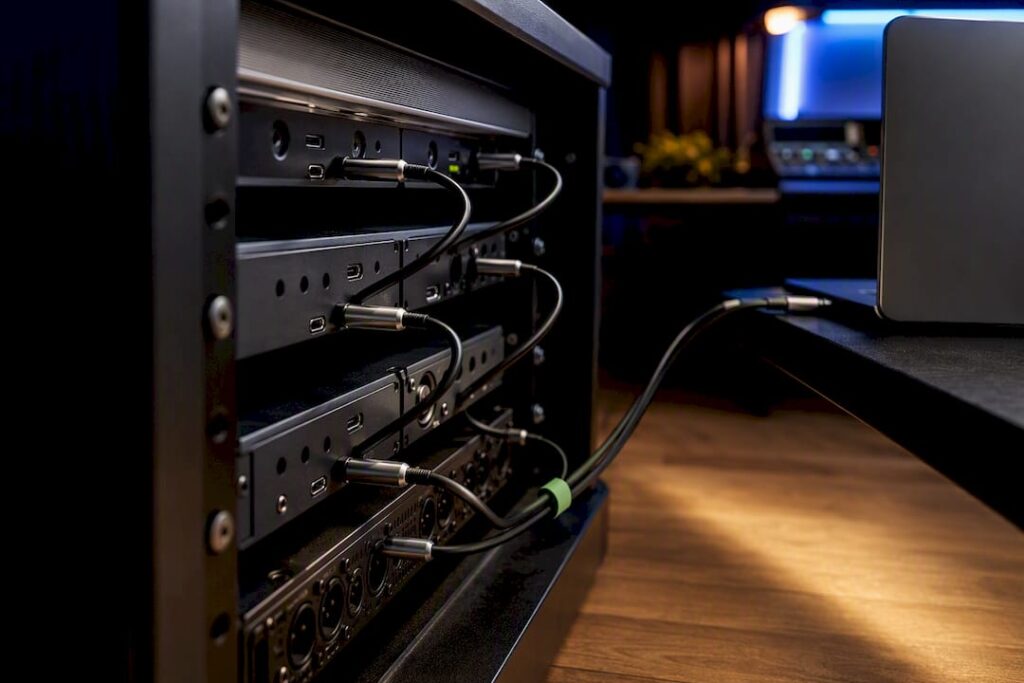
Yes, Thunderbolt handles audio just fine and supports daisy-chaining, but that only works reliably if your interfaces support multi-unit chaining through their drivers and you follow the correct port order. If you mix and match brands, the likelihood of instability increases significantly.
Briefly:
- For reliable Thunderbolt audio daisy chains, all devices must be part of the same brand ecosystem and support the same drivers; otherwise, instability is more likely to occur.
- Thunderbolt 3 and 4 offer maximum speeds of 40 Gbps, but Thunderbolt 4 ensures more consistent performance when multiple devices are connected.
- The chain is connected and set up in the correct order: first the main interface, set as the master, and then the other units in series, with the monitors last.
- If problems arise, switching back to a single device and taking controlled steps will allow you to troubleshoot quickly and effectively.
- A stable setup requires the right cables (preferably Thunderbolt 4 or active cables for longer distances) and a powerful, properly sized computer with the correct Thunderbolt controller.
Table of contents
- How exactly does a Thunderbolt daisy chain for audio work?
- Which interfaces and combinations work reliably together?
- Step by step: Setting up a Thunderbolt daisy chain in your home studio
- Which cables and topologies provide the most stable audio chain?
- What should you do if the chain malfunctions or isn’t recognized?
- When is professional advice helpful for a Thunderbolt setup?
- Build your Thunderbolt chain on a foundation that can handle it
- Sources
- Frequently Asked Questions
How exactly does a Thunderbolt daisy chain for audio work?
Thunderbolt combines three things in a single cable: PCI Express data, DisplayPort video, and power. For audio equipment, the first of these is particularly relevant. PCI Express gives an audio interface direct, low-latency access to your computer, similar to an internal card but external and expandable. That makes Thunderbolt suitable for professional multichannel audio, something USB is generally less efficient at.
The Thunderbolt version determines how much bandwidth is available. Both Thunderbolt 3 and 4 provide up to 40 Gbps, but Thunderbolt 4 sets stricter requirements for minimum PCIe bandwidth per port and therefore guarantees more consistent performance when multiple devices are connected. With an all-in-one port that shares data, video, and power, competition for bandwidth does arise as soon as you add more devices.
Clocking operates hierarchically within a chain. One interface acts as the monitor or master, while the rest function as expanders or slaves and automatically follow that clock. In Universal Audio’s Apollo series, this principle is called Apollo Expanded: the driver designates the monitor unit and manages the synchronization between the connected units itself.
What this means for your setup:
- A single interface sets the clock for the entire chain, so the order in which you connect devices is not arbitrary.
- More connected devices mean more shared bandwidth, even though in practice this rarely feels like a limitation with normal channel counts.
- Firmware and driver software handle most of the synchronization work, not the Thunderbolt connection itself.
Which interfaces and combinations work together reliably?
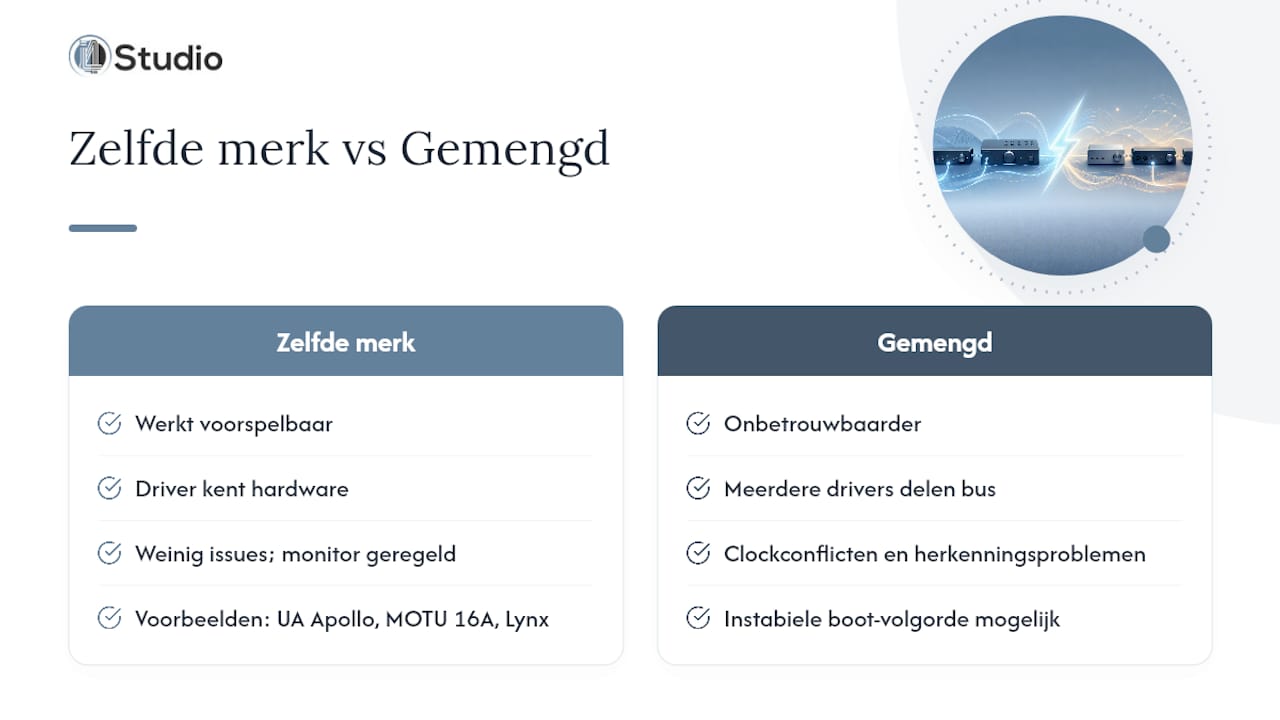
Manufacturer support is the deciding factor, not the Thunderbolt standard itself. Universal Audio’s Apollo line explicitly supports cascading starting with UAD driver version 9.1, with the software automatically determining which unit acts as the monitor. MOTU’s 16A is another example: this interface is designed to daisy-chain multiple 16A units and supports a large number of channels via Thunderbolt or USB4, with Milan AVB networks serving as an alternative expansion path for those who need even more channels. Lynx also offers the LT-TB3 expansion card, which allows you to daisy-chain up to six Aurora or Hilo converters.
The pattern is always the same: within a single brand ecosystem, chaining works predictably because the driver knows exactly how that specific hardware behaves. If you mix brands, two or more driver packages must share the same Thunderbolt bus without being aware of each other’s presence. This often leads to clock conflicts, recognition issues, or an unstable boot sequence.
Platform choice also plays a role. macOS has traditionally had the most mature Thunderbolt implementation, while Windows hosts often require a specific Thunderbolt 3 or 4 controller, as well as up-to-date chipset drivers, for cascading to work smoothly.
Pro tip: Are you torn between two brands for an expansion? If so, it’s better to choose a second unit from the same interface family, even if it seems more expensive on paper. The time you’ll save on troubleshooting more than makes up for the price difference.
Step by Step: Setting Up a Thunderbolt Chain in Your Home Studio
Before connecting any cables, check three things: the firmware on each interface, the driver version on your computer, and whether your Thunderbolt ports provide enough power for all the devices. Then follow these steps in this order:
- First, connect your main interface directly to your computer’s Thunderbolt port.
- In the accompanying software, designate this unit as the monitor or master so that it provides the clock signal for the entire chain.
- Next, connect the second interface (the expander) to the Thunderbolt output port on the first unit.
- Repeat this for any additional units, up to a maximum of six devices per port.
- Connect your monitor as the last device, after the audio interfaces, to avoid conflicts with DisplayPort pass-through.
- Don’t start your DAW until the operating system has recognized all the devices, and check the sample rate in the interface’s control software.
On Windows, the host must have a Thunderbolt 3 or 4-certified port with up-to-date chipset drivers; on macOS, the device is usually recognized automatically once the correct UAD or interface software is installed.
Which cables and topology provide the most stable audio chain?
Thunderbolt 4 cables have stricter specifications than Thunderbolt 3 cables and guarantee consistent performance, even over longer distances. For most home studios, a passive Thunderbolt cable is sufficient for short distances. If you need to bridge a longer distance—for example, between a rack and your desk—you’ll need an active cable to prevent signal loss. Active cables are more expensive, but that price difference is often a smarter investment than an expensive interface upgrade when you’re trying to resolve stability issues.
There’s one fixed rule for the order in your chain: monitors go at the end. Thunderbolt supports up to six devices per port, but a monitor that doesn’t have its own Thunderbolt output port will block everything that’s supposed to come after it.
Practical tips on order:
- Connect devices with the highest bandwidth requirements—such as external SSDs for sample libraries—directly to your main interface.
- Preferably, connect audio interfaces before peripheral devices such as docks or card readers.
- After adding each device, check to make sure all previously connected devices are still recognized correctly.
What do you do if the chain gets stuck or isn’t recognized?
You can solve most problems by reverting to the simplest setup. Connect one interface directly, check to see if it’s working reliably, and then add the next unit step by step. This way, you can quickly pinpoint which device or cable is causing the problem.
Common causes and solutions:
- Outdated firmware on one of the interfaces: Update all units to the latest version before testing them together.
- A cable that is too long or of poor quality: temporarily replace it with a short, certified test cable.
- Insufficient power via the Thunderbolt port: Connect power-hungry devices to a separate power source whenever possible.
- Sample rate conflicts between units: Always set the sample rate centrally via the monitor unit’s control software; never set it individually per device.
An external word clock is rarely needed within a homogeneous Thunderbolt chain, since the monitor unit already handles that task. In large, mixed-brand studios with equipment spanning multiple generations, an external clock can still provide stability. Consider mixed brands without official multi-unit support and dual cable connections between the same two units as clear red flags.
Pro tip: Keep a fixed test order on paper or in a note-taking app. When in doubt, always start with step one, even if it’s tempting to jump straight to the most recently added unit.
When is professional advice helpful for a Thunderbolt setup?
With two interfaces from the same brand, the user manual usually goes a long way. As soon as you move on to three or more units, or when you want to combine Thunderbolt audio with video processing on the same machine, the right host computer becomes just as important as the interfaces themselves. Insufficient Thunderbolt controllers or an improperly sized power supply in your PC are often the real reason why a setup remains unstable—not the audio equipment.
There are specialists who build custom studio PCs that take precisely these kinds of Thunderbolt requirements into account and offer advice on interface choices, such as the Universal Audio Apollo Twin X Duo in a multi-unit setup. If you’re unsure which interface suits your workflow, our guide to choosing an audio interface provides a practical overview. If you’re already running into recognition issues, our page on troubleshooting audio interface problems offers concrete diagnostic steps.
Build your Thunderbolt chain on a foundation that can handle it
The weak link in a Thunderbolt daisy chain is rarely the cable or the interface itself—it’s often the computer connected to it. A generic PC with a single, underutilized Thunderbolt controller offers the same specs on paper as a true studio machine, but lacks the stability needed to handle the sustained load placed on it by multiple audio units running simultaneously.
We build studio PCs specifically designed for DAW use with multiple Thunderbolt devices simultaneously, including sufficient power reserves and the right choice of controllers. Check out the studio PC examples and configurations to see which setup fits your interface setup, or ask for advice if you’re still deciding between a ready-made configuration and a custom build. If you work with video as well as audio, the page on PCs for video editing is a logical starting point.
Sources
For further details: Universal Audio’s multi-unit cascading documentation describes driver and firmware requirements, MOTU’s product page for the 16A shows an alternative expansion approach using network audio, and the explanation of cable differences between Thunderbolt and USB-C helps you choose the right cable.
- Apollo Thunderbolt Multi-Unit Cascading – Universal Audio Support Home
- En
- Differences Between USB-C and Thunderbolt | AppleTips
Frequently Asked Questions
Can Thunderbolt actually carry audio?
Yes, Thunderbolt carries audio via its PCI Express layer, which enables lower latency than most USB connections with a comparable number of channels.
Can you daisy-chain multiple audio devices via Thunderbolt?
Yes, provided the interfaces support multi-unit chaining in their driver software; without that support, your system often won’t recognize the second unit correctly.
Can you also include studio monitors or speakers in a Thunderbolt chain?
Active studio monitors are usually connected to your interface via an analog or separate digital connection, not as a separate link in the Thunderbolt chain itself.
Which audio interfaces use Thunderbolt?
Brands such as Universal Audio (the Apollo series), MOTU (including the 16A), and Lynx (via the LT-TB3 card) offer Thunderbolt interfaces that explicitly support daisy-chaining. Advice is available on making the right choice based on your desired number of channels and workflow.
What is the maximum number of devices you can connect to a single Thunderbolt port?
A Thunderbolt port supports up to six devices in a daisy-chain configuration, with a display ideally placed last in the chain.