Briefly:
- An audio interface connects analog microphones and instruments to your digital recording setup.
- They provide clean gain, stable monitoring, and low latency during recording.
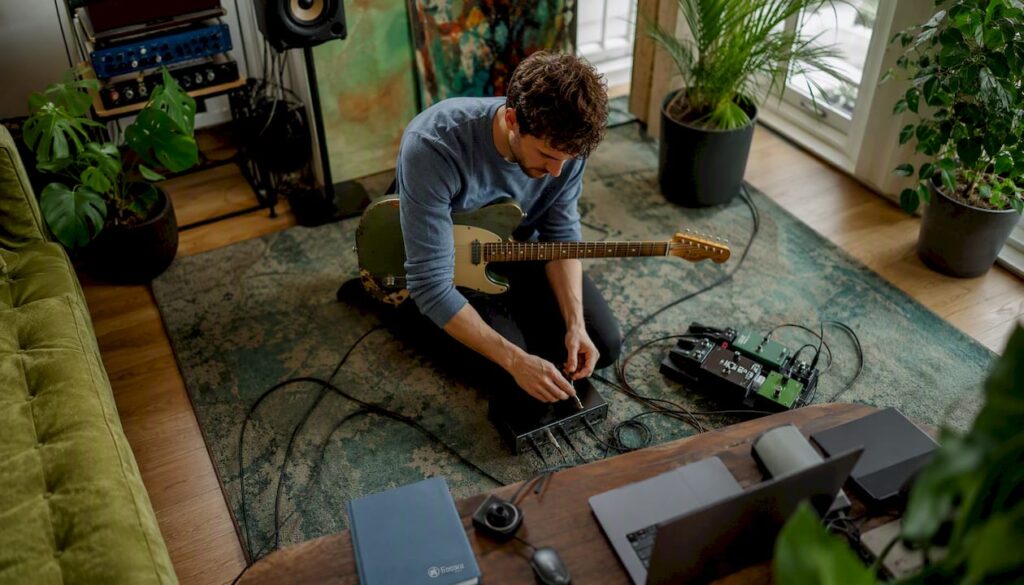
An audio interface is the bridge between your analog microphone or instrument and your digital recording setup. Without an interface, you won’t have clean gain, reliable monitoring, or a stable connection to your DAW. That’s the bottom line.
Specifically, an interface does three things that are immediately audible:
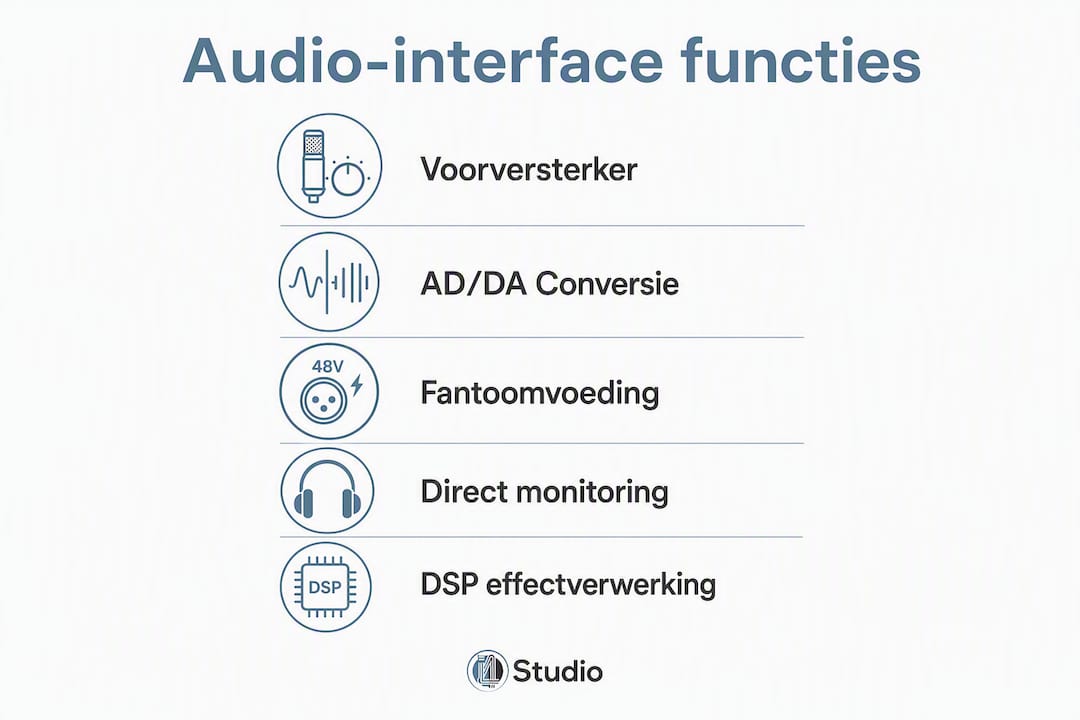
- Microphone preamp: The built-in preamp amplifies the weak signal from your microphone to a usable recording level without adding noise.
- AD/DA conversion: Analog signals are converted to digital data for your DAW, and digital audio is converted back to analog for your monitors or headphones.
- Low latency and real-time monitoring: A good interface lets you hear yourself during recording, without the delay caused by an internal sound card.
For singers, guitarists, producers, and podcasters, an external audio interface isn’t a luxury. It’s the foundation of any serious recording.
Table of contents
- Why the Audio Interface Is the Heart of Your Studio
- What does each function do? Preamplifiers, AD/DA, phantom power, and more
- What connections do you need: USB, Thunderbolt, ADAT, and more?
- How many inputs and outputs do you really need?
- How do you reduce latency and fix driver issues?
- Real-time monitoring, DSP, and headroom: How do you monitor your sound?
- How do you choose the right audio interface for your studio?
- Step by step: How to set up a typical home studio
- What Now? Specific Next Steps
- Key insights
- A Frank Word About Interface Choices
- I4studio will help you get started with the right interface and setup
- Useful Resources and Links
- Frequently Asked Questions
Why the Audio Interface Is the Heart of Your Studio
The role of an audio interface goes beyond simply providing a connection. Every signal you record passes through the interface. Every sound you hear while working comes back through the interface. That makes the device crucial to your entire workflow.
A standard sound card in a laptop or desktop does the same thing technically, but in a way that isn’t sufficient for serious recording. An external audio interface offers higher-quality connections such as XLR and 6.3 mm jacks, more stable drivers, and lower latency than a laptop’s internal sound card. You’ll notice the difference right away: less noise, more headroom, and a monitoring experience that gives you confidence during a take.
What specifically affects the interface:
- Noise floor: Good preamps keep the noise floor low, so that quiet passages remain clear.
- Headroom: Sufficient dynamic range prevents peaks from being recorded with distortion.
- Latency: The delay between playing and hearing determines whether you can play comfortably.
- Monitoring control: direct volume control for monitors and headphones, without having to go through software menus.
What does each function do? Preamplifiers, AD/DA, phantom power, and more
Microphone Preamplifiers
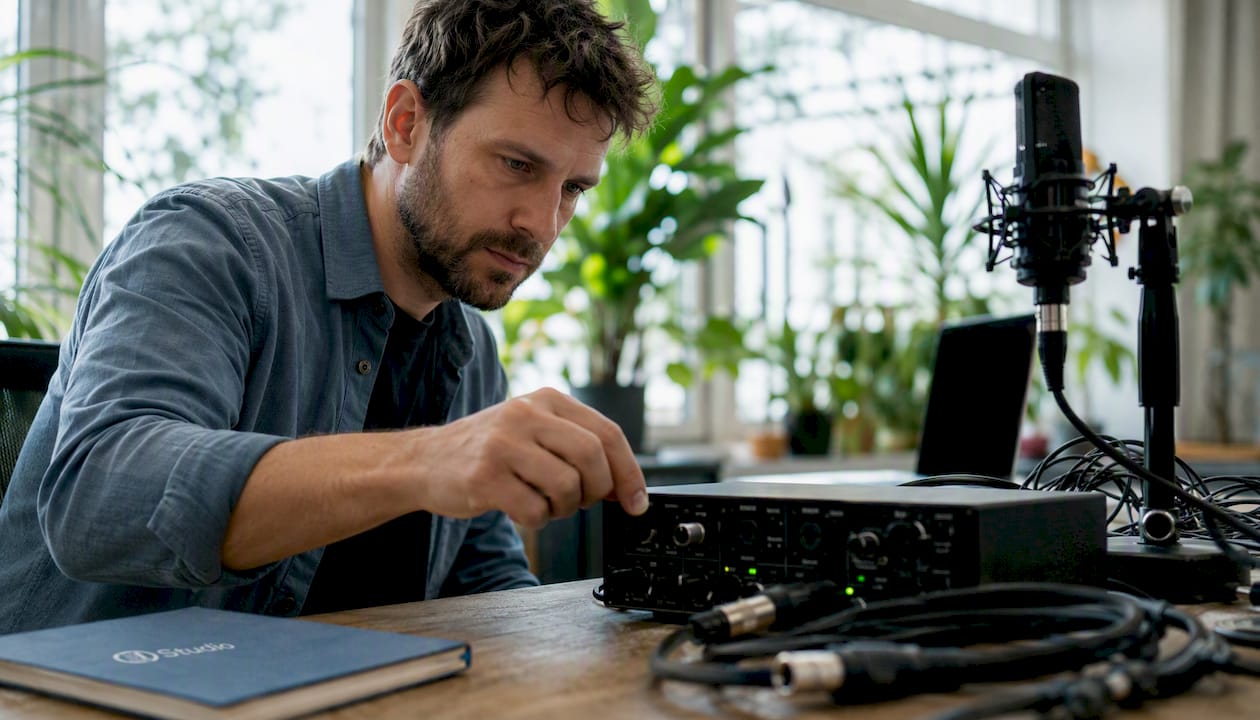
The preamp amplifies the signal from your microphone to line level. What matters isn’t how much gain you can set, but how clean that gain is. A low-noise preamp with sufficient gain range is the most important component of the interface for vocals and speech. Clean preamp performance and stable drivers are more important than an impressive list of specifications.
Phantom Power (48 V)
Most condenser microphones require 48 V phantom power. Audio interfaces provide this through the XLR input via a switch on the front panel. Dynamic microphones and ribbon microphones generally do not require this. Only enable phantom power if your microphone requires it.
AD/DA Conversion: Sample Rate and Bit Depth
| Setting | Value | Practical effect |
|---|---|---|
| Sample rate | 44.1 kHz | Standard for music, CD quality |
| Sample rate | 48 kHz | Standard for video and podcasts |
| Sample rate | — | More detail during processing, higher CPU load |
| Sample rate | 192 kHz | Minimal added value for home studios |
| Bit depth | — | Limited dynamic range, less margin for error |
| Bit depth | — | Recommended for recording: more headroom, lower noise floor |
For most home studios, 44.1 kHz or 48 kHz is more than enough. Higher sample rates require more processing power and, in practice, rarely result in an audible difference in final mixes intended for streaming.
Real-time monitoring
Direct monitoring sends the input signal directly to your headphones, bypassing the DAW. This eliminates the latency you would otherwise hear while recording. Many interfaces feature a switch or a small mixer on the front panel to adjust the balance between the direct signal and DAW playback.
Additional Features
- Pad: Attenuates the input signal by 10–20 dB for loud sources such as drums or amplifiers.
- Hi-Z input: required to connect an electric guitar directly without a DI box. Without Hi-Z, the guitar will sound thin and too quiet.
- Inserts: Route the signal through an external compressor or equalizer before AD conversion.
- Onboard DSP: processes effects such as reverb or compression in real time without putting a strain on your DAW’s CPU.
What connections do you need: USB, Thunderbolt, ADAT, and more?
The connection between the interface and the computer determines bandwidth, latency, and reliability.
- USB: Sufficient for most home studios with 2–8 channels. Widely supported on Windows and macOS, easy to use. Choose USB for a first-time or compact setup.
- Thunderbolt: higher bandwidth and lower latency than USB. Useful if you’re recording many channels simultaneously or working with very small buffer sizes. For USB, Thunderbolt is only necessary when recording many channels or when latency requirements are extremely strict.
- ADAT: an optical connection that can add up to 8 additional channels via an external preamp or converter. This is useful if you want to expand your setup later without having to buy a new interface.
- S/PDIF: a stereo digital connection for transmitting two channels between devices, such as an external converter or a synthesizer with a digital output.
- MIDI I/O: for connecting keyboards, drum machines, and other MIDI devices. Many modern synthesizers use USB-MIDI, which makes a dedicated MIDI port less necessary for some users.
- Network audio (AVB/Dante): for professional environments with multiple devices connected via a network. Not relevant for a standard home studio.
Drivers and compatibility: On Windows, use ASIO drivers for low latency. On macOS, Core Audio works natively. Always check whether the manufacturer provides active driver updates for your operating system.
How many inputs and outputs do you really need?
The right amount of I/O depends entirely on what you’re recording. Here are three real-world scenarios:
Singer-songwriter (solo): one microphone input (XLR) and one Hi-Z input for guitar. A 2-in/2-out interface is all you need. Compact, affordable, and reliable.
Duo (vocals + guitar or two vocalists): two microphone inputs with separate gain controls. Consider an interface with two headphone outputs so that both musicians can hear their own mix.
Small band (drums, bass, guitar, vocals): at least 8 inputs at once. This is where ADAT comes in: a 2-input interface with an ADAT input, combined with an external 8-channel preamp, gives you 10 inputs without having to buy an expensive, large interface.
For monitoring, balanced XLR or TRS outputs to your studio monitors are standard. A separate volume control for headphones, independent of the monitor volume, makes sessions much more comfortable. As your setup grows, you can expand via ADAT without replacing the interface.
How do you reduce latency and fix driver issues?
Latency is the delay between the moment you play a note and the moment you hear it. Latency above a certain short threshold becomes noticeable when you’re playing. Here’s how to handle it:
- Reduce the buffer size in your DAW: start at 256 samples and go lower (128 or 64) if your system can handle it. The lower the buffer, the less latency, but the higher the CPU load.
- Use the correct driver: On Windows, always use ASIO; never use the default Windows audio driver. On macOS, Core Audio is the default and usually works right away.
- Check your USB port: Connect the interface to a direct USB port on your computer, not through a hub. A hub adds latency and instability.
- Close background processes: antivirus software, browsers, and update programs compete for CPU time. Turn them off during recording sessions.
- Adjust the sample rate: higher sample rates increase CPU load. If you’re experiencing latency issues, switching back to 44.1 kHz or 48 kHz is often the quickest solution.
Pro-tip: A frequently overlooked cause of clicking and dropouts is a USB Wi-Fi adapter connected to the same USB controller as your interface. Move the interface to a different USB controller or temporarily disable Wi-Fi while recording.
You can find more specific tips in I4studio’s guide to reducing latency.
Real-time monitoring, DSP, and headroom: How do you monitor your sound?
Direct Monitoring vs. DAW Monitoring
With direct monitoring, you hear yourself through the interface without the signal entering the DAW. This results in zero latency. The downside: you won’t hear any DAW effects, such as reverb or compression, on your vocals. Use direct monitoring when recording takes, and switch to DAW monitoring when you want to hear how the recorded sound sounds with effects.
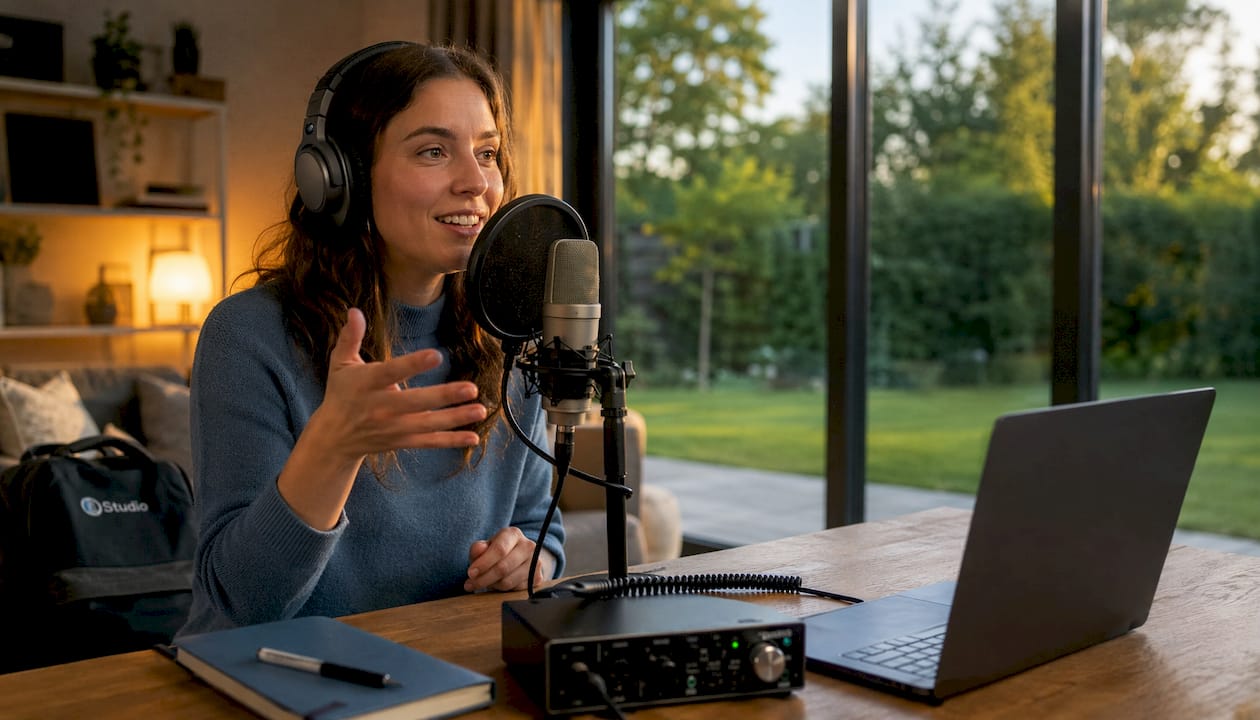
DAW monitoring is useful if you want to hear in real time how a plugin shapes the sound, but it requires a low buffer setting to keep the latency at an acceptable level.
Onboard DSP
Some interfaces process effects internally using their own processor. This means you can hear reverb or compression in your headphones while recording, without your DAW having to calculate it. This is useful for singers who want a reverb send in their headphones without putting a strain on the CPU.
Gain staging and headroom
Set your gain so that the signal peaks at around -18 dBFS on average in your DAW. This provides sufficient headroom for dynamic peaks and leaves room for editing without distortion. Too much gain leads to clipping; too little gain increases the noise floor. Direct monitoring and simple front-panel controls make these kinds of adjustments quick and intuitive.
How do you choose the right audio interface for your studio?
Must-have criteria
- At least one XLR input with 48 V phantom power
- Hi-Z input when connecting your guitar or bass directly
- Balanced outputs (XLR or TRS) for studio monitors
- Stable ASIO drivers (Windows) or Core Audio support (macOS)
- Front-panel direct monitoring switch or mixer
Nice-to-have
- ADAT input for future expansion
- Multiple headphone outputs with separate volume controls
- Onboard DSP for latency-free effects
- Inserts for External Hardware
Questions to Ask
When making a purchase, ask about the driver roadmap for your operating system, the warranty period, and whether firmware updates are still being released. An interface that works today but will no longer receive driver updates in two years is a risk.
Red Flags
- Negative reviews about unstable drivers or clicking noises at low buffer levels
- Loose XLR connectors or a loose volume potentiometer
- No clear information about OS compatibility on the product page
- A manufacturer that hasn’t released firmware updates in years
Stability and reliable drivers are more important than an impressive list of specs. An interface that crashes every session will cost you more time than a less feature-rich but stable alternative.
Need help choosing? I4studio’s selection guide helps you find the right interface based on your setup.
Step by step: How to set up a typical home studio
Basic Connection
Microphone (XLR) → interface mic input → interface (USB/Thunderbolt) → DAW → monitor output → studio monitors
For guitar: guitar (jack) → Hi-Z input on the interface → DAW
Checklist for First Use
- Connect the interface to a direct USB port on your computer.
- Install the ASIO driver (Windows) or check to see if macOS recognizes the interface.
- Set the sample rate to 44.1 kHz or 48 kHz in both the interface and your DAW.
- Set the buffer size to 256 samples as a starting point.
- Turn on the 48 V phantom power if you’re using a condenser microphone.
- Slowly turn up the gain until the signal peaks at around -18 dBFS on average.
- Use a pad if the source is very loud (drums, amplifier).
- Select the interface as the default audio device in your DAW.
Common Problems
- No sound: Check to see if the interface is selected as the default device in the DAW and the operating system.
- Noise or hum: Check the grounding of your guitar or amplifier, and avoid using a hub.
- Clicks and crashes: Increase the buffer size or close background processes.
- Interface not recognized: Reinstall the driver and try a different USB port.
For detailed installation instructions, see the I4studio beginner’s guide.
What Now? Specific Next Steps
Now that you know what an interface does and which functions are important, here’s how to take the next step:
- Test your current setup: plug in your microphone, check the noise floor, and measure the latency in your DAW. That will give you a fair starting point.
- Decide how many inputs you need: one singer or two? Guitar plugged in directly or through an amplifier? Write it down before you go shopping.
- Start small, expand later: a 2-in/2-out interface with ADAT expansion capability is the smartest choice for most home studios. Add channels via ADAT when you really need them.
- Plan your upgrade path: a good interface will last for years. Choose a brand that offers active driver support and clear firmware updates.
- Contact I4studio if you’re unsure about the combination of interface, computer, and acoustics. I4studio provides customized advice and delivers complete setups.
Key insights
An audio interface determines the quality of your gain, the reliability of your monitoring, and the stability of your entire recording workflow.
| Item | Details |
|---|---|
| Clean preamp is a priority | Low-noise gain quality matters more than a long list of specs, especially for vocals. |
| 44.1 or 48 kHz is sufficient | Higher sample rates use more CPU power and rarely provide an audible benefit in home studios. |
| Direct monitoring eliminates latency | Enable direct monitoring during recording; use DAW monitoring only if you want to hear effects. |
| Stable drivers are crucial | An interface with poor drivers takes more time than a less feature-rich but stable model. |
| I4studio for advice and purchases | I4studio provides audio interfaces, custom-built studio PCs, and acoustic solutions for home studios. |
A Frank Word About Interface Choices
Most buyers focus on specifications: sample rate, bit depth, and number of channels. That’s understandable, but it often leads to disappointment. An interface with 192 kHz and twelve inputs that crashes every week is worth less than a simple 2-in model with reliable drivers and a good preamp.
What I see in practice: musicians who start out with an interface that’s too big because they “want room to grow,” and then spend months struggling with driver instability or overly complex routing. Starting small and growing steadily works better. A 2-in/2-out interface with ADAT expansion capability is the right choice for 90 percent of home studios for the first three to five years.
Another point that often gets overlooked: the computer running your interface is just as important as the interface itself. A slow or poorly configured PC can undermine even the best interface. That’s exactly why, in addition to interfaces, I4studio also provides custom-built studio PCs optimized for low latency and stable audio performance.
I4studio will help you get started with the right interface and setup
Do you know what you need, but want to be sure you’re making the right choice? I4studio provides audio interfaces, custom-built studio PCs, and acoustic solutions for home studios and professional environments. No generic online store advice—just a specific recommendation based on your workflow, microphone, and DAW.

Whether you’re just starting out with your first recording or looking to expand your existing setup, check out I4studio’s selection of studio gear for beginners for a complete overview of interfaces, bundles, and accessories. Looking for a studio PC that works seamlessly with your audio interface? Check out the custom studio PCs that I4studio builds specifically for music production. Contact us for personalized advice on the setup that’s right for your studio.
Useful Resources and Links
- Audio Interfaces Explained: How to Choose the Right Interface for Recording — A Comprehensive Guide to Preamplifiers, Phantom Power, and Selection Tips.
- Advice on Audio Interfaces — An Overview of Specifications, Connectivity, and Practical Purchasing Criteria.
- What Audio Interface Do You Need? — A Practical Guide to Hi-Z, MIDI, and Direct Monitoring.
- Audio Interface Features Explained — I4studio’s overview of interface features for home studios.
- What does an audio interface do? — practical explanations and examples of how to improve recording quality.
Frequently Asked Questions
What is the role of an audio interface in a studio?
An audio interface converts analog signals from microphones and instruments into digital signals and sends the audio back to monitors or headphones. In doing so, it controls the gain, latency, and connectivity of your entire recording workflow.
What exactly does an audio interface do?
The interface amplifies the microphone signal via a preamp, converts it to digital for your DAW, and converts the digital mix back to analog for monitoring. Without an interface, you won’t have an XLR connection, 48 V phantom power, or a stable, low-latency connection.
Do I need an expensive audio interface to make good recordings?
Not necessarily. An affordable interface with clean preamps and stable drivers delivers excellent results for most home studios. Price mainly affects the quality of the preamps, the number of inputs, and the build quality—not the basic functionality.
What is the difference between USB and Thunderbolt when it comes to audio interfaces?
USB is sufficient for most home studio setups with 2–8 channels. Thunderbolt offers higher bandwidth and lower latency, which becomes important when using many channels simultaneously or with very small buffer sizes. For a standard singer-songwriter setup, the difference is barely audible.
When do I need phantom feeding?
Phantom power (48 V) is required for condenser microphones. Dynamic microphones and most ribbon microphones do not require it. Enable phantom power only if your microphone requires it, and never connect a ribbon microphone while phantom power is active.
Recommendation
- The role of audio interfaces: get the most out of your studio
- What does an audio interface do? Improve your studio recordings
- Audio Interface Features: Everything A Studio Needs – https://i4studio.nl/
- Audio Interface For Recording: The Complete Guide For Studio, Podcast And Live Production – https://i4studio.nl/