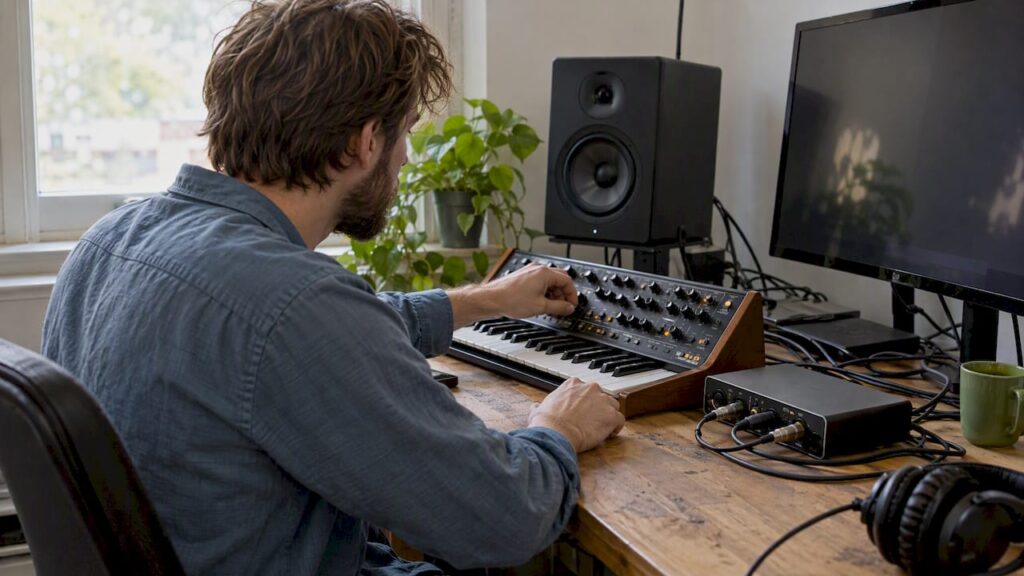
For most producers, the most reliable method is to send MIDI to your synth and record the sound into your DAW via your audio interface, use your DAW’s External Instrument feature or a vendor-connect plug-in, and quickly bounce to audio for timing stability. This gives you reliable timing, full editability in your session, and puts less strain on your processor than if you were to play everything back live.
Briefly:
- For reliable synthesizer interfaces, you need an audio interface with low-latency drivers and stable MIDI connections to ensure that audio and MIDI traffic flows smoothly.
- Using the External Instrument feature in your DAW ensures timing stability and full editability without requiring any additional hardware or plug-ins.
- Vendor plug-ins such as Overbridge offer additional features like multi-channel streaming and automatic preset restoration, but require more processing power and up-to-date drivers.
- Reducing buffer time, keeping drivers up to date, and avoiding long MIDI daisy chains help prevent delays and jitter during recording.
- A well-configured system with optimal hardware and proper routing saves time and prevents frustration caused by unstable or slow performance when working with synthesizers.
Table of Contents
- Quick Checklist: Hardware, Drivers, and DAW Settings
- Technical routing: Connecting the synth and DAW step by step
- Vendor plug-ins: what they solve and where they fall short
- Fixing latency and timing: causes and permanent fixes
- Workflow best practices: templates, bouncing, and project management
- Why the Right Routing and Hardware Make All the Difference
- Support from i4studio for synthesizer integration
- Resources
- Frequently Asked Questions
Quick Checklist: Hardware, Drivers, and DAW Settings
Before connecting any cables, it’s best to go over these points first. Proper preparation will save you a lot of frustration later on with audio glitches or slow response times.
- An audio interface with enough inputs and low-latency drivers such as ASIO or Core Audio.
- Stable MIDI connections: a reliable USB cable or a dedicated MIDI interface for each device.
- Correct DAW settings: Enable External Instrument, assign the correct audio input, and set the buffer size appropriately for recording.
- Check the sample rate, driver updates, and cable quality, and use a standard project template as a starting point.
An audio interface serves as the link between your synth and your DAW: it handles both audio transmission and, in many cases, the MIDI connection—all in a single device.
Technical Setup: Connecting a Synth and DAW Step by Step
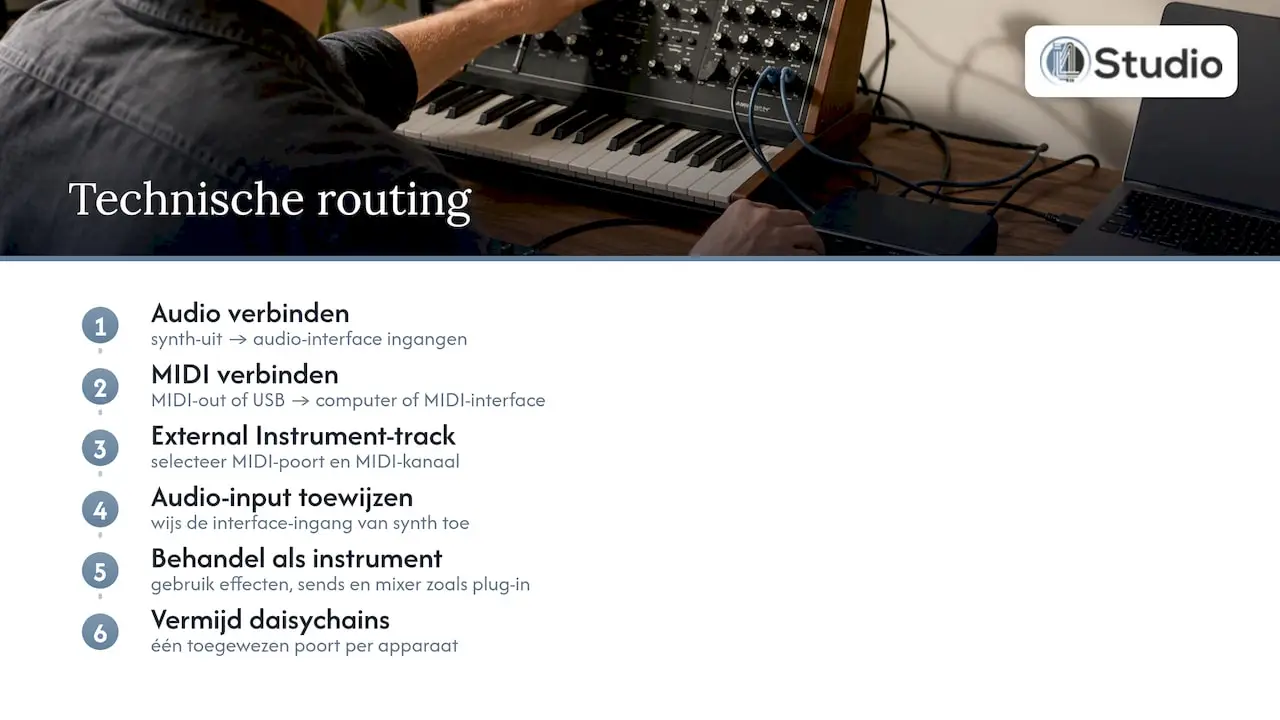
The connection between a synthesizer and a DAW always involves two separate signals: MIDI sends the control data, while audio carries the actual sound. First, connect the audio output of your synth to one or more inputs on your audio interface. Then, connect the synth’s MIDI output or USB port to your computer, either directly or via a separate MIDI interface.
Next, set up an External Instrument track in your DAW: select your synth’s MIDI port and MIDI channel, and assign the audio input through which the sound comes in. Steinberg’s documentation explains how this bus behaves in the mixer just like a regular instrument plug-in, so your hardware essentially acts like software. In Logic Pro, this principle works similarly: you select the MIDI and audio inputs and then treat the synth as a regular instrument track, including effects and sends, as Apple’s own instructions show.
Avoid MIDI-thru daisy chains where multiple devices are connected in a row. Assigning a dedicated port to each device keeps signal latency predictable and prevents strange glitches during recording. A step-by-step guide to connecting your audio interface will help if this is your first time doing so.
Vendor Plug-ins: What They Solve and Where They Fall Short
Manufacturers are developing their own connection tools that go beyond the standard External Instrument method. They add functionality that pure MIDI and audio do not offer.
- Multi-channel audio streaming, so you can receive multiple outputs from your synth separately in the mixer.
- Preset and parameter restoration, so your settings are automatically restored for each project.
- Seamless integration into your DAW’s plug-in browser, without having to use separate software.
Elektron’s Overbridge is a clear example of this: the second version allows Elektron instruments to function as VST, AU, or AAX plugins with multiple audio channels simultaneously. Vendor-connect tools like Overbridge enable multi-channel streaming and direct parameter restoration within your plug-in browser—something that isn’t possible with a standard External Instrument setup. Roland takes a similar approach with ZENOLOGY, which lets you design sounds in the DAW and transfer them directly to compatible hardware.
The downside: these tools often require specific driver versions, additional processing power, and sometimes a separate license. If you have an outdated driver or an incompatible DAW version, you’re more likely to encounter crashes than you would with the simpler External Instrument approach.
Troubleshooting Latency and Timing: Causes and Permanent Fixes
Timing issues are the most common complaint regarding synthesizer integration. The causes can usually be traced back to three things: an excessively large buffer size, incorrect or outdated drivers, and MIDI jitter caused by a long daisy chain of devices.
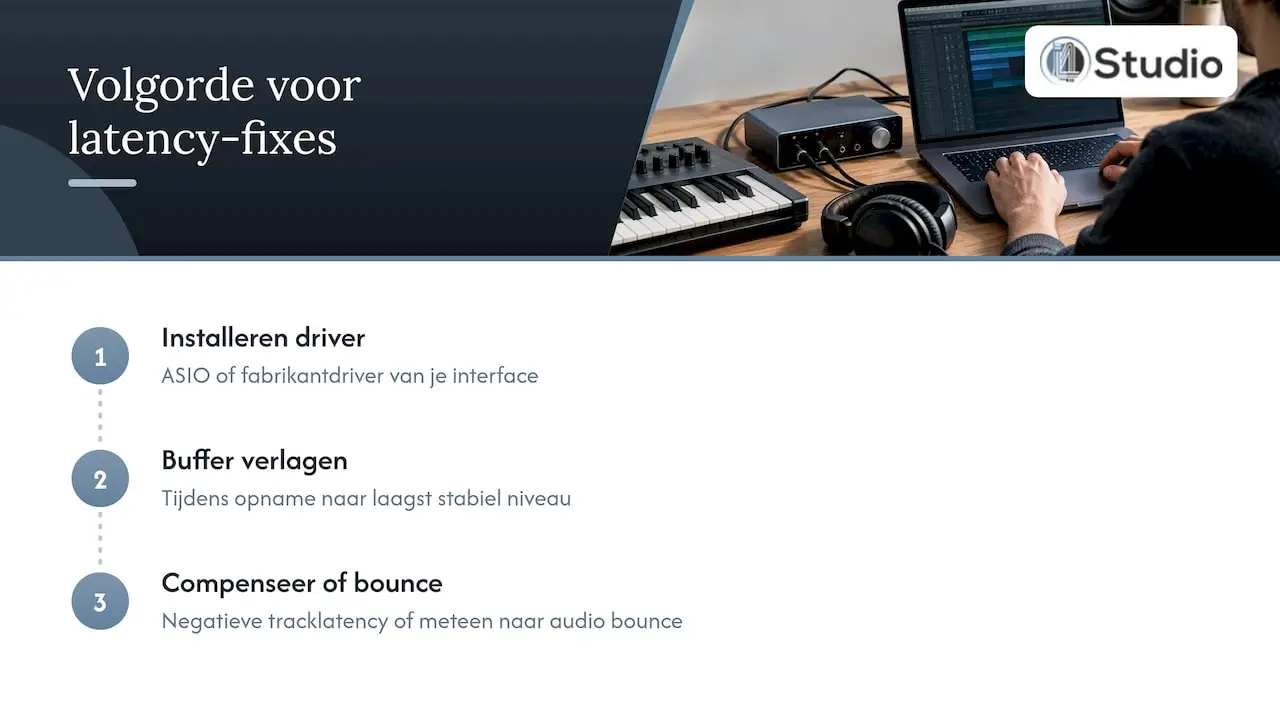
On the Ableton forum, producers report timing discrepancies ranging from 15 to 40 milliseconds, with solutions ranging from reinstalling the driver to manually shifting the recorded audio. The recommended procedure is: first install the ASIO or manufacturer’s driver for your interface, reduce the buffer size during recording to the lowest stable level, and, if necessary, use negative track latency or bounce the result directly to audio.
Sometimes, trying to force a perfect sync is pointless. With an unstable or older setup, manual correction after recording often works better than relying on automatic compensation, which isn’t always flawless. You can find more information about minimizing latency in our guide on reducing latency.
Pro tip: Thoroughly measure the round-trip latency of your entire chain once and record the value in your project template, so you don’t have to figure out the correct compensation every session.
Workflow Practices: Templates, Bouncing, and Project Management
A set workflow saves you time and prevents you from having to start from scratch with every new session.
- Create a project template with the External Instrument inserts, routings, and buffer settings you typically use.
- Bounce or render the hardware tracks as soon as the take is final; this eliminates CPU load and timing drift in a single step.
- Save your presets separately and document which hardware patch belongs to which project, so you can rebuild an old session later.
On the Ableton forum, this approach is frequently cited as best practice: use an External Instrument or a vendor plug-in during sound design, and replace the track with the bounced audio as soon as the part is finalized. You can find more specific tips for your daily session setup in our guide to digital audio workflows.
Why the Right Routing and Hardware Make All the Difference
Many timing issues that are dismissed as DAW problems are actually a matter of driver settings or an unstable internal setup. A system that performs consistently with low buffer sizes will save you hours of manual correction later on.
You can build expertise around stable, low-latency systems, offering advice to producers on how to set up their equipment. Have your current setup tested or ask for specific advice before you buy yet another plug-in to mask a hardware problem.
— harold
Support from i4studio for synthesizer integration
You can’t fix unstable routing with more software—you need a system that processes MIDI and audio streams without delay. We provide custom-built studio PCs optimized for stable performance with low buffer sizes, capable of handling multiple synthesizers and audio interfaces simultaneously.
In addition to computers, audio interfaces and synthesizers are also available, along with personalized advice on setting up a studio. Check out the Studio PCs or ask for advice on acoustic panels if the room itself also affects sound quality.
Sources
- Steinberg – External Instrument (Cubase) Documentation
- Elektron – Overbridge
- Apple Logic Pro – External Instrument Guide
- Ableton Forum – External Hardware MIDI & Latency Issues
Frequently Asked Questions
What is the difference between MIDI and audio when integrating a synthesizer?
MIDI transmits only control data—such as which note and how hard a key is pressed—while audio carries the actual sound signal. Your synth receives MIDI from your DAW and sends the resulting sound back as audio through your interface.
How do I set up “External Instrument” correctly?
You select your synthesizer’s MIDI port and MIDI channel, and then assign the audio input through which the sound from your interface is received. Logic Pro and Cubase will then treat your hardware as a regular instrument track, with full access to effects and sends.
Why is my synthesizer out of sync with the DAW?
This is usually caused by a buffer size that is too large, an outdated driver, or jitter caused by a long MIDI daisy chain. Install the correct ASIO or manufacturer driver, reduce the buffer size during recording, and bounce critical parts to audio as soon as the timing is locked in, as also discussed in the Ableton forum.
Do I need a vendor-connect plug-in like Overbridge?
Not necessarily: the standard External Instrument route works for most recordings and already offers full editing capabilities. You’d add a tool like Overbridge if you need multi-channel audio or automatic preset restoration, but that does require additional processing power and up-to-date drivers.
What are the minimum hardware requirements for stable integration?
You’ll need an audio interface with low-latency drivers and enough inputs, plus a reliable MIDI connection for each device. A stable studio PC with sufficient processing power prevents the drivers themselves from becoming a bottleneck during recording.