Briefly:
- A studio PC checklist helps you optimize your hardware, BIOS, and Windows for stable recordings. Proper configuration prevents delays, dropouts, and noise during audio playback. Regular maintenance and testing ensure reliable, low-latency studio performance.
A studio PC checklist is a structured series of checks and settings that prepare your computer for flawless recording and editing. Without this checklist, you’ll miss system tweaks that have immediately audible consequences: clicks, dropouts, and slow load times. Optimization goes beyond simply choosing the right hardware. It requires an integrated approach to the BIOS, operating system, drivers, and workflow. This checklist provides musicians and studio owners with a concrete overview of all the essential steps for a stable, latency-free studio computer in 2026.
1. What hardware components should be included on a studio PC checklist?
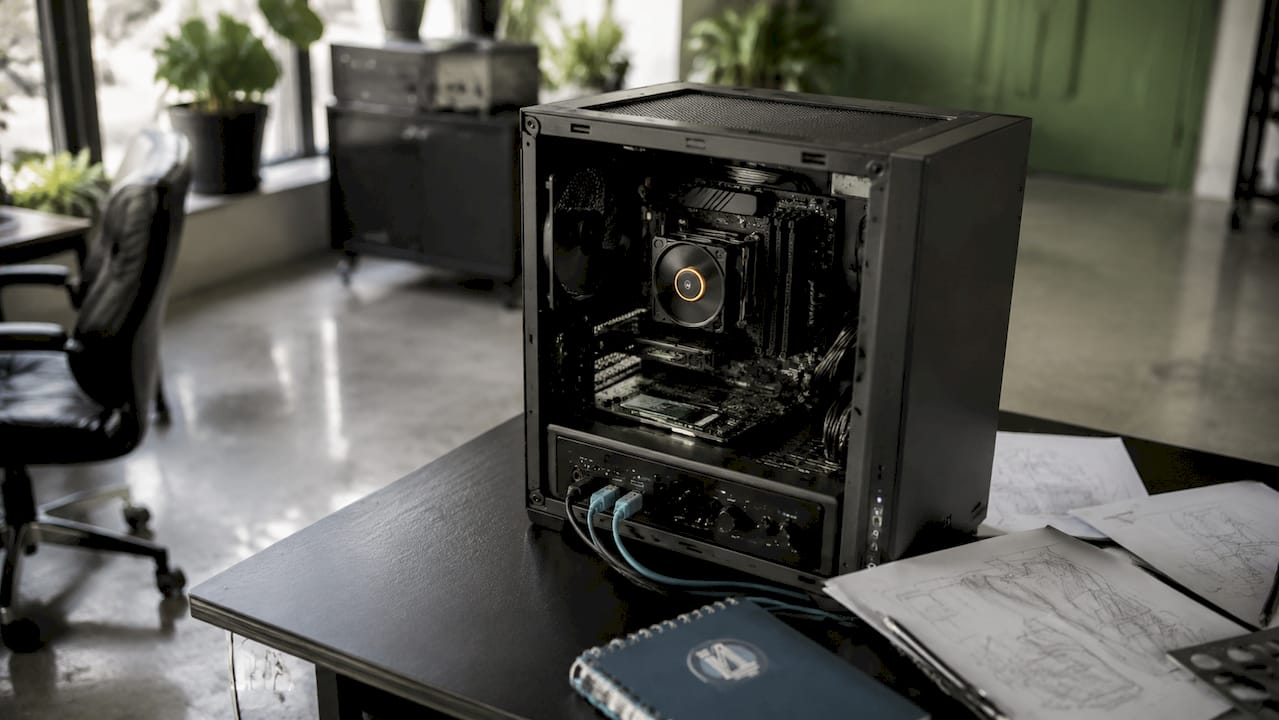
The foundation of any good recording PC is hardware that performs reliably under continuous load. Gaming PCs aren’t automatically suitable for this purpose: audio requires different priorities than graphics processing power, namely stable, low-latency drivers and quiet cooling.
Processor
A modern multi-core CPU handles large sample libraries and real-time plugins with ease. AMD Ryzen processors and Apple Silicon M3 and M4 chips perform well in single-core benchmarks, which directly affects your DAW’s buffer capacity. Choose a processor with a high clock speed per core, not just a high number of cores.
Working Memory and Storage
At least 32 GB of RAM is the standard for projects with large sample libraries and AI plugins. Less memory forces your system to swap, which causes direct latency. Use a fast NVMe SSD as your system drive and a second NVMe SSD for projects and samples. Projects with vocal exports and immersive audio formats can quickly take up more than 50 GB of disk space, so plan for ample storage.
Audio Interface
The audio interface is the heart of your signal path. Modern interfaces with USB4 or Thunderbolt 4 support 64 or more channels at 192 kHz with sub-2ms latency. Stable drivers are more critical here than a high sample rate alone. Choose an interface from a manufacturer that regularly releases driver updates.
Cooling and Noise Level
Quiet cooling isn’t a luxury in a studio. A noisy fan lets sound leak into your recording space and disrupts acoustic measurements. Choose a large, low-speed cooler or a closed-loop water cooling system with a low pump speed.
Pro-tip: Before purchasing, check your cooler’s noise specifications in dBA at full load. Anything above 25 dBA is audible in a quiet recording room.
Below is a list of the essential hardware:
- CPU: AMD Ryzen or comparable processor with high single-core performance
- RAM: at least 32 GB, preferably 64 GB for large orchestral libraries
- System drive: NVMe SSD with at least 1 TB
- Project Drive: Second NVMe SSD for samples and project files
- Audio interface: USB4 or Thunderbolt 4 with stable drivers and low latency
- Cooling: quiet air cooler or closed-loop water cooling at less than 25 dBA
- Power Supply: a stable PSU with sufficient wattage and good filtering
You can find more information about studio PC components at I4studio.
2. How do you optimize the BIOS and Windows for a latency-free studio PC?
BIOS and Windows settings largely determine how stable your system performs during recording. A single incorrect setting can cause DPC latency spikes. A DPC latency spike exceeding 500 microseconds causes audible clicks and dropouts during recording or playback.
Step-by-Step BIOS and Windows Optimization
- Disable C-States in the BIOS. C-States cause the CPU to slow down under light load. Disabling C-States prevents micro-delays that occur when the processor restarts in response to a sudden audio request.
- Set Windows Power Options to “High Performance.” The High Performance plan prevents CPU throttling and minimizes audio dropouts. Go to Control Panel, Power Options, and select “High Performance.”
- Set the CPU cores to “unparked.” By default, Windows parks cores to save energy. Use a tool like ParkControl to keep all cores active during production sessions.
- Turn off USB Selective Suspend. This setting allows Windows to put USB ports into sleep mode. This causes connection interruptions with audio interfaces and MIDI controllers.
- Turn off Fast Startup and sleep mode. Fast Startup loads a partial system state during startup. This can cause driver issues and unpredictable latency. Disable both options in Power Options.
- Turn off unnecessary background services. Windows Search, SuperFetch, and automatic updates consume disk and CPU bandwidth during recording. Disable non-essential services via services.msc.
- Remove visual effects. Go to System Properties, Advanced, Performance Settings, and select “Adjust for best performance.” Animations and transparency take up GPU time that your DAW could use more effectively.
Pro-tip: Create a system restore point before changing your BIOS settings. That way, you can always revert to a working configuration if a setting causes problems.
3. What software and workflow optimizations can improve your recording?
Hardware and the BIOS form the foundation, but software settings determine how smoothly your DAW runs during a session. Background updates and unnecessary services are the most common causes of unexpected DPC spikes during recording.
Choosing a DAW and Configuring Settings
Your choice of DAW directly affects stability and capabilities. Pro Tools is the industry standard for professional recording studios. Logic Pro offers robust AI integrations for Mac users. Reaper is flexible and lightweight, making it suitable for custom workflows. Choose the DAW that fits your workflow and make sure the software works well with your audio interface drivers.
Set the buffer size in your DAW to the lowest possible value at which you don’t hear any dropouts. Start at 128 samples and increase the value if you experience problems. Enable exclusive mode in your audio driver settings so that the DAW has direct access to the interface without Windows audio mixing in between.
Practical Software Settings
- Disable Windows Update during sessions. Schedule updates at fixed times outside of business hours. Automatic updates launch background processes that immediately cause latency.
- Increase the timer resolution. Use a tool like TimerResolution to set the Windows system timer to 1 ms. The default setting of 15.6 ms is too coarse for accurate audio processing.
- Manage USB devices carefully. Connect only the devices you need during a session. Every additional USB device adds a potential source of DPC spikes.
- Keep your drivers up to date, but be selective. Only update audio drivers if a new version fixes a specific problem. Don’t just replace a stable driver that’s working.
- Back up your projects regularly. Use an external drive or cloud storage for daily backups. Losing a session due to a system crash is preventable.
- Use a separate user account for production. A clean account without personal apps and browser extensions keeps the system free of unnecessary background processes.
More specific tips on PC optimization for DAWs are detailed on the I4studio website.
4. What are the best maintenance practices for your studio PC?
A properly configured studio PC will only remain stable if you check and maintain it regularly. Without periodic checks, problems will creep in that you won’t notice until you’re recording.
Regular hardware inspection
Dust is the enemy of cooling. Clean your PC every three months with compressed air, especially the CPU cooler, power supply, and ventilation openings. Check cables for wear and tear, and make sure all connections are secure. A loose SATA cable or a wobbly USB connector can cause unexplained dropouts.
Testing DPC Latency with LatencyMon
LatencyMon measures DPC spikes and shows which drivers are causing latency above 500 microseconds. Run this test after every major Windows update or driver change. A clean system will not show any red bars in LatencyMon during normal use.
Pro-tip: Run LatencyMon for at least 15 minutes while your browser, email client, and other background apps are open. This way, you’ll see realistic spikes, not just the best-case scenario.
Driver and firmware updates
- Check for firmware updates for your audio interface every month
- Update your graphics drivers only if you’re experiencing a specific problem
- Always create a system restore point before updating a driver
- After each update, use LatencyMon to check whether the latency has remained stable
System Restore Points and Backups
Create a system restore point before every major change, such as a Windows update or a new software installation. Use Windows System Restore if an update causes audio stability issues. Store project backups on a separate drive that is not connected to your production drive.
5. How do you properly configure an audio interface for low latency?
The audio interface connects your analog signals to your digital workflow. An incorrect setting can render even the best interface unusable for professional recording.
Set the sample rate and bit depth to the level that suits your project. For most productions, 48 kHz at 24 bits is the standard. Higher sample rates, such as 96 kHz or 192 kHz, double the CPU load without any audible difference in the final product for most applications.
Enable your interface’s direct monitoring feature, if available. Direct monitoring routes the input signal back to your headphones or monitors without passing through the computer. This results in zero audible latency while singing or playing. The Audient EVO 16 audio interface is an example of an interface with reliable drivers and direct monitoring.
Connect your interface to a USB port on the motherboard itself, not through a USB hub. Hubs introduce latency and increase the likelihood of connection interruptions. Check Device Manager to make sure the interface is using its own USB controller and isn’t sharing it with other devices.
6. How do you set up an efficient project structure for your studio PC?
A well-organized project structure prevents you from wasting time searching for files during a session. Create a consistent folder structure on your project drive with separate folders for audio, MIDI, exports, and backups for each project.
Use descriptive file names that include the date and version number, such as “session_guitar_20260312_v2.” That way, you’ll always know which version is the most recent without having to open every file. Never save project files on your system drive. The system drive has different read and write patterns than a project drive, which reduces the performance of both.
Musicians who also work as freelancers in the performing arts can find information on Nowjobs about the job market in the music and performing arts sectors—which is useful if you also use your studio for outside clients.
7. What are the most common mistakes people make when building a gaming PC?
The most common mistake is buying a gaming PC and expecting it to work as a studio computer right away. Gaming PCs prioritize graphics performance and high frame rates. A studio computer prioritizes stable, low-latency drivers, quiet cooling, and reliable USB and Thunderbolt connectivity. These two profiles barely overlap.
A second common mistake is buying too little RAM with the intention of upgrading later. Many motherboards have limitations regarding memory configuration compatibility. Buy the amount of RAM you’ll need in the long term right away. For producers working with orchestral libraries or Dolby Atmos projects, 64 GB is the practical minimum.
The third mistake is skipping the BIOS optimizations. Many musicians install their DAW and start working right away without checking the system settings. That works until an unexplained dropout ruins a recording. Building a complete studio PC starts with the right basic settings, not with the software.
Key insights
A studio PC checklist is only effective if you optimize your hardware, BIOS, Windows settings, and workflow together to ensure stable, low-latency performance.
| Item | Details |
|---|---|
| Hardware as the Foundation | Use at least 32 GB of RAM, an NVMe SSD, and an interface with USB4 or Thunderbolt 4. |
| BIOS settings are critical | Disable C-States and set power management to high performance to prevent DPC spikes. |
| Windows requires configuration | Turn off background services, Fast Startup, and USB Selective Suspend for stable audio performance. |
| Test Regularly with LatencyMon | Measure DPC latency after every update and keep spikes below 500 microseconds. |
| Maintenance Prevents Problems | Clean your hardware every three months and create system restore points before making any major changes. |
What I’ve Learned After Years of Building Studio PCs
After building and optimizing dozens of studio computers, one thing consistently strikes me: most problems aren’t caused by poor hardware, but by steps that were skipped during setup. A musician buys top-notch components, installs his DAW, and starts working. Three weeks later, he calls with unexplained clicks during recording. Nine times out of ten, the problem lies in C-States that are still enabled, or a Windows update that ran overnight.
What I also see is that musicians tend to immediately buy new hardware when they run into problems—a new interface, a faster SSD. But if the BIOS settings aren’t correct, no new component will help. The checklist isn’t a one-time task; it’s a discipline. You should run it during the initial setup, after every major Windows update, and after installing new software.
My honest advice: start small and organized. Don’t buy the most expensive components if you haven’t mastered the basic optimizations yet. A well-configured mid-range studio PC performs better than a poorly configured high-end machine. And if you’re unsure which configuration suits your workflow, first figure out which studio PC is right for you before making a decision.
– harold
I4studio can help you with your studio PC
A good checklist provides guidance, but the right hardware makes all the difference in practice. I4studio specializes in custom studio PCs and studio acoustics, built for musicians and studio owners who refuse to compromise on stability or sound quality.

Check out the complete overview of studio PC components for music production to see which parts fit your workflow and budget. Want to compare the best configurations right away? The studio PC examples for 2026 give you a concrete starting point for every budget category. I4studio works with you every step of the way, from the first component to a fully configured system.
Frequently Asked Questions
What exactly is a studio PC checklist?
A studio PC checklist is a structured overview of hardware requirements, BIOS settings, and Windows optimizations that, when combined, ensure stable, latency-free audio performance.
How much RAM do I need for a studio PC?
At least 32 GB of RAM is the current standard for professional music production. If you work with large orchestral libraries or immersive audio formats, 64 GB is the practical minimum.
Why isn’t a gaming PC suitable as a studio computer?
A gaming PC prioritizes graphics performance and high frame rates. A studio computer requires stable, low-latency drivers, quiet cooling, and reliable audio connectivity. These requirements hardly overlap.
How do I measure the latency of my studio PC?
Use LatencyMon to measure DPC spikes. A spike above 500 microseconds causes audible clicks and dropouts during recording or playback.
How often should I maintain my studio PC?
Clean the hardware every three months and test the DPC latency after every major Windows update or driver change. Always create a system restore point before making any changes.