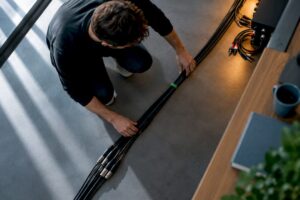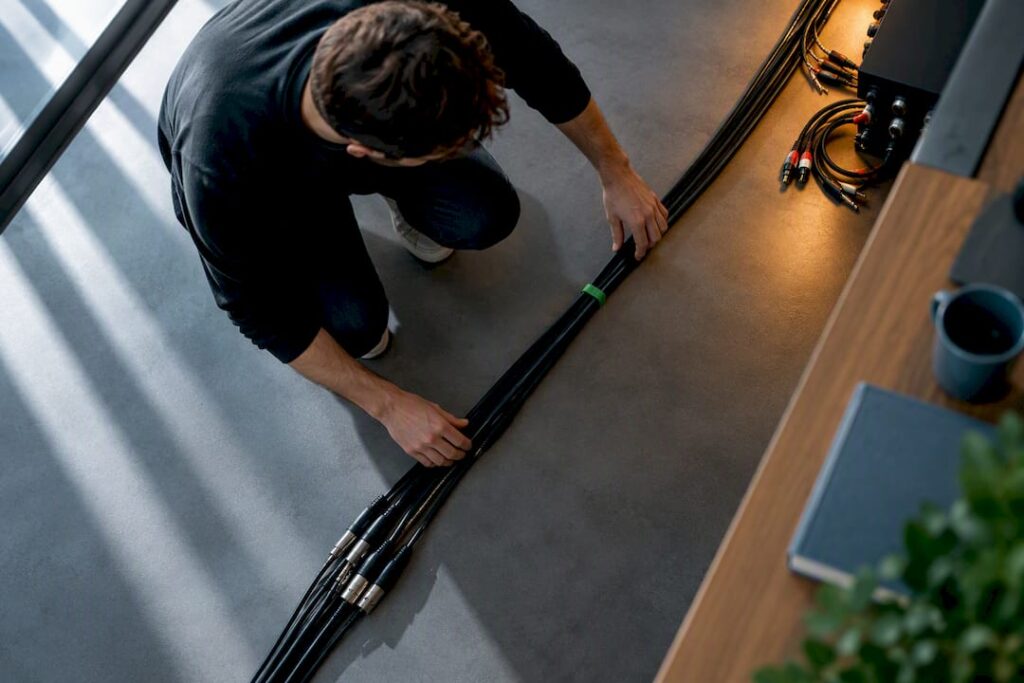
Plug all equipment into a single grounded outlet or power strip; use balanced XLR/TRS connections for any long cable runs; and always break up any ground loops found on the audio side using a ground lift or DI box. In most studios, this eliminates the majority of hum. Never disconnect a device’s ground to eliminate interference: that’s a safety hazard, not a solution.
In short:
- Using a single grounded outlet and balanced XLR or TRS cables minimizes the risk of hum in studios.
- A star topology for the power supply, in which all equipment is powered from a single grounded point, is the most effective solution for preventing ground loops.
- Never removing the ground pin from plugs is essential for safety and to prevent electrical interference.
- Avoid missing the root cause of the problem by testing and documenting each step one by one.
- When troubleshooting hum, always start by optimizing the power supply and selecting the correct cables before resorting to ground lifts or transformers.
Table of contents
- Installing Cables Without Hum: An 8-Step Checklist
- How to Set Up Power and Grounding to Prevent Ground Loops
- Cable selection and routing that minimize interference
- How do you find the source of a ground loop or interference?
- How does I4studio approach hum-free installations?
- What Most Guides on Hum Overlook
- Tips and Equipment for a Hum-Free Studio
- Sources
- Frequently Asked Questions
Installing Cables Without Interference: An 8-Step Checklist
If you work systematically, you can usually pinpoint a ground loop or electromagnetic interference within half an hour. The order listed below goes from the most likely cause to the least likely, so you don’t end up replacing cables blindly before you know the actual source.
- Connect the interface, monitors, and outboard gear to the same power strip or the same wall outlet. Avoid daisy-chaining power strips that are connected to different wall outlets.
- Replace unbalanced cables (TS, RCA) with balanced XLR or TRS connections whenever possible.
- Turn on the ground lift on your DI box or interface power supply and listen to the effect. Make a note of the result before continuing.
- Always cross power and signal cables at a 90-degree angle, and keep power bundles and signal bundles physically separated.
- Replace any cables that have been making suspicious noises for some time before you look any further for a structural cause.
- As a temporary test, run the system on battery power—for example, using a laptop—to rule out the charging path as a source of interference.
- Document which action eliminated the humming noise. That will save you hours of troubleshooting the next time a problem occurs.
- If the problem persists and appears to be related to the home’s electrical system, contact a certified electrician.
Pro tip: Always test one change at a time. If you swap two cables and change a power strip at the same time, you’ll never know which change solved the problem.
How to set up power and grounding to prevent ground loops
A ground loop occurs whenever a signal path follows multiple routes to ground. In principle, each device should have a single earth-current path; as soon as two paths are created—for example, between two different outlets, each with its own ground resistance—a small voltage flows through the cable shield. You can hear this voltage as a constant humming tone, usually around 50 Hz or a multiple thereof.
The most reliable solution is a star topology: all equipment is powered from a single central, grounded point, rather than a cascade of power strips connected in series. Consolidating the power supply is usually the most significant and safest step in combating hum in a studio environment, and it is also the first step recommended by most practical guides.
Here are a few tips to help you implement that star layout effectively:
- Use heavy-duty extension cords to supply power to remote rigs, rather than daisy-chaining individual power strips.
- When mounting racks where chassis grounding is undesirable, use nylon insulating sleeves, and pay close attention to the chassis ground of each device.
- Run all interfaces, monitors, and outboard units through the same circuit, even if that requires an extra extension cord.
- If in doubt, consult an electrician about alternatives such as a separate ground rod or “earthing plug,” rather than tinkering with the wiring yourself.
Never remove the ground pin from a plug to eliminate hum. It may seem like a quick fix, but it makes the setup extremely dangerous in the event of a malfunction. Studios that use only laptops or tablets without a fixed ground connection often operate without issues, but as soon as you connect an audio interface to a solid, grounded point, the interference that occurred with a floating ground disappears. A grounded outlet is therefore not optional: it’s the foundation on which the rest of your cabling rests.
Cable selection and routing that minimize interference
The type of cable you use largely determines whether or not interference will get through. Balanced XLR and TRS cables carry the signal via two conductors in opposite phases, plus a separate shield, which cancels out any picked-up noise in both conductors. Unbalanced RCA and TS cables lack this protection and are therefore only suitable for short, local connections, such as between a synthesizer and a mixing console on the same floor.
When it comes to the shielding itself, the material makes a difference. A braided shield generally offers lower and more stable resistance than a foil shield, and that is precisely why it is important for longer cable runs: higher shield resistance increases the common-impedance coupling between ground and the signal, and you can hear that as hum.
There are a few set rules for physical routing:
- Use XLR or TRS connectors for microphones and all monitor lines; reserve RCA and TS connectors for short, local connections.
- Bundle signal cables together, but keep power cables in a separate bundle, away from the signal bundle.
- Always cross power and signal cables at a 90-degree angle and, whenever possible, maintain a distance of 10 to 15 centimeters between them, as recommended in practical guides on cable separation.
- Above a certain length—usually several tens of meters—a DI box or isolation transformer is a more reliable solution than even longer balanced cables.
Good cable management is therefore not just about aesthetics. It’s the first line of defense against electromagnetic induction, even before you’ve touched a single ground lift. If you’d like to learn more about the differences in noise behavior between cable types, read on in the explanation of balanced audio.
How do you locate the source of a ground loop or interference?
Systematically troubleshooting a problem starts with a baseline: minimize the signal chain to the bare essentials and temporarily increase the gain to make the hum clearly audible. This way, you can be sure that you’re hearing a real difference with each subsequent step, rather than wondering whether a change made any difference.
- Disconnect devices one at a time, rather than several at once, to pinpoint exactly which connection is causing the loop.
- Turn on the ground lift on your DI box or interface and assess the effect immediately.
- If the hum remains audible, consider using an isolation transformer between the two devices that form the loop.
- Replace the suspect cable to rule out damaged shielding, and check connectors for oxidation or loose pins.
- Document every test result—including negative ones—so you don’t end up retracing the same dead-end paths the next time a problem occurs.
Pro tip: Using the ground lift on an interface or DI box is the non-invasive first step. If that doesn’t work, an isolation transformer is usually more effective than replacing yet another cable. If the problem persists and seems to be related to the home electrical system itself, consult a certified electrician before experimenting further. For interface-specific issues, the guide on troubleshooting audio interface problems is a good next step.
How does I4studio handle hum-free installations?
We design and supply custom studio PCs, provide advice on cable management, and collaborate on the design of complete systems. The configurations that most effectively prevent hum in practice share three characteristics: star-topology power distribution from a single grounded point, balanced monitor runs over the entire length, and a DI box on each instrument that connects directly to the interface.
- Star-shaped power distribution prevents different ground potentials between devices from forming a loop.
- Balanced XLR runs to the monitors eliminate most of the picked-up noise over longer distances.
- A DI box between the instrument and the interface breaks the loop on the audio side without requiring you to touch the ground connection.
If you’re buying a new studio PC or audio interface and want some solid advice right away on how to set up the cabling, the examples on the “studio PC” page are a great starting point for the rest of your setup.
What Most Guides on Brom Overlook
Most articles on hum in studios treat ground lifts and isolation transformers as the first line of defense. That’s the wrong order. A DI box or isolator masks a problem that could often have been solved with a properly configured star-wired power supply and the right choice of cables. Anyone who reaches for the transformer right away misses the opportunity to learn where the loop is in their own setup, and will run into the same interference the next time they expand their studio.

As far as I’m concerned, the biggest misconception is that hum is an audio problem. It’s an electrical problem that manifests itself through the audio. A technician who focuses solely on cables and connectors ignores the electrical circuit behind them, even though that circuit is usually the actual cause. So always start with the power strip, not the cable.
The practical lesson is simple: first, consolidate your signal path; next, choose balanced connections; and only as a last resort, use isolation. If you reverse that order, you’ll end up paying more—in terms of both time and equipment—for the same result.
– harold
Advice and Equipment for a Hum-Free Studio
This is the alternative to searching for cables, adapters, and interfaces at various online stores: here, you can combine expert advice, equipment, and a custom-built studio PC all in one place, optimized for low latency and a stable signal chain.

Are you unsure whether your current interface is causing the hum, or are you ready for an upgrade that’s properly grounded and balanced from the start? Check out our selection of audio interfaces and ask for advice on the right star-connected power supply for your setup. For studios that want to address acoustics in addition to the electrical aspects, we offer advice on acoustic panels tailored to the space. Would you like a complete, hum-free studio PC setup right away, including cable selection? Contact us for a quote via I4studio.
Sources
- Understanding & Solving Ground Loops (Sound On Sound)
- Understanding, Finding, & Eliminating Ground Loops in Audio & Video Systems (Jensen Transformers seminar)
Frequently Asked Questions
What’s the fastest way to get rid of a buzz?
Plug all equipment into a single grounded outlet or power strip, and replace unbalanced cables with balanced XLR or TRS connections. If the hum is still audible, enable the ground lift on the DI box or interface.
Can I remove the ground pin from a plug to stop the humming noise?
No, that is never a safe solution and increases the risk of electrocution if the device malfunctions. Always break the ground loop on the audio side—using a ground lift or an isolation transformer—and leave the power ground intact.
Why does a balanced XLR cable help reduce hum?
A balanced cable carries the signal through two conductors in opposite phases, causing any picked-up noise to cancel itself out in both conductors before it reaches the interface. Unbalanced RCA and TS cables lack this protection and are therefore more susceptible to interference over longer distances.
Can I4studio help set up a hum-free studio?
I4studio supplies and configures audio interfaces and provides advice on cable management and daisy-chain power for new installations. Check out the audio interfaces or ask for advice on a complete, hum-free setup.
Can a laptop without a ground connection still cause hum?
Yes, a floating ground on a laptop can cause interference when it is connected to an interface that is properly grounded. In that case, adding a solid ground connection to the interface usually resolves the problem.