Briefly:
- Proper placement and calibration of studio monitors ensure reliable sound reproduction and better mixes.
- Using proper placement, balanced cables, and measuring equipment prevents distortion and stereo errors.
Properly setting up studio monitors means carefully positioning, connecting, and calibrating the speakers so that you get the most accurate sound reproduction in your studio. Many musicians and studio owners underestimate this process and simply place their monitors on the desk without giving any thought to their position, angle, or connections. The result is a mix that sounds good at home but comes across completely differently on other systems. With the right approach, based on standards such as the equilateral triangle and ear-level placement, you lay a solid foundation for reliable mixes. I4studio explains step by step how to do this correctly.
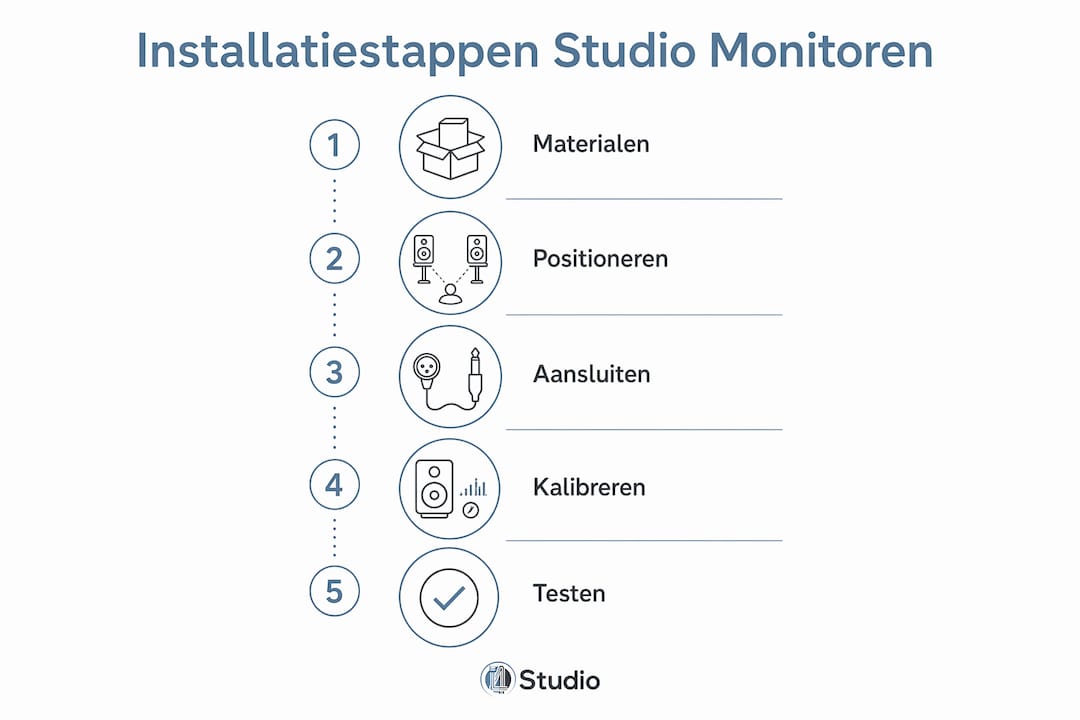
What materials do you need for assembly?
A good installation starts with the right tools and materials. If you start without proper preparation, you’ll quickly run into problems that are difficult to correct later on.
Cables and Connectors
- XLR Cables: The Best Choice for Balanced Connections Between Monitors and Audio Interfaces
- TRS cables (6.35 mm jack): also balanced and widely supported by professional monitors
- RCA cables: unbalanced and only suitable if your interface doesn’t have any other outputs
- Extension cords and cable trays: for a neat and organized installation
Installation Supplies
- Monitor stands or desk mounts for the right height
- Insulation pads for monitors: these reduce mechanical resonance and improve sound clarity by preventing vibrations from being transmitted to the desk
- Screws and anchors for wall mounting (if applicable)
Measuring equipment and software
- A measurement microphone such as the miniDSP UMIK-1 for precise calibration, or the Behringer ECM8000 as a budget option
- Room EQ Wizard (REW): a free program that measures frequency response and room acoustics for better monitor tuning
- An SPL meter for setting reference levels
Pro-tip: Use a power conditioner in accordance with the recommendations of your monitor manufacturer. This prevents malfunctions caused by fluctuations in mains voltage and significantly extends the lifespan of your active monitors.
Make sure you have all your materials on hand before you start. Stopping halfway through to look for a cable breaks your concentration and increases the chance of making mistakes.
How do you position studio monitors for the best sound reproduction?
The placement of your monitors has a greater impact on your sound than any other setting. Even the most expensive monitors will sound bad if they’re positioned incorrectly.
Applying the Equilateral Triangle
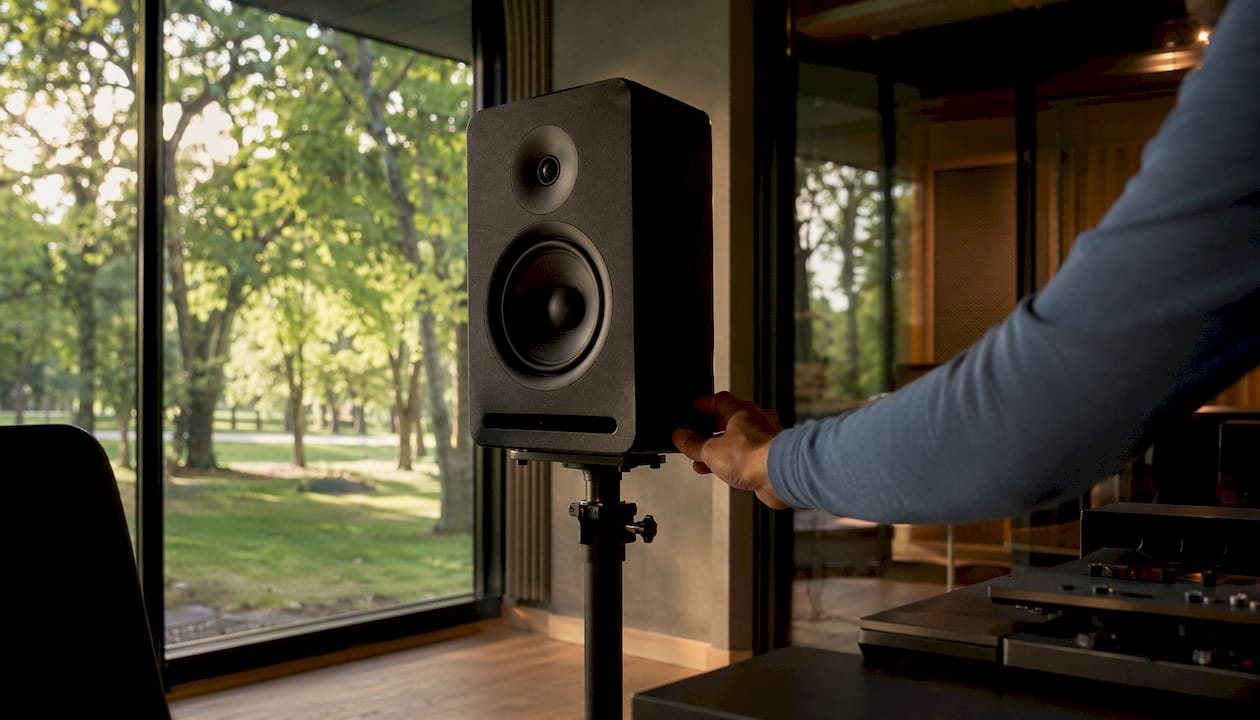
The equilateral triangle is the most commonly used standard for monitor placement. You position the two monitors and your listening position at equal distances from each other, forming an equilateral triangle. The monitors are spaced apart by the same distance as the distance from each monitor to your head. This provides the most accurate stereo reproduction and ensures that the sound from both monitors reaches your ears evenly.
A common mistake is placing the monitors too far apart. This causes the stereo image to fall apart, and you’ll hear a gap in the middle. Keep the triangle tight and double-check the distances with a tape measure.
Position the tweeters at ear level
Placing tweeters at ear level is not a preference but a requirement. High frequencies are directional. If the tweeter is positioned too low or too high, you won’t hear the high frequencies correctly, and you’ll make compensatory choices in your mix that will sound wrong on other systems. Use monitor stands or desk brackets to set the correct height.
Toe-in: Setting the Correct Camber
Tilting your monitors inward—also known as “toeing-in”—directs the sound more precisely toward your listening position. A toe-in angle of 15–30 degrees improves the stereo image and reduces side reflections. Adjust the angle by physically rotating the monitors, and then check to make sure the tweeters are still aimed at your ears.
Distance from walls and corners
Placing monitors too close to walls or in corners causes bass buildup and phase issues. Keep a minimum distance of 20–30 cm between the back of the monitor and the wall. Corners are the worst places for monitors because low frequencies converge and are amplified there. Read more about how to improve your studio’s acoustics to further minimize this effect.
Pro-tip: Use a piece of string or a measuring tape to check the equilateral triangle before you finally set up the monitors. Five minutes of measuring will save you hours of frustration when mixing.
Below is an overview of the most common configurations and their pros and cons:
| Lineup | Advantage | Disadvantage |
|---|---|---|
| Desk, freestanding | Simple and flexible | Plenty of desk resonance without pads |
| Desk mount with insulation pad | Reduced resonance, stable height | Limited height adjustability |
| Floor-standing monitor stand | No desk resonance | Takes up more space |
| Wall mounting with bracket | Maximum stability | Difficult to move; requires secure wall mounting |
How do you connect studio monitors to your audio interface?
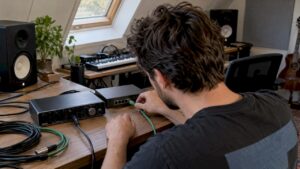
A proper connection is essential for a clean signal free of noise or distortion. Follow these steps for a safe and organized installation.
- Turn everything off. Turn off your monitors and audio interface before connecting any cables. This prevents damage to the speakers caused by sudden signal spikes.
- Choose balanced cables. Balanced connections via XLR or TRS are preferable to unbalanced RCA connections. Balanced cables reduce noise over longer distances and are the standard in professional studios.
- Connect the left monitor to the left output. Use the left output on your interface for the left monitor and the right output for the right monitor. If you switch these around, your stereo image will be mirrored.
- Set the volume to zero. Set the volume on your monitors and interface to the lowest level before turning them on.
- Shift into gear in the correct order. First, turn on your interface, then your computer, and finally your monitors. When turning them off, do so in reverse order.
- Test the signal. Play a familiar track at a low volume and check to see if both monitors are producing sound and if the stereo image is correct.
Labeling Cables for Clarity
Systematically labeling cables prevents confusion during maintenance and troubleshooting. Use label stickers or colored tape to mark each cable with its function and destination. This may seem like a minor effort, but it’s indispensable in a more complex studio setup with multiple devices.
Common connection errors include:
- Using unbalanced cables when the interface has balanced outputs
- Connecting Cables While the Equipment Is Turned On
- Swap left and right, causing the stereo image to be mirrored
- Pulling cables too tightly, which can damage the connectors
Be sure to check out I4studio’s guide to properly positioning studio monitors for additional tips on setup and connection.
How do you calibrate studio monitors after editing?
Calibration is the step that most musicians skip. Yet it’s the difference between a monitor that reflects your room and one that tells you the truth.
Step 1: Set a baseline
Start by setting a reference level of around 82 dB SPL per monitor, measured at your listening position using pink noise. This reference level of 82 dB SPL is the standard for consistent mixing skills and helps prevent your ears from getting tired too quickly.
Step 2: Measure the frequency response
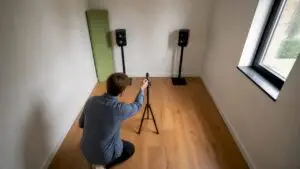
Use a measurement microphone and Room EQ Wizard to measure the frequency response of your room. REW lets you see where your room has resonances and dips. Place the measurement microphone at your listening position at ear level.
Step 3: Interpret the results
Look at the graph generated by REW. Minor deviations of 3–6 dB are normal and can be corrected digitally. Larger deviations indicate an acoustic problem in the room itself.
Calibration software that suggests corrections of more than 6–10 dB indicates that the room requires physical acoustic treatment. Digital correction does not solve the problem of a room that sounds bad. Bass traps in the corners and acoustic panels at the first reflection points structurally reduce unwanted resonances, thereby limiting the need for digital corrections.
Step 4: Adjust the space as needed
Bass traps in corners and acoustic panels at first reflection points significantly reduce resonances. This also reduces the amount of digital correction required. For home studios, there are affordable solutions that already make a big difference. I4studio offers acoustic treatment options specifically designed for home environments.
Step 5: Test with familiar tracks
Play tracks you know well on different systems. Compare how the low, mid, and high frequencies sound. If your mix sounds good on your monitors but different on headphones or a car stereo, you still need to work on the calibration or acoustics.
Pro-tip: Always calibrate at the volume at which you normally mix. Our hearing responds differently to frequencies at different volumes, so calibrating at a high volume will yield different results than calibrating at a working level.
A measurement microphone is essential for reliable calibration. Even with a budget option like the Behringer ECM8000, you can achieve good results. The miniDSP UMIK-1 offers greater accuracy and is USB-powered, which simplifies the workflow.
Key insights
Proper setup of studio monitors requires positioning them according to the equilateral triangle principle, balanced connections, and calibration to 82 dB SPL using a measurement microphone.
| Item | Details |
|---|---|
| Equilateral triangle | Place the monitors and listening position at equal distances from each other for the best stereo image. |
| Tweeters at Ear Level | Adjust the height of your monitors so that the tweeters are aimed directly at your ears. |
| Balanced Connections | Use XLR or TRS cables for a clean, noise-free signal. |
| Calibration at 82 dB SPL | Measure and set the reference level using pink noise and a measurement microphone at your listening position. |
| Physical Acoustics First | Corrections exceeding 6–10 dB in calibration software require bass traps and acoustic panels, rather than further digital correction. |
What I’ve learned after years of working on studio installations
After overseeing dozens of studio setups—from small home studios to larger recording spaces—one thing consistently stands out to me: most problems aren’t caused by poor monitors, but by poor preparation.
Musicians sometimes invest thousands of euros in monitors and then simply place them on their desks without giving it a second thought. They ignore the equilateral triangle rule, position the tweeters at chest height, and use unbalanced cables. As a result, the monitor gets blamed for a problem caused by the setup.
Another thing I see: people using calibration software as a quick fix. If REW suggests corrections of 12 dB or more, the room is the problem. No software can fix a room that’s full of hard, parallel walls and lacks absorption. So invest in a few bass absorbers and acoustic panels first before moving on to digital correction.
For home studios, my advice is always: start small and measure. One good measurement microphone and REW will give you more insight than any manual ever could. You’ll literally see what your room does to your sound. That insight will guide all your future decisions, from the positioning of your monitors to the placement of acoustic panels.
Professional studios have the advantage of an acoustically treated space. Home studios have to make smarter use of what they have. But with the right approach—the equilateral triangle, isolation pads, balanced cables, and proper calibration—you can achieve surprisingly good results. Musicians who earn extra income through music know how important a reliable sound is for professional-sounding recordings.
– harold
I4studio can help you set up your studio
Setting up your monitors correctly is one step. Bringing the rest of your studio up to the same standard is the next.

I4studio specializes in studio gear, acoustic solutions, and custom studio PCs. Whether you’re just starting out or looking to upgrade your existing setup, the beginner’s guide to studio gear gives you a clear overview of what you really need, including isolation pads, measurement microphones, and calibration tools. Looking for a complete monitor controller for your setup? The Mackie Big Knob Studio is a reliable choice for controlling multiple pairs of monitors. For acoustic treatment, I4studio offers a wide range of acoustic diffusers that will instantly improve your space.
Frequently Asked Questions
What is the ideal distance between two studio monitors?
The distance between the two monitors is equal to the distance from each monitor to your listening position. This forms the equilateral triangle that provides the best stereo sound.
What’s the best cable to use for connecting studio monitors?
XLR or TRS cables are preferred over RCA cables because balanced connections reduce noise and maintain signal quality over longer distances.
How do you know if your monitors are properly calibrated?
Measure the frequency response at your listening position using a measurement microphone and Room EQ Wizard. A well-calibrated system has a relatively flat response with no peaks or dips greater than 6 dB.
Do studio monitors always have to be at ear level?
Yes. The tweeters should be aimed at ear level so that high frequencies are perceived correctly. Placing them too low or too high will distort the high frequencies in your mix.
What should you do if calibration software suggests major corrections?
Corrections greater than 6–10 dB indicate acoustic problems in the room. In that case, first place bass traps in the corners and acoustic panels at the first reflection points before applying further digital corrections.