
Briefly:
- A studio rack is a standardized 19-inch-wide enclosure that neatly organizes and protects audio equipment. It improves workflow by physically grouping devices according to the signal chain and keeps the work surface clear. The right size, material, and ventilation determine the rack’s durability and ease of use.
A studio rack is a standardized enclosure, typically 19 inches wide, that neatly organizes professional audio equipment and keeps it within easy reach. Compressors, preamps, patchbays, and audio interfaces fit neatly into numbered compartments, keeping your work surface clear and your signal chain easy to follow. Racks are the backbone of any well-equipped recording studio, from a compact home setup to a fully equipped professional studio.
Devices that fit in a rack:
- Preamps and Microphone Amplifiers
- Compressors and Limiters
- Patchbays and routing equipment
- Rack-mount audio interfaces
- Equalizers and Effects Processors
How are racks measured, and what does that mean for your studio?
The size of a rack is expressed in rack units, abbreviated as U or HE. One rack unit is equal to 44.45 mm in height. This allows you to calculate exactly how many devices will fit in a cabinet before you make a purchase.
- Width: The 19-inch standard is universally applicable to professional audio equipment
- Height per unit: 44.45 mm per U, so a 2U device is nearly 9 cm tall
- Home studio: Two 3U racks or an 8U cabinet are sufficient for a typical setup
- Professional studio: Larger racks are common for extensive hardware setups
Compact racks ranging from 3U to 8U are ideal for home studios, while larger setups with 20U or more can accommodate a complete hardware chain. If you know how many devices you currently have and how many you want to add, you’ll be able to choose the right size right away.
What benefits do racks offer for your workflow and organization?
Racks do more than just store equipment. They determine how quickly and accurately you work during a session.
- Signal chain visible: physically stack the hardware components that work together so that the signal path from preamp to compressor to interface is immediately clear
- Uncluttered workspace: outboard gear is tucked away in the rack, leaving your desk free for your laptop, mixer, and controller
- Ergonomic workflow: everything is in fixed, easily accessible positions, which prevents the need to search for items or switch between tasks during filming
- Equipment protection: Sturdy frames keep expensive devices in place and prevent damage from tipping over or being knocked over
- Cable Management: Racks with built-in cable trays keep cables organized and reduce malfunctions caused by loose connections
- Aesthetics and tranquility: a neat setup reduces visual clutter, which helps improve concentration
Pro-tip: Group hardware that you always use together physically in the same rack, preferably in the order of your signal chain. That way, you’ll never have to search for anything during a recording, and your workflow will be more intuitive.
How do you choose the right studio rack for your situation?

The decision starts with your current equipment and the space you have available. Count the number of rack units your outboard gear takes up, and add at least two extra units for future expansions.

Next, consider the materials and build quality. Steel frames are heavier but offer greater sturdiness for heavy equipment. Aluminum is lighter and suitable for mobile setups or smaller home studios. Both materials are durable under normal use. Also pay attention to ventilation openings: devices such as compressors and interfaces generate heat, and a rack without proper airflow will shorten the lifespan of your hardware.
Accessibility from both the front and back is something beginners often underestimate. Many connections are located on the back of your devices. A rack with a removable back panel or an open rear makes cabling and maintenance much easier. I4studio also recommends paying attention to the depth of the rack: not every device will fit in a shallow cabinet, especially preamps and compressors with large transformers.
- Number of units: Count your current gear and allow room for expansion
- Material: steel for permanent installations, aluminum for lighter or portable setups
- Ventilation: Choose a rack with ventilation grilles or space for a ventilation module
- Access: open rear or removable panel for easy cable management
- Safety: Sturdy frames and shielded cables prevent accidental disconnections and damage
For producers looking to improve their digital audio workflow, a well-chosen rack is one of the most immediate investments you can make.
What exactly is a studio rack?
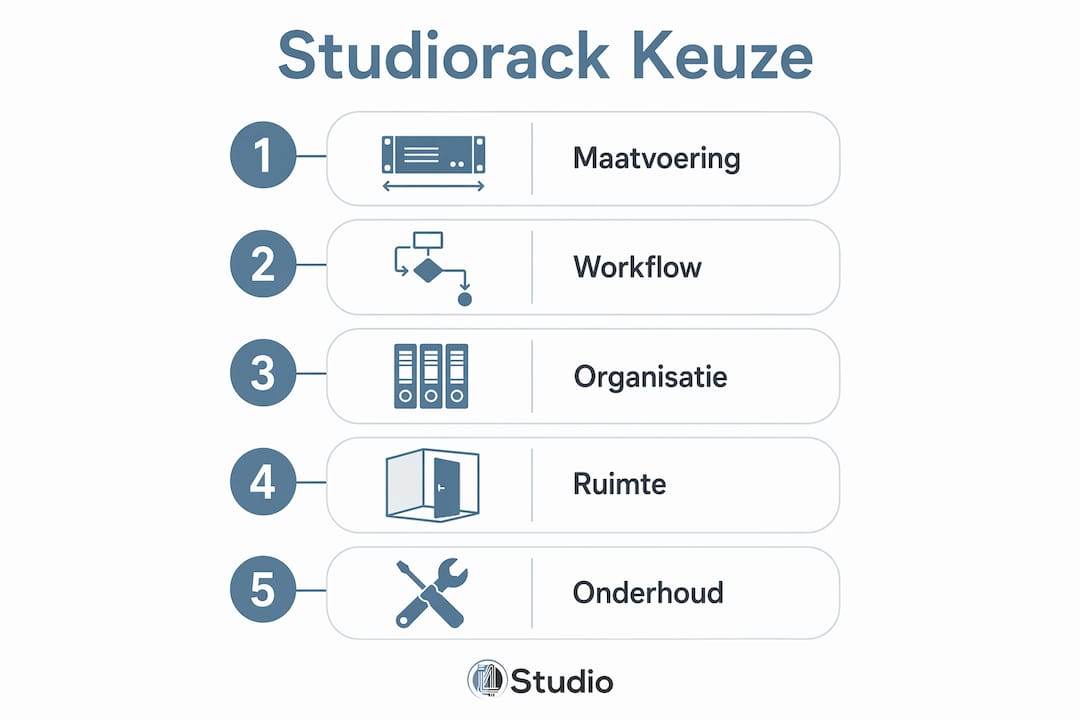
A studio rack is a piece of furniture or cabinet with standardized mounting points on both sides, allowing you to secure 19-inch-wide audio equipment in a fixed position. The enclosure protects the equipment from physical damage and keeps everything in place, even during heavy use. Racks are available as freestanding cabinets, as built-in compartments in a studio desk, or as mobile flight cases for on-location use.
The difference compared to a regular shelf or cabinet is the precision. Each device is mounted with millimeter precision, the wiring is neatly organized, and you can replace any device without disrupting the rest. That makes a rack not only practical but also future-proof: your studio can grow without having to reconfigure the entire setup.
How do you properly maintain a studio rack?
A rack requires little maintenance, but what you do makes a big difference in the lifespan of your equipment. Dust is the biggest enemy: it accumulates in ventilation openings and on circuit boards, causing overheating. Blow out the rack with compressed air every few months and use a soft brush to clean the ventilation openings.
Check regularly to make sure all screws are still tight. Vibrations from subwoofers or low frequencies can gradually loosen fasteners. A loose preamp or interface that shifts during a session is not only annoying but can also damage connections. Also check the cables at the back: cable channels keep the wiring in place, but a cable that’s pulled too tight will wear out faster. Always leave a little slack in the cables at the connection points.
Finally, keep the area around the rack dry and free of dust. Moisture can damage electronic components, especially in older equipment. A well-designed studio space with stable temperature and humidity levels will protect your investment better than any accessory.
Key insights
Racks are the most straightforward way to keep your studio organized, safe, and functional—whether it’s a compact home setup or a fully equipped professional workstation.
| Item | Details |
|---|---|
| Standard Dimensions | Racks are 19 inches wide; height is measured in rack units of 44.45 mm per U. |
| Home Studio vs. Professional | Home studios can get by with 3U–8U; professional environments typically require 14U–20U or more. |
| Workflow and Signal Chain | Group hardware physically according to the signal chain for more intuitive and faster workflows. |
| Material and Ventilation | Choose steel for sturdiness or aluminum for lighter setups; ventilation openings are essential. |
| Maintenance | Regularly blow out the rack with compressed air and check the fasteners and cable tension. |
Frequently Asked Questions
What exactly does a studio rack do?
A studio rack keeps professional audio equipment in a fixed, organized position within a standardized 19-inch enclosure. It protects the equipment, keeps cables organized, and makes the signal chain easy to follow.
What are rack units, and how do you count them?
A rack unit (U or HE) is 44.45 mm high. Add up the number of U units for all your devices to determine how large your rack needs to be, plus extra space for expansion.
Do you need a rack for your home studio?
It’s not required, but it’s recommended once you have more than one piece of outboard gear. Two 3U racks or an 8U cabinet are enough to accommodate an interface, a preamp, and a patchbay, and they’ll keep your desk clear.
How often should you maintain a studio rack?
Blow out the rack with compressed air every few months and check the fasteners and cables. If the rack is used intensively or is in a dusty environment, do this more often.