Early reflections are the sounds that reach your listening position within approximately 15 ms after the direct sound. According to ITU-R BS.1116-3, they should be significantly attenuated. First, identify the reflective surfaces on the side walls, floor, ceiling, and mixing console, and address those first. We at i4studio are here to help you with advice and panels.
Briefly:
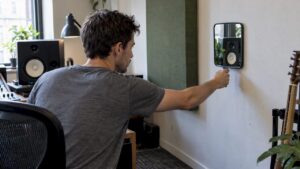
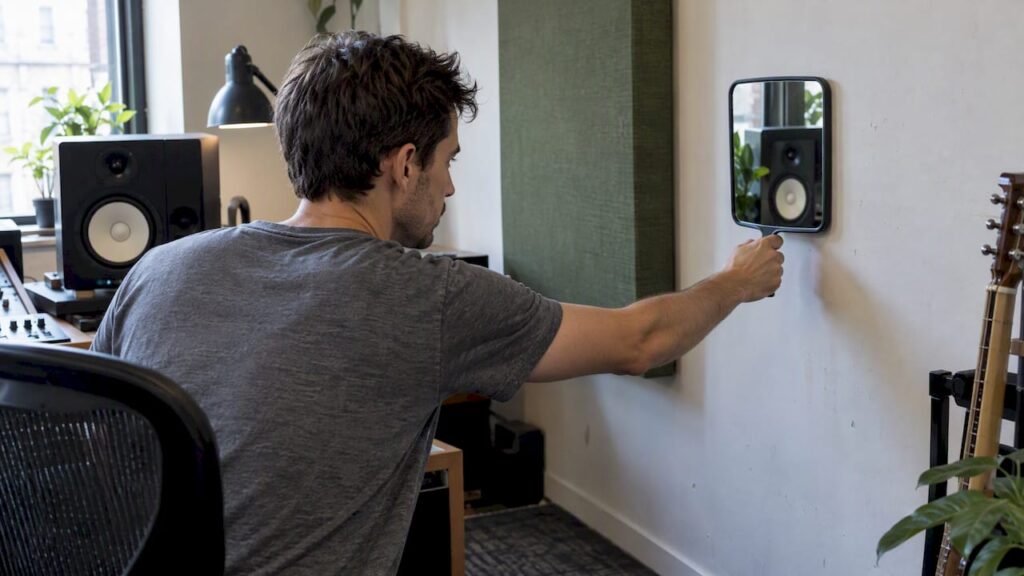
- Have someone move a mirror along the side wall and ceiling while you stay at the listening position; mark every spot where you see a tweeter.
- Measure from a fixed listening position; reflections within 15 ms must be at least 10 dB weaker than the direct sound between 1 and 8 kHz.
- An equalizer can reduce early reflections at, at most, one small measurement point; use absorption, because the problem lies in the time domain.
- Thin foam panels do little to absorb low frequencies; place thick bass absorbers in the corners and remeasure after each time you move the subwoofer.
- The mixing console can cause a dip around 100 Hz and comb filtering; absorption beneath and behind the console helps reduce floor reflections.
Table of Contents
- Where are the first points of reflection in your space?
- How do you perform the mirror test and listening routine?
- How do you verify the reflections with a measurement?
- Why do low frequencies and the mixing console require a separate approach?
- What should you tackle first if your budget is limited?
- Measuring and listening yield the best results
- Acoustic panels and advice from i4studio
- Frequently Asked Questions
- Sources
Where are the first points of reflection in your space?
The rule of thumb is the mirror rule: a reflection occurs at the point where your speaker, as reflected in the surface, “stands” as seen from your listening position. So you don’t have to guess—you can just look it out. This also works in small rooms, where reflections come back faster and stronger than you might expect.
The places you almost always come across:
- Side walls at speaker height: to the left and right of your seat, at the level of the tweeters.
- The floor: the path between the speaker and your seat, especially on a hard, uncarpeted floor.
- The ceiling: the point directly above that same path.
- The mixing console or desk: the surface in front of you, where sound reflects both over and off it.
- The wall behind the monitors: if the distance is too short, the signal returns much too quickly.
Whenever possible, keep the speakers about one meter away from the walls. That is the distance the ITU recommendation considers ideal. In a small studio, this isn’t always possible, which makes treating the reflection points all the more important.
How do you do the mirror test and listening routine?
You’ll need a hand mirror, painter’s tape, and someone to listen with you. The test will show you where to start.
- Place your monitors and chair in their final reference position, with the tweeters at ear level.
- Have someone slide a mirror along the side wall and the ceiling while you remain seated at your listening position. As soon as you see a tweeter in the mirror, mark that spot with tape.
- Then, using short mono pulses and a familiar, critical music track, check whether the sound changes when you hold a pillow or blanket over a marked spot.
You can recognize reflections by a fading stereo image, phase coloring, and comb filtering: a comb-like pattern of peaks and troughs in the spectrum. Research into the perception of early reflections shows that comb filtering is a dominant source of spectral distortion.
Pro tip: Try the mirror test from a slightly shifted seating position as well. You’ll immediately see just how critical your sweet spot is.
How do you confirm the reflections with a measurement?
Your ears tell you the direction; a measurement confirms it. Measure from a fixed listening position using one or more microphone positions at ear level, and do not allow the speakers to move between measurements.
- Impulse response via a sweep: Using Room EQ Wizard (REW) and the Farina sweep method will give you a clean impulse response. Use the impulse and energy-over-time displays.
- MLS: Some workflows use MLS signals, but for most studios, the sweep is the simplest method.
- RTA: useful for a quick check, but it doesn’t show time information.
- Interpretation: Peaks in the first ~15 ms after the direct signal indicate early reflections.
The standard is clear: ITU-R BS.1116-3 requires that early reflections in the range of 1 to 8 kHz be at least 10 dB weaker than the direct sound.
Reflections within ~15 ms must be attenuated by at least 10 dB relative to the direct sound in the 1–8 kHz range.
This is not a problem you can solve with an equalizer. According to Jay Kadis of CCRMA, early reflections are time-domain problems, and you can only eliminate them with EQ at a single, very localized measurement point. George Augspurger already pointed this out: a monitoring room is a precision tool in which reflections must be managed.
Why do low frequencies and the mixing console require a specialized approach?
Low frequencies have wavelengths measured in meters. A thin foam panel has virtually no effect on them, and what you hear is mainly room modes: standing waves that amplify or attenuate certain frequencies. That’s why you treat bass separately, using thick absorbers, traps, or corner absorbers.
The mixing console deserves attention because it itself is a large reflective surface. Research into the effect of a mixing console on monitor response indicates a dip around 100 Hz and comb filtering caused by the console. Reducing floor reflections beneath the console visibly helps in this regard.
Your first steps:
- Place bass traps in the corners of the room.
- Experiment with the subwoofer’s position and take measurements after each adjustment.
- Place absorption material under and behind your mixing console to reduce floor reflections.
- Measure before and after each adjustment so you know what really works.
What do you tackle first when your budget is limited?
Work in three steps and measure again after each step.
- Priority 1, initial considerations: Place portable absorbers at the reflection points near your listening position. Aim for at least 10 dB of attenuation between 1 and 8 kHz.
- Priority 2, bass: Place bass traps in the corners and optimize the subwoofer’s placement.
- Priority 3, back wall: Choose back-wall diffusion or broad-spectrum absorption, depending on the dimensions of your room.
- Always: verify with a measurement and with your ears—in that order or the other way around, as long as you do both.
Be sure to check out our tips for reducing sound reflection and our practical guide to improving studio acoustics. For the basics behind terms like absorption and diffusion, see our explanation in the fundamentals of acoustics.
Pro tip: Use movable absorbers on stands to find the optimal spot. Only then should you install your permanent panels.
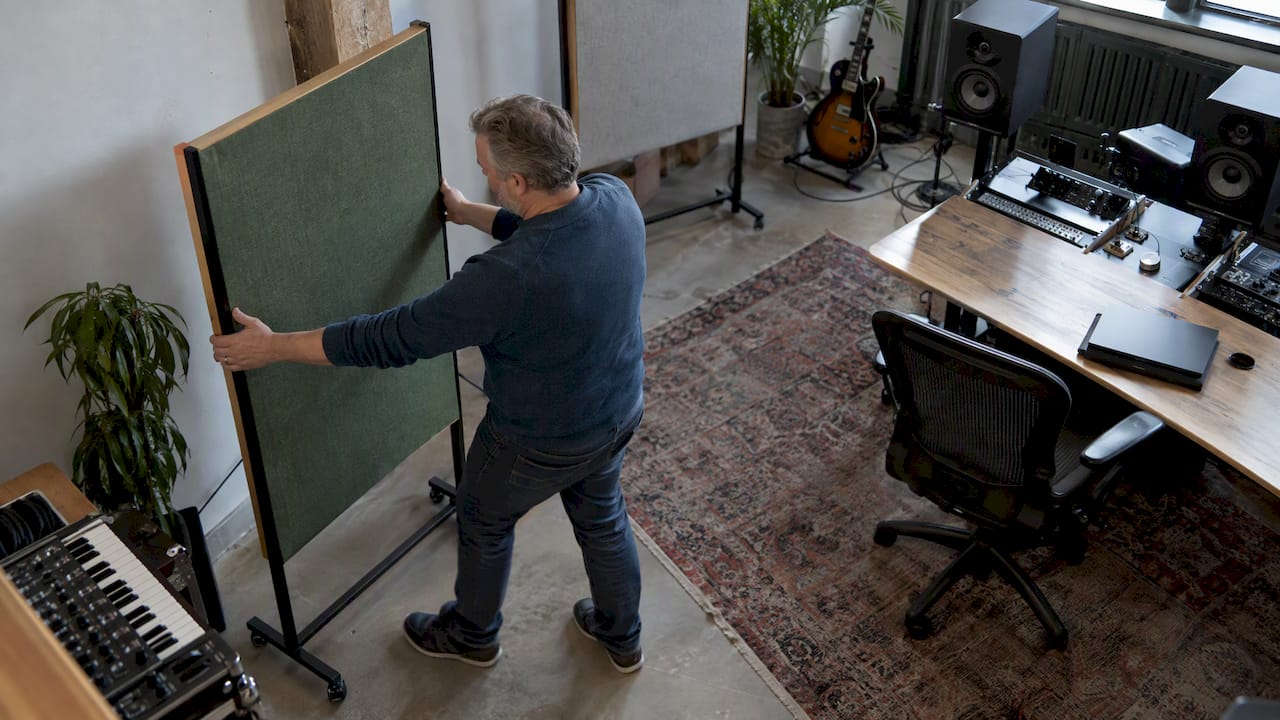
Measuring and listening together yield the best results
In my experience, measuring alone isn’t enough, and neither is listening without measuring. A graph shows that there’s a problem; your ears tell you whether it feels like it’s been resolved. This aligns with what Augspurger and the CCRMA group describe: control the reflections rather than equalizing them away. My process is always the same: measure, treat, listen, confirm. At i4studio, we work the same way with our clients, from consultation to custom solutions.
— Harold
Acoustic panels and consulting from i4studio
Do you want to actually address the issues highlighted? We can help you with advice on acoustic panels and solutions tailored to your space, as well as custom-built studio PCs if you’re setting up a complete studio.
- Acoustic Panel Recommendations: We’ll work with you to identify the locations of your reflection points.
- Acoustic wall panels: Check out the acoustic wall panels for your side walls and ceiling.
- Custom studio PCs: Our studio computers start at €1,099 (pricing information).
- Studio furniture: A studio desk can help reduce reflections off the mixing console.
Check out our acoustic panels or ask for advice, and we’ll help you take the next step.
Frequently Asked Questions
What are early reflection points in a studio?
Early reflection points are the spots on the walls, floor, ceiling, and mixing console where the sound from your monitors reflects once before reaching your ears. That reflection arrives shortly after the direct sound and distorts the sound image. That’s why you treat them first.
How do I find the early reflection points without measurement equipment?
Use the mirror test: hold a mirror against the side wall and the ceiling while sitting at your listening position. Wherever you see a tweeter in the mirror, there’s a reflection point. Mark those spots with tape.
How much should early reflections be attenuated?
ITU-R BS.1116-3 specifies that reflections occurring within approximately 15 ms in the 1–8 kHz range must be attenuated by at least 10 dB relative to the direct sound.
Can I fix early reflections with an EQ?
No, not really. These are time-domain issues that you can, at best, reduce with an equalizer for only one small measurement point. Acoustic treatment is still necessary.
Sources
- Mixing and Monitoring 2014
- RECOMMENDATION ITU-R BS.1116-3 – Methods for the Subjective Assessment of Minor Defects in Audio Systems
- The Effect of a Mixing Console on the Monitoring Response in a Mixing Room