Briefly:
- Open-cell studio foam absorbs sound by converting it into heat and reduces reverberation. It does not block sound between rooms, but improves recording quality by limiting reflections. Strategic placement at reflection points and the use of modular systems ensure effective acoustic treatment.
Studio foam is an acoustic material with an open-cell structure that absorbs sound waves by converting them into heat. This process reduces reflections and reverberation within a room, which directly improves recording quality. Its mechanism of action differs fundamentally from that of closed-cell foam, such as PE foam, which largely reflects sound. For producers and audio professionals, understanding this mechanism is no trivial matter. It determines which foam you choose, how thick it should be, and where you place it for the best results.
How does the open-cell structure of studio foam work?
Acoustic foam works because sound waves penetrate the open cells and lose their energy there. The air molecules inside the cells vibrate in sync with the sound wave. Friction between the air and the cell walls converts the sound energy into a small amount of heat. As a result, the sound wave does not bounce back into the room but is absorbed by the material. This is the essence of sound absorption by foam.
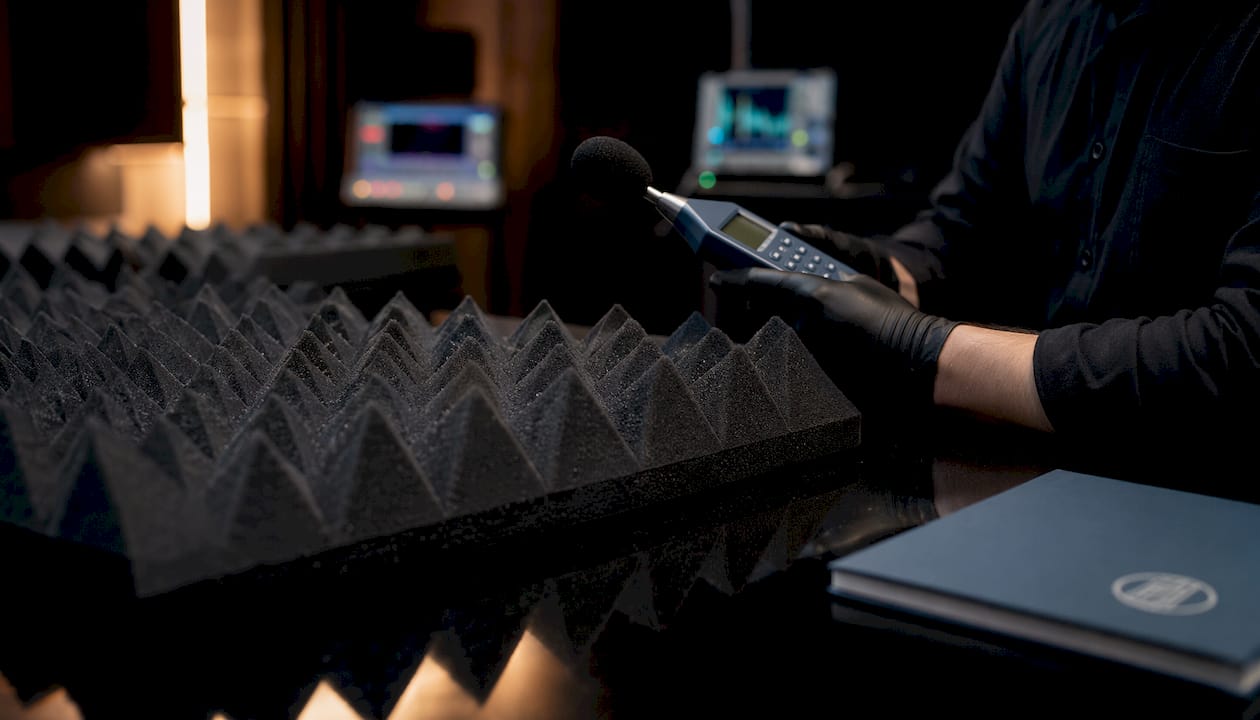
The open-cell structure is the key feature that distinguishes studio foam from other types of foam. PE foam has a closed-cell structure. Sound waves cannot penetrate it, causing the material to largely reflect sound rather than absorb it. PE foam performs reasonably well at mid- to high frequencies and is moisture-resistant, but it falls short for studio acoustics. Open-cell foam absorbs sound across a broader frequency range and provides a more accurate sound image.
Low frequencies present a unique challenge. Low-frequency sound waves are long and require more material to be fully absorbed. Thin foam barely affects them. Thicker panels absorb a larger portion of the frequency spectrum, thereby delivering a more realistic result in the recording space.
- Open cell structure: sound waves pass through and lose energy due to friction
- Closed-cell structure (PE foam): sound is largely reflected; little absorption
- Frequency range: thin foam absorbs high frequencies, while thick foam also absorbs the lower midrange frequencies
- Final result: less reverberation, fewer reflections, better recording quality
Pro-tip: Feel a piece of foam to see if you can blow air through it. If you can, it’s open-cell foam that’s suitable for acoustic treatment. If you can’t, it’s closed-cell foam, which you shouldn’t use in a studio.
What types of studio foam are there, and how do you choose the right thickness?
Pyramid foam and dimpled foam are the two most commonly used types for studio acoustics. Both have an open-cell structure, but their profiles differ. Pyramid foam has pointed protrusions that increase the surface area. A larger surface area means more contact with sound waves and, therefore, higher absorption efficiency. Nubbed foam has a wave-like profile that works similarly, but offers slightly less surface area than pyramid foam at the same thickness.
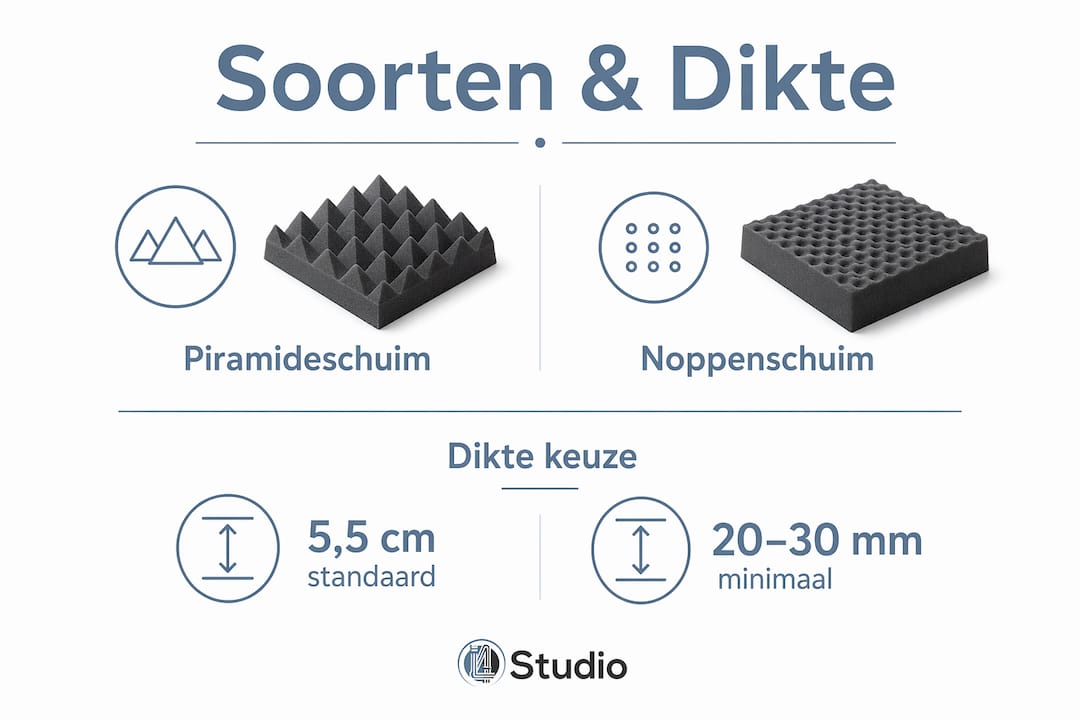
The thickness of the panel determines which frequencies you’re treating. Effective sound absorption requires a foam thickness of at least 10–15 mm, with 20–30 mm being preferable for general studio use. Panels measuring approximately 5.5 cm offer the best balance for vocal recordings and a wide range of studio applications. Panels that are too thin absorb only the high frequencies. As a result, a recording sounds unnaturally sharp, while the lower midrange frequencies remain untreated and muddy the mix.
| Foam Type | Profile | Strength | Recommended Thickness |
|---|---|---|---|
| Pyramid Foam | Pointed protrusions | High surface area, wide absorption | 5 cm or more |
| Foam with dimples | Wavy profile | Good absorption, slightly less surface area | 3–5 cm |
| Flat acoustic foam | Smooth surface | Basic absorption, less effective | At least 5 cm |
- Too thin (less than 20 mm): absorbs only high frequencies, resulting in an unnatural sound image
- Ideal (20–55 mm): captures high and mid-range frequencies, suitable for most studios
- Wide (55 mm and larger): also captures lower midrange frequencies; standard for vocal recordings
Thicker panels, approximately 5.5 cm, are the standard for vocal and general studio recordings. This isn’t a luxury but a technical necessity if you want your mix to sound the way it’s supposed to.
How and where should you place studio foam effectively?
The placement of studio foam largely determines the result. Randomly sticking panels on walls yields few benefits and wastes money. The first reflection points are the spots where sound from your monitors first hits the wall before reaching your ear. You should treat those points first.
The mirror method is the most reliable way to find initial reflection points. Sit in your listening position and have someone slide a mirror along the side wall. Anywhere you see the monitor in the mirror is a reflection point. That’s where the foam goes. This method also works for the ceiling above your workspace.
- Determine the listening position and sit down as you normally would when working
- Use the mirror method on both side walls to mark the reflection points
- Treat the ceiling above the workspace: foam on the ceiling reduces direct reverberation and is an often-overlooked detail
- Treat the corners of the room with bass trap elements for low frequencies
- Treat the back wall behind the listening position to dampen late reflections
The most effective placement focuses on the side walls, ceiling, and corners at ear level. This creates a reliable listening environment without over-damping the room. An over-damped room sounds lifeless and unnatural, which actually makes mixing more difficult.
Sound insulation and sound absorption are two different things. Studio foam absorbs sound within the room. It does not block sound from escaping outward or entering from outside. For soundproofing a studio, you need heavier materials such as mass-loaded vinyl or double walls. Foam does not have enough mass to stop sound transmission between rooms.
Pro-tip: Never treat all the walls completely. Leave at least part of the back wall untreated, or use a diffuser. This keeps the room lively enough to create a natural sound experience.
Installation and Maintenance of Studio Foam
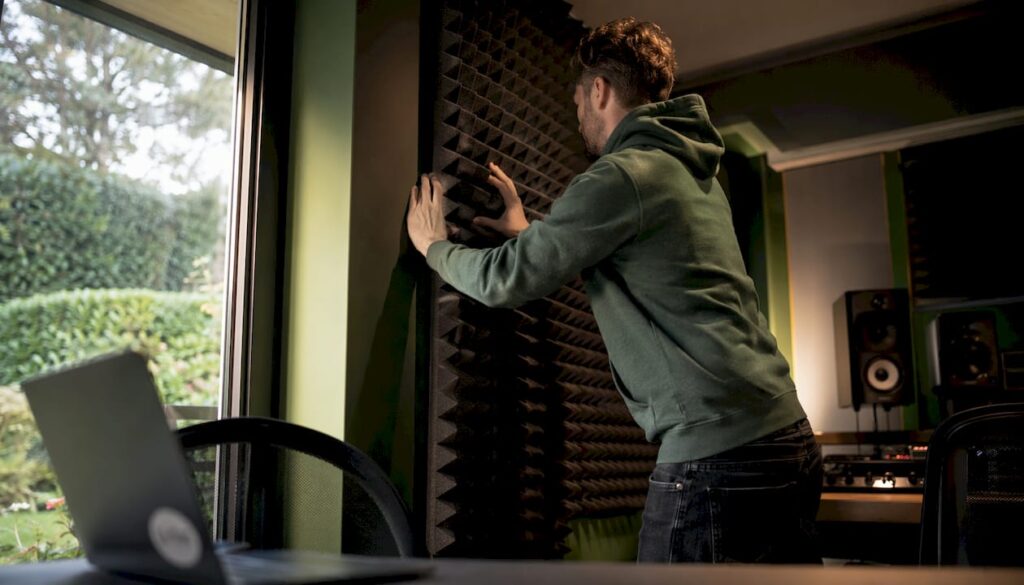
Gluing studio foam directly to walls is the most common mistake made during installation. Removing it damages the plaster or paint, which can lead to problems in rental properties. A better approach is to mount it on MDF or plywood panels. You glue the foam to the panel, and then hang the panel on the wall using mounting brackets or Velcro. This makes the system modular and movable without damaging the wall.
Allow the foam panels to acclimate before installing them. New foam may be slightly compressed from shipping. Let the panels sit in the room for a day or two so they can regain their shape. This improves their sound-absorbing properties and prevents the panels from warping after installation.
- Use MDF or plywood as an intermediate layer: this prevents damage to the wall and makes the panels movable
- Acclimatize the panels: leave them in the room for 24–48 hours before installation
- Use the appropriate adhesive: contact adhesive or acoustic mounting adhesive; do not use solvent-based adhesives that can damage the foam
- Check regularly: Foam can sag or become brittle over the years; if this happens, replace the panels
- Keep spare panels on hand: they come in handy in case of damage or if you need to extend the treatment
Pro-tip: Use Velcro on the back of the panels if you want to move or swap them out regularly. This works well for renters and for producers who adjust their studio layout to suit different filming situations.
For producers working in the audiovisual sector, flexibility in studio design is a practical necessity. Modular panels adapt to changing spaces and projects without having to start from scratch every time.
Common Mistakes and Misconceptions About Studio Foam
Studio foam does not block sound. This is the biggest misconception. Foam does not have enough mass to insulate sound. It reduces internal reflections and reverberation, but your neighbors can still hear you. Anyone who expects foam to create a soundproof room will be disappointed.
Overdamping is a real risk. A room completely lined with foam sounds dead. All high frequencies disappear, but the low frequencies remain. The result is an imbalance that makes mixing difficult. Use foam in strategic locations and combine it with diffusers for lively yet controlled acoustics.
- Foam is not insulation: it does not block sound between rooms
- Excessive reverb disrupts the mix: too much reverb makes the space sound lifeless and unnatural
- Applying adhesive directly to wallpaper: damages the surface and makes removal difficult
- Treat only high frequencies: foam that is too thin does not solve the problem; it merely shifts it
- Ignore low frequencies: bass resonance requires bass-absorbing panels, not just foam
Low frequencies require a different approach. Foam absorbs them very little, even when it’s very thick. Bass trap absorbers in the corners of the room are the right solution for frequencies below 200 Hz. A complete acoustic treatment combines foam for mid and high frequencies with bass trap absorbers for the low frequencies. You can read more about the right combination in the guide to improving acoustics at home.
Key insights
Studio foam absorbs sound through open cells that convert sound energy into heat, but it does not block sound and requires strategic placement at reflection points for effective results.
| Item | Details |
|---|---|
| An open-cell structure is essential | Only open-cell foam effectively absorbs sound; closed-cell foam, such as PE foam, reflects sound back. |
| Thickness determines the frequency range | Use at least 20–30 mm, preferably 55 mm, for vocal recordings and comprehensive studio treatment. |
| Placement at Reflection Points | Use the mirror method to find the first reflection points, and treat the side walls, ceiling, and corners. |
| Modular assembly prevents damage | Attach foam to MDF or plywood panels for a portable, damage-free system. |
| Foam is not sound insulation | Heavier materials are needed for soundproofing; foam only reduces internal reflections and reverberation. |
My Take on Studio Foam in Studio Setup
Many producers start with foam before they even know how their room behaves. That’s the wrong order. Creative focus and working with a good pair of headphones are more important in the early production phase than a perfectly treated room. Only when you notice that your mixes consistently sound off on other systems is it time to seriously consider acoustics.
What I see with manufacturers who are doing things right: they opt for modular panels that they can move and adjust. No fixed floor-to-ceiling lining, but targeted treatment in the areas that really matter. That’s more efficient and cheaper than covering a room with foam in the hope that the problem will go away on its own.
I prefer a combination of pyramid foam on the first reflection points, a diffuser on the back wall, and bass trap absorbers in the corners. Together, these three elements create a controlled yet lively space. A room that sounds too dead makes mixing just as difficult as a room with too much reverberation. Balance is everything.
Here’s what I always recommend to producers: start small, listen critically, and add treatment where you can hear the difference. More foam isn’t always better. The best placement of acoustic panels is always specific to the room, not generic.
– harold
I4studio can help you with studio acoustics
I4studio provides acoustic solutions for producers and audio professionals who take their studios seriously. From foam panels and perforated panels to diffusers and complete acoustic kits: the product line is designed for practical studio use, not for decoration.

Looking for a place to start? Our list of the top acoustic products for home studios provides a clear overview of what works and in which situations. If you want to take it a step further and optimize your production environment as well, I4studio also offers studio PC configurations for music production that fit your workflow. Acoustics and hardware together determine the quality of your recordings.
Frequently Asked Questions
What exactly is studio foam?
Studio foam is an acoustic material with an open-cell structure that absorbs sound waves by converting them into heat. It reduces reflections and reverberation in a room, which improves recording quality.
How thick does studio foam need to be for good sound absorption?
For effective sound absorption, use at least 20–30 mm of foam. For vocal recordings and general studio treatment, panels approximately 55 mm thick are the standard.
Does studio foam block sound from escaping?
No. Studio foam absorbs internal reflections but does not have enough mass to block sound from traveling between rooms. Heavier materials are needed for sound insulation.
Where is the best place to put studio foam?
Treat the first reflection points on the side walls and ceiling, as determined using the mirror method. Corners require bass absorbers, while the back wall benefits from a diffuser.
Can I glue studio foam directly to the wall?
Gluing directly to the wall will damage it when the item is removed. Attach the foam to MDF or plywood panels and hang those on the wall. This way, the system remains modular and won’t damage the surface.