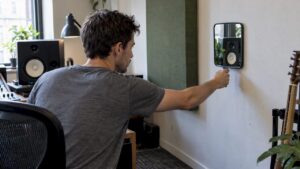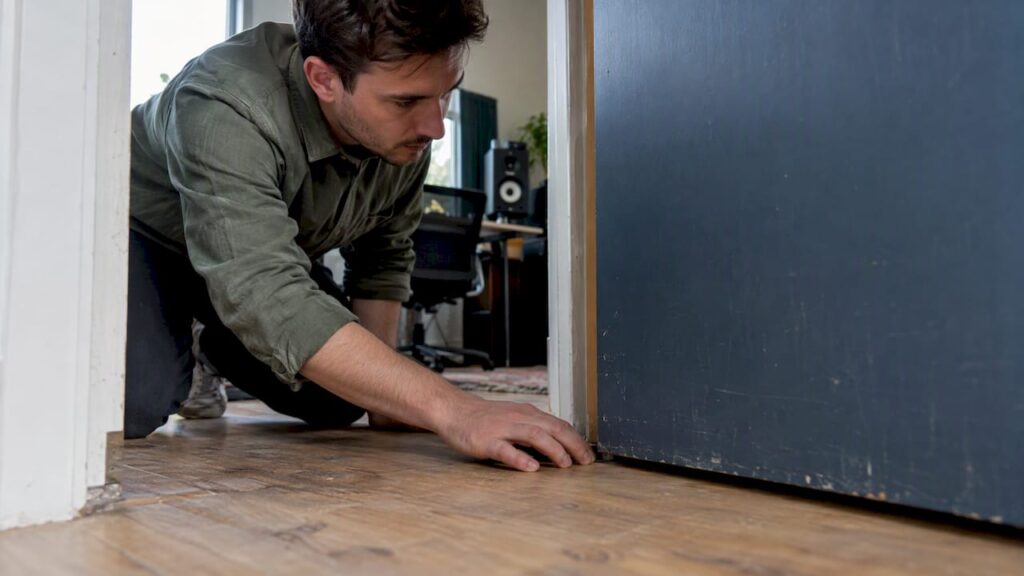
Start with targeted listening and signal tests on windows, doors, ventilation systems, and cable penetrations: these are the places where sound most often enters or escapes a studio. If a clap test or radio test doesn’t provide a clear answer, or if you’re dealing with low frequencies that you can’t pinpoint, it’s worth taking a measurement with an acoustic camera or a Class 1 sound level meter. That way, you’ll know exactly where to take action before spending money on soundproofing.
In short:
- Record a short reference sound, play it back at the same volume during each listening session, and repeat the tests at least twice during a quiet moment.
- ISO 16283, Part 1, describes field measurements in spaces ranging from 10 to 250 m³ and at frequencies from 50 to 5,000 Hz; practical results are often lower than laboratory values.
- First, seal gaps with caulk and weatherstripping, choose solid doors, and dampen ventilation ducts without blocking air circulation.
- For low frequencies, a decoupled wall with an air gap and absorption material helps; rock wool is more effective in that range, while glass wool primarily contributes to midrange frequencies.
Table of contents
- What is a sound leak, and which paths are relevant in your studio?
- Do-it-yourself checks: how to detect leaks on your own
- Professional measurement methods: camera, sound level meter, and standards
- Insulation and sealing advice: materials and priorities
- How a specialist works: steps and deliverables
- Practical Priorities: When to Do It Yourself, When to Hire Someone
- Measurement, consultation, and delivery by our team
- Frequently Asked Questions
- Sources
What is a sound leak, and which paths are relevant in your studio?
A sound leak is any spot where sound energy passes through a structure in a way that was not intended: a gap under a door, a sealed cable entry, or a ventilation grille. We distinguish between two transmission paths. Direct sound travels straight through a wall or ceiling. Flanking sound travels around the structure, through air ducts, utility shafts, or a continuous floor, and is often the largest unexpected source of noise pollution between rooms.
Frequency plays a major role. Low tones have a longer wavelength and require more mass to be blocked, which is why bass and kick drums are the frequencies that seep through most persistently.
There are two terms you’ll come across in every serious report:
- Rw: the weighted sound reduction index of a partition, expressed in decibels.
- NIC: the normalized sound insulation between two spaces, corrected for reverberation.
These values provide a frame of reference when you switch from subjective listening to objective measurement.
Do-It-Yourself Checks: How to Detect Leaks on Your Own
Before you call a specialist, there’s a lot you can find out on your own. Three tests form the basis:
- Clapping Test: Clap loudly in the area in question, then walk outside the studio along the walls, doors, and windows to hear where the sound comes through most clearly.
- Radio test: Set a radio or speaker to a fixed, consistent volume inside and listen at multiple points outside to see if the quality and volume differ.
- Conversation test: Have someone speak normally inside the studio while you listen outside to assess intelligibility, especially near doors and openings.
Next, follow a set inspection route: walls, window frames, door joints, ventilation grilles, and every cable entry point. For each point, note what you hear and consistently compare it to the same reference sound, so that your results remain comparable.
These methods provide an initial impression, but lack calibration: they are influenced by your own hearing and by background noise that skews your perception. Therefore, take measurements at a quiet time and repeat each test at least twice before drawing a conclusion, as is also recommended in practical advice on testing the sound insulation of walls.
Pro tip: Record a short reference sound with your phone and play it back exactly the same way for each measurement—that way, you’ll be comparing apples to apples.
Professional measurement methods: camera, sound level meter, and standards
If the tap test and radio test don’t get you any further, professional equipment is the next step. An acoustic camera uses an array of microphones and converts sound sources into a visual image that you overlay on a photo or video. That is precisely why these cameras carry a lot of weight as evidence in reports to construction companies or neighbors: a photo showing a clear hotspot is more convincing than a description, as can be seen in real-world examples of acoustic imaging.
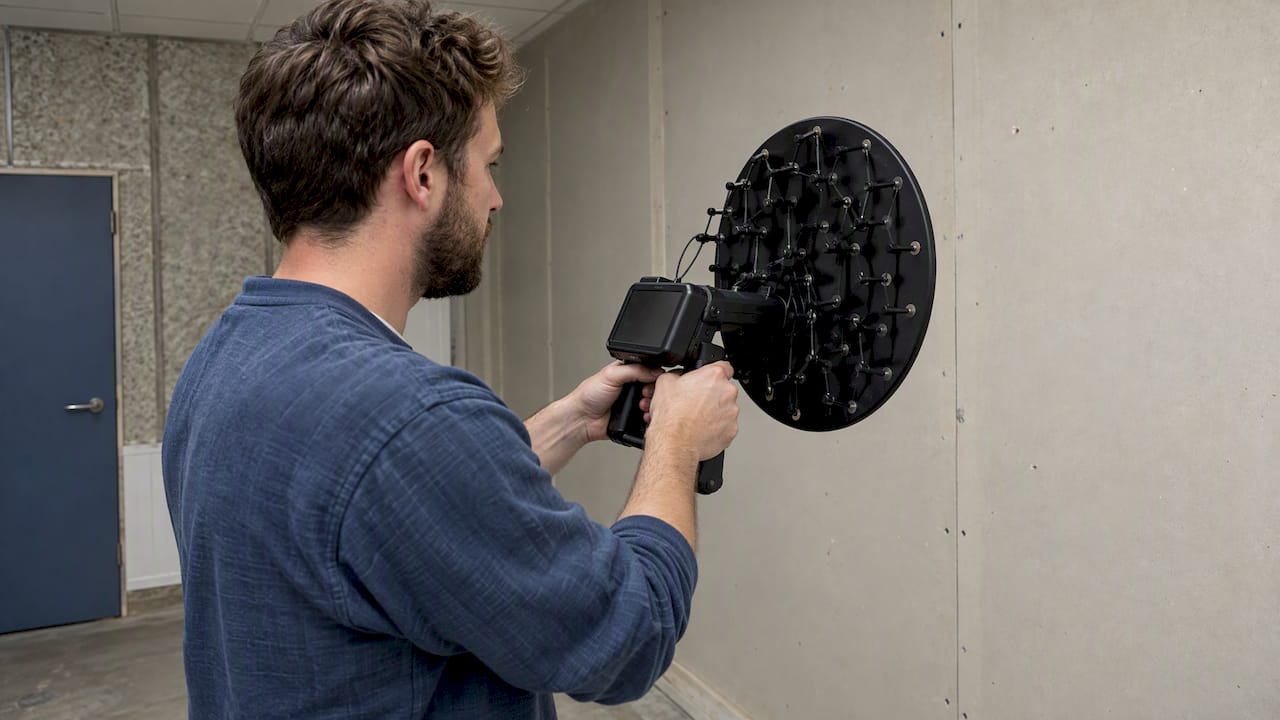
In addition to the camera, a specialist uses a Class 1 sound level meter—the most accurate category for professional measurements—combined with spectrum analysis. This way, you can see not only how loud a leak is, but also at which frequencies the problem is concentrated—which is crucial for low-frequency sounds that a simple decibel meter cannot distinguish well.
An official field measurement follows a set procedure. ISO 16283-1 describes how to measure sound insulation between rooms and specifies the scope of application, which covers rooms between 10 and 250 cubic meters and frequencies from 50 to 5,000 Hz, with conversion to evaluation indices such as Rw according to ISO 717-1.
Important to know: Field measurements often differ from the test bench values that a manufacturer specifies for a window or door. Those laboratory figures are measured under controlled conditions; in practice, surrounding pathways and installation quality can lower the results.
Insulation and Waterproofing Recommendations: Materials and Priorities
Once you know where the leak is, its location will determine which approach makes sense.
- Cracks and gaps: Seal them with acrylic or silicone caulk and use draft stoppers under doors; this is the least expensive measure and often has the greatest immediate effect.
- Windows: Double-pane windows with different glass thicknesses perform better than identical panes, and properly adjusted weatherstripping around the frame prevents air leakage along the edges.
- Doors: Choose a solid door instead of a hollow panel door, and install a recessed draft stopper at the bottom.
- Ventilation: Use a sound-absorbing duct silencer instead of simply sealing off the duct; otherwise, you’ll lose air circulation.
- Walls and floors: A mass-spring-mass structure, with decoupled layers and a gap filled with absorbent material, works better than a single thick, solid layer.
For low frequencies, mass alone is rarely sufficient. A decoupled wall construction with an air cavity and absorption material in that cavity addresses resonances that a single wall allows to pass through. Rock wool generally performs better at low frequencies, while glass wool contributes more in the midrange—a distinction that helps you choose the right insulation material for your situation, as shown in IsoSpot’s comparative material recommendations.
For a comprehensive approach to your space, you can use the steps in our guide on how to build your own soundproof room as a checklist, or delve into practical steps for better studio acoustics.
Pro tip: Always address the weakest link first—usually a door or ventilation grille—before investing in expensive wall-mounted systems: a single leak can render ten effective measures largely useless.
How a Specialist Works: Steps and Deliverables
A professional measurement typically follows a set procedure: an initial consultation to describe the problem, localization using an acoustic camera and sound level meter, and finally, a report.
- Intake: brief description of the space, the problem, and when the disturbance occurs.
- Localization: On-site measurements using a camera and a Class 1 sound level meter at multiple points.
- Report: photos and video with marked sources, plus measurement values by frequency band.
- Recommendation: a concrete soundproofing plan with priorities, often useful as the basis for a quote from a contractor or supplier.
A report like this not only serves as a diagnosis, but also provides the basis for your request for acoustic panels or architectural advice. See also what a professional acoustic measurement actually yields in terms of concrete solutions.
Practical Priorities: When to Do It Yourself, When to Hire Someone
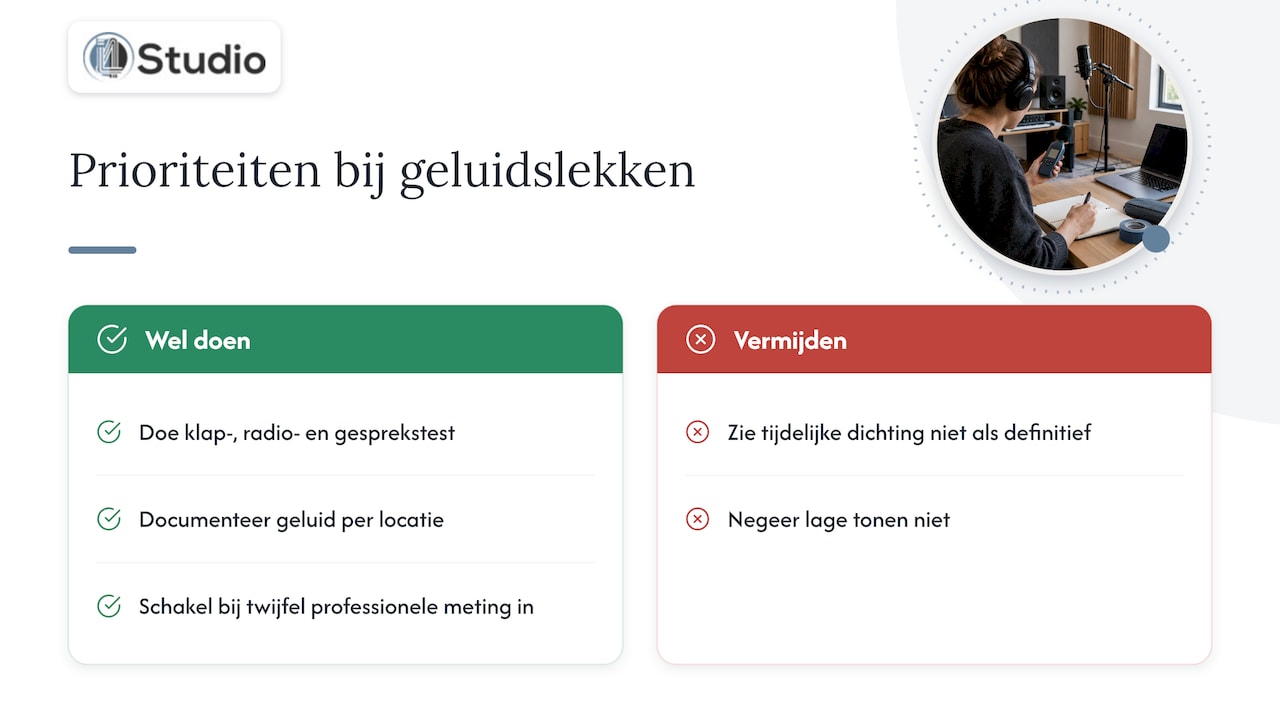
First, perform the clapping test, radio test, and conversation test, and document what you hear at each location. If it remains unclear where the sound is coming from, or if it involves low frequencies that your hearing cannot pinpoint accurately, consult a professional for a measurement.
The most common mistake is to treat a temporary fix as a permanent solution, or to ignore low frequencies because they seem “less distracting” than high ones. In fact, bass travels the farthest and is the most expensive to correct later on.
– harold
Measurements, advice, and delivery provided by our team
If you’re still unsure about the cause after conducting your own tests, we’d be happy to help you figure it out. We offer advice on acoustic panels and supply equipment for your studio, including custom-built studio PCs and audio interfaces.
Please send us photos of the space, a brief description of the problem, and, if possible, a recording of the noise that’s coming through. With this information, we’ll quickly put together a tailored proposal offering advice or recommending the right acoustic panels for your situation. Explore the options on I4studio and request a no-obligation consultation.
Frequently Asked Questions
Where can I have noise measurements taken?
You can request a professional sound measurement from a specialized measurement firm or a studio consultant who uses an acoustic camera and a Class 1 sound level meter. Such measurements follow the procedures described in ISO 16283-1 and result in a report that includes photos and measurement values.
How can I soundproof my studio?
Start by sealing gaps around doors and windows, replace hollow doors with solid ones, and install sound attenuators in ventilation ducts instead of sealing them off. For structural improvements, a decoupled wall construction with sound-absorbing material works best against low frequencies.
How can I identify noise pollution?
Follow a systematic route along walls, windows, doors, and vents while playing a fixed reference sound, such as during a clapping test or radio test. If the source remains unclear, an acoustic camera can pinpoint the exact location in a photo or video, as demonstrated by real-world examples of noise detection.
Can I have a noise measurement performed myself?
You can get an initial indication yourself using a clap test, radio test, or conversation test, repeated at multiple listening points. For a reliable, frequency-dependent result with official Rw or NIC values, you’ll need calibrated equipment, as explained in the guide to testing wall sound insulation.
Sources
- How do you test the sound insulation of walls? – IsoSpot
- Sound Detection — Evidence Reporting
- ISO 16283-1:2014 — Acoustics — Field measurement of sound insulation in buildings