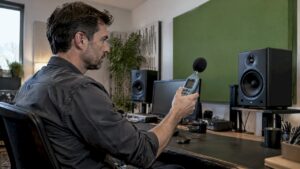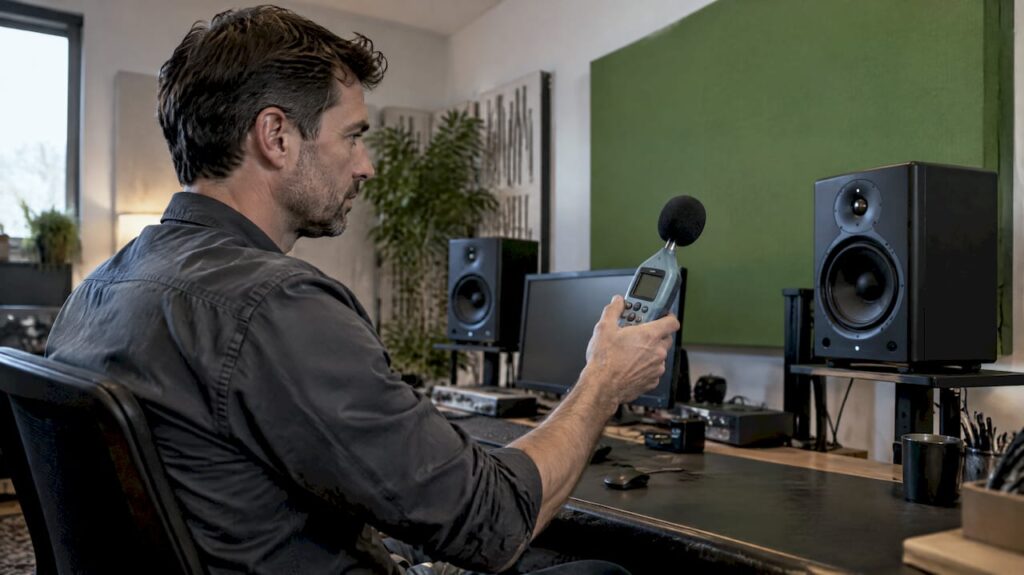
Use -20 dBFS pink noise and a measurement microphone to set your monitors to a reference level of approximately 79 to 85 dB SPL and measure their frequency response. Play the signal through each speaker, record the response using software such as Room EQ Wizard, and apply an inverse correction based on that data. Always check the result against known reference tracks before continuing with the mix.
Briefly:
- Use a calibrated measurement microphone, such as the miniDSP UMIK-1, and play pink noise at at least 20 dBFS per monitor; set the level to 79 to 85 dB SPL.
- Let your monitors warm up for at least 30 minutes, position both speakers symmetrically, and place the microphone at ear level; turn off any additional audio processing.
- Corrections greater than about 6 to 10 dB usually indicate room-related issues; reposition the speakers if there are narrow dips, and adjust the subwoofer separately.
- Test the filters using familiar pieces of music at various volume levels; if the result sounds muffled or harsh, reduce the intensity of the correction.
- Allow about 3 to 4 hours for a complete calibration session, since repeated measurements and checks take more time than the measurement itself.
Table of Contents
- What Pink Noise Is and Why It Works for Monitor Measurements
- Why Calibrating with Pink Noise Makes Your Mix More Reliable
- What equipment and software do you need?
- How to prepare your space and equipment
- Step-by-step: the measurement protocol using pink noise
- Interpreting Results: When Is EQ Not Enough?
- Verification Using Reference Tracks
- Justification and support from i4studio
- What Most Guides Overlook
- Equipment and advice for accurate monitoring
- Frequently Asked Questions
- Sources
What pink noise is and why it works for monitor measurements
Pink noise has an equal amount of energy per octave, unlike white noise, which has equal energy per frequency and therefore peaks in the high frequencies. This characteristic makes pink noise useful as a test signal: every part of the audible spectrum is given equal weight, revealing deviations in your monitors’ response without any single frequency band skewing the measurement. For some measurements, especially with simple SPL meters, band-limited pink noise is more practical because it excludes the lowest frequencies. The technical basis of this signal is described on Wikipedia’s page on pink noise.
Why Calibrating with Pink Noise Makes Your Mix More Reliable
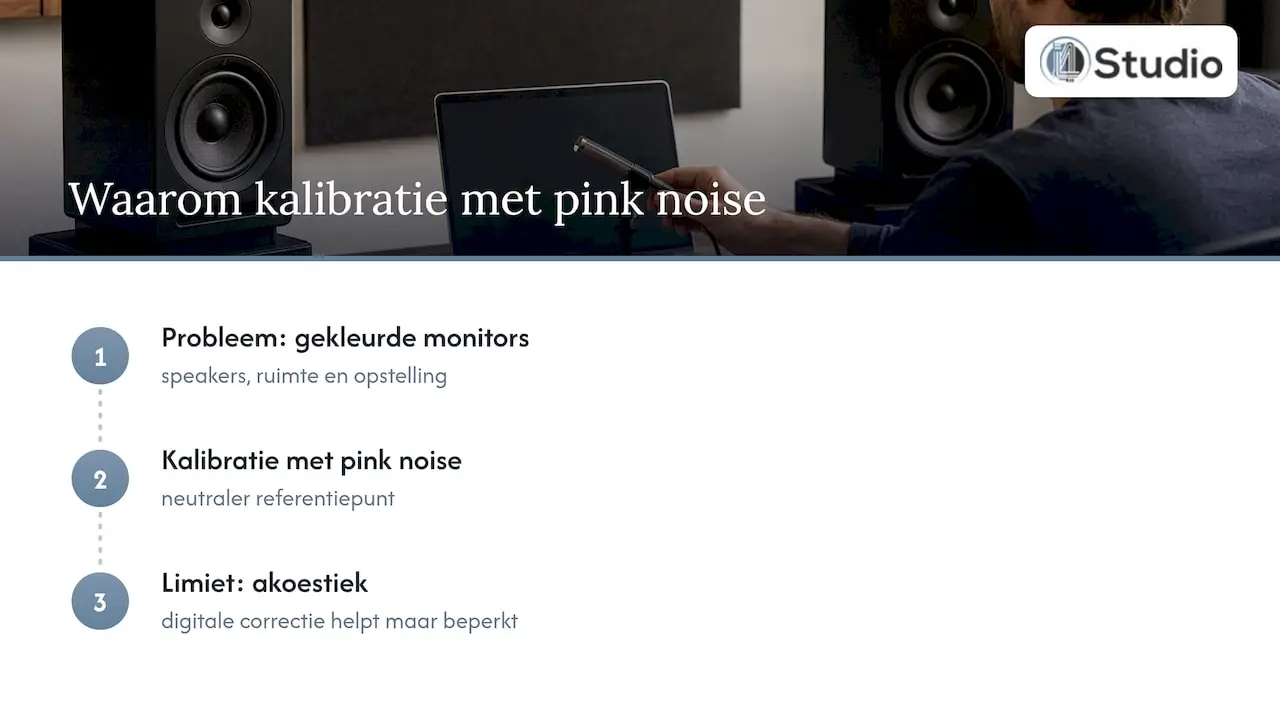
Uncalibrated monitors color your sound. The speakers themselves, the room, and the setup all add peaks and dips to what you actually hear, causing you to unconsciously compensate with incorrect EQ decisions. A mix that sounds good on a colored monitor often sounds different on another system. Calibration with pink noise gives you a more neutral reference point: you know which part of what you hear comes from the source recording and which part comes from your monitoring chain. That doesn’t mean every problem can be solved with software. Some anomalies stem from the room’s acoustics themselves, and digital correction can only help to a certain extent.
What equipment and software do you need?
To get a reliable measurement, you’ll need a few standard components. A calibrated measurement microphone provides the most consistent results, but a budget option will also work for getting a first impression.
- Measuring microphone: The miniDSP UMIK-1 comes calibrated with its own correction file and is the most reliable choice for profiling, while the Behringer ECM8000 is a more affordable alternative without individual calibration.
- SPL meter: required to monitor the reference level of 79 to 85 dB SPL during the measurement.
- Audio interface: Ensure a stable output without noise or distortion when playing back the test signal.
- Measurement software: Room EQ Wizard (REW) is the standard free tool for analyzing frequency response and generating an inverse correction.
There are also commercial alternatives with automated workflows, but for most studios, this combination is more than enough.
How to Prepare Your Space and Equipment
A reliable measurement starts with a stable baseline. Rushing this step almost always leads to noise in your results.
- Let your monitors warm up for at least 30 minutes before you start measuring.
- Set up both speakers and your listening position symmetrically, with the measurement microphone at ear level.
- Check the unity gain on your audio interface and disable all additional processing, such as room correction or enhancers.
- Standardize the environment: avoid drafty rooms and make sure no one is walking around during the measurement.
Pro tip: Always take measurements at the time of day when you usually work, because temperature and humidity slightly affect the acoustics of your room.
If you still need to fine-tune your setup, you’ll find a detailed explanation in our guide on the proper setup of studio monitors.
Step by step: the measurement protocol using pink noise
Follow these steps to achieve consistent, repeatable results.
- Load -20 dBFS pink noise into your playback software or use REW’s built-in generator.
- Consider using band-limited pink noise when working with a simple SPL meter, as this makes the measurement more stable by reducing interference from low frequencies, as described in this explanation of gain staging and pink noise.
- Place the measurement microphone exactly at your listening position, at ear level, pointing toward the ceiling.
- Play the test signal through one speaker at a time and adjust the output level until the SPL meter reads between 79 and 85 dB.
- Repeat the measurement at a few points in a small grid around your listening position and calculate the average of the responses.
- Have REW calculate the frequency response and generate the suggested inverse correction.
- Export the filters to your processing chain or DSP unit.
According to the practical workflow described by Wisseloord, a thorough calibration session takes about 3 to 4 hours. Most of that time is spent repeating measurements and checking for consistency, not on the measurement itself.
For technical background on the use of filtered pink noise in loudspeaker equalization and the associated tolerances, please refer to ITU-T P.570, which discusses equalization within a third octave and a tolerance of approximately ±3 dB.
Interpreting Results: When Is an EQ Not Enough?
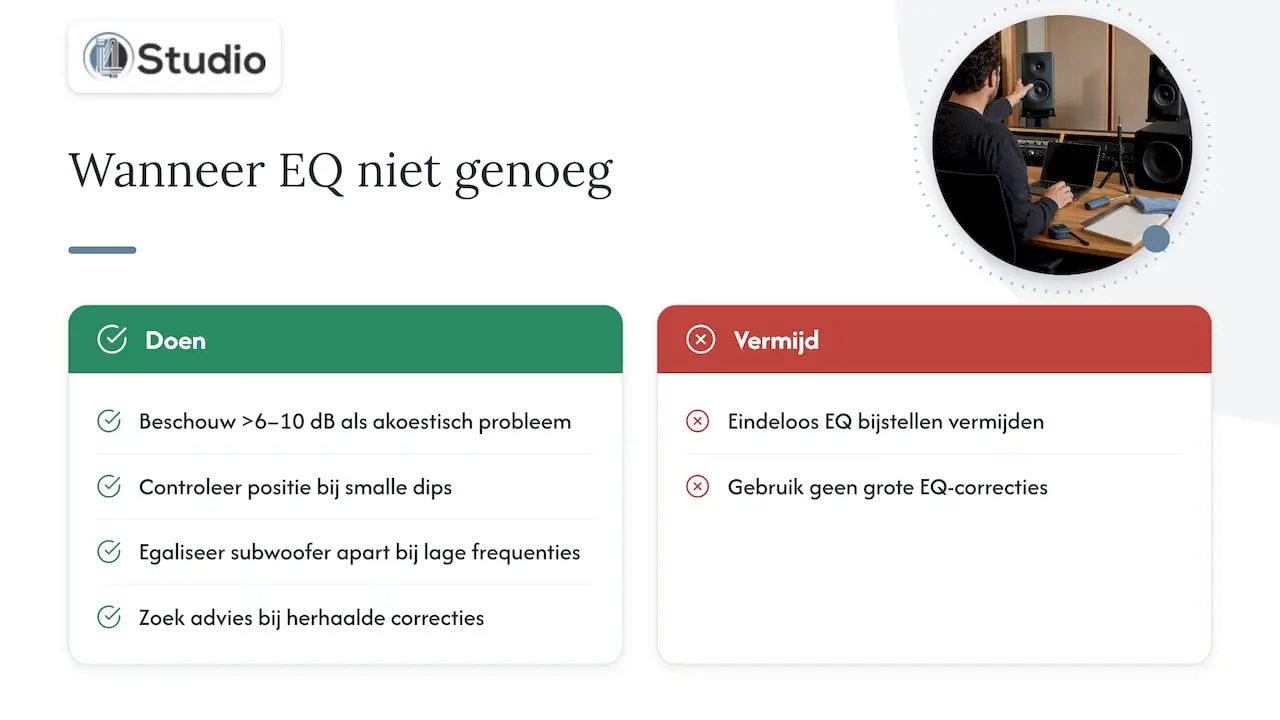
Not every anomaly in your measurement needs to be corrected with a filter. Corrections greater than about 6 to 10 dB usually indicate an acoustic problem in the room—not a problem that can be structurally resolved with EQ, as is also noted in the Wisseloord calibration guide. Sharp, narrow dips are often the result of reflections or an unfavorable speaker placement, and these can sometimes be corrected simply by adjusting the setup slightly. At low frequencies, it helps to equalize the subwoofer separately, independent of the main speakers. If you repeatedly see extreme corrections in the same areas of the spectrum, seeking acoustic advice is the logical next step rather than making another EQ adjustment. Our This guide to studio acoustics explores this topic in greater depth.
Verification Using Reference Tracks
A measurement is only valuable if it also feels right to you. Always test the calibration with music you know well.
- Conduct an A/B comparison between the calibrated and uncalibrated settings using the same commercial track.
- Test at multiple volume levels, as some issues only become apparent at higher or lower levels.
- A good calibration sounds consistent at different volumes, not just at one specific level.
- If you notice an undesirable side effect, such as a dull or harsh sound, apply the correction more conservatively rather than more aggressively.
Justification and support from i4studio
This method aligns with our own approach to studio setups: measure before you adjust. For readers who want to go further, we have a comprehensive guide to calibrating studio monitors and a workflow for monitor setup. We also offer measurement hardware, acoustic consulting, and studio PCs for those who want to take the next step.
What Most Guides Overlook
Most explanations of pink noise calibration focus on the measurement itself and skip over the preparation, even though that’s exactly where most errors occur. A poorly warmed-up monitor, an off-center listening position, or processing that’s still active will skew your results before you’ve even taken a single measurement. The temptation to smooth out every dip with EQ is strong, but an 8 dB correction at 120 Hz is usually a sign that your room needs attention, not your plugin chain. Therefore, prioritize a stable setup first and apply digital correction only afterward. Anyone who views calibration as a substitute for acoustic treatment will never truly solve the problem—they’ll just shift the symptoms.
– harold
Equipment and advice for accurate monitoring
Proper calibration starts with the right foundation: stable monitors, a good measurement microphone, and a room that doesn’t work against you. We provide access to these building blocks in a single overview.
- Studio monitors for those looking to upgrade after calibration.
- Microphones, including measurement microphones for profiling.
- Acoustic panels and advice when measurements indicate physical issues.
View the full selection at i4studio and request acoustic advice with no obligation.
Frequently Asked Questions
What is the correct SPL level for calibration?
In practice, a reference level between 79 and 85 dB SPL is most commonly used when calibrating studio monitors. This level provides a good balance between audible detail and a comfortable listening volume during the measurement, as described in the Wisseloord calibration guide.
Which measurement microphone is best for beginners?
The miniDSP UMIK-1 is the most popular choice because it comes pre-calibrated with its own correction file. The Behringer ECM8000 is a more affordable alternative that does not include individual calibration, but is still suitable for an initial measurement.
Should I use white noise or pink noise?
Pink noise is the standard for measuring frequency response because it provides equal energy per octave, rather than equal energy per frequency like white noise. This characteristic makes anomalies in your monitors more apparent, as explained on Wikipedia.
When does a measurement result indicate an acoustic problem rather than an EQ problem?
Corrections greater than about 6 to 10 dB usually indicate an acoustic problem in the room, not something that can be structurally resolved with EQ. In that case, physical treatment of the room is often more effective than further digital correction.
Is Room EQ Wizard suitable for professional use?
Room EQ Wizard (REW) is free and widely used in professional calibration workflows, though it does require some time to learn. Many audio engineers combine REW with a simple SPL meter for a quick and reliable measurement routine.
Sources
- ITU-T Recommendation P.570 (03/2025) – Artificial Noise Fields Under Laboratory Conditions
- How to Calibrate Studio Monitors for Accurate Mixing – Wisseloord
- Pink noise — Wikipedia