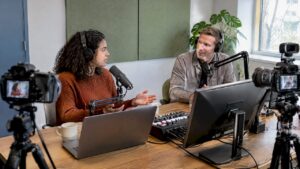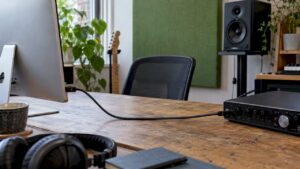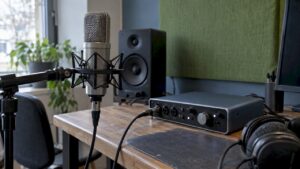
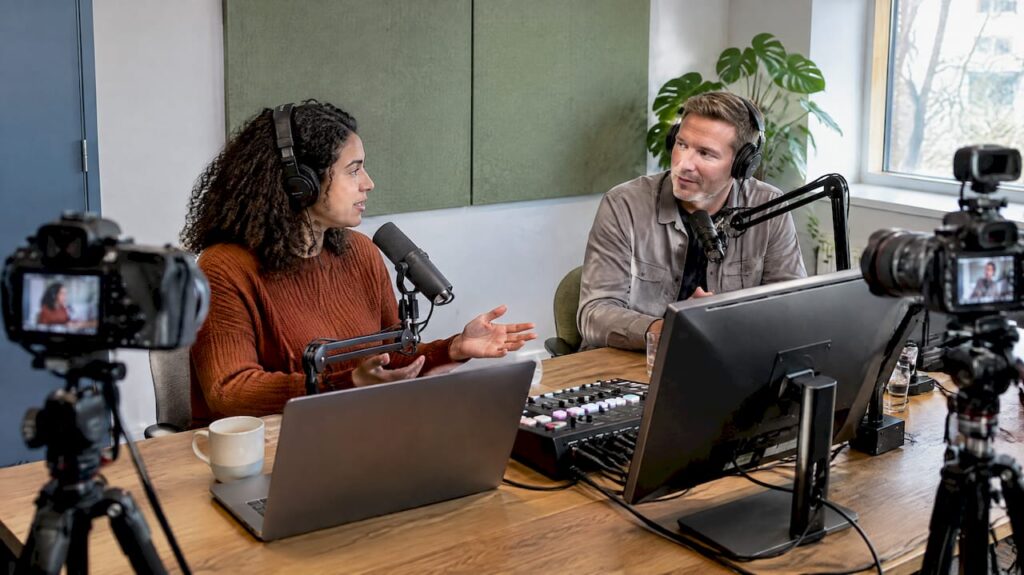
A smart podcast and videocast studio revolves around a single central production console. It combines audio, video direction, and recording. Three AI-driven 4K cameras track the conversation itself, two broadcast microphones capture each voice on its own track, and every recording is saved directly to the internal drive as well as to an external 2 TB drive. You no longer need a cameraman, a separate recorder, or an evening spent transferring files. A studio like this only works if everything is coordinated: the console, cameras, microphones, computer, and space. In this article, you’ll learn how to set it up, what each component does, and where things can go wrong in practice.
In a nutshell
- One console at the heart of it all: audio mixing, switching between cameras, and multitrack recording are all handled in one place, via a touchscreen.
- Three 4K AI cameras: with auto-tracking and auto-framing, every speaker stays in frame—no cameraman needed.
- Two broadcast microphones and studio headphones: each speaker is on their own track, and everyone hears what’s being recorded live.
- Dual storage: record to the internal drive while simultaneously backing up to an external 2 TB drive.
- The space and computer matter: acoustic panels and a stable studio PC make the difference between a simple recording and a professional production.
Table of Contents
- Why an All-in-One Approach Works
- What a complete studio should include
- Integrated workflow: everything comes together in the console
- Smart video production without a separate camera operator
- Audio: broadcast microphones and studio headphones
- The space: Acoustics determine the final result
- Step-by-Step Guide: How to Set Up Your Studio
- The editing station: a studio PC that can handle 4K
- Our take on the smart studio
- Have Your Studio Set Up by i4studio
- Frequently Asked Questions
- Sources
Why an all-in-one approach works
Many companies start with just a few pieces of equipment: a camera on a tripod, a USB microphone, and a laptop with recording software. That works for a single episode. But for a regular series, it gets tricky. Every shoot starts with searching for cables, checking settings, and hoping that all the devices have started up at the same time. Afterward, someone has to synchronize the audio and three video files before editing can begin.
The Local Wave podcast studio in Amsterdam-Zuidoost showed how things can be done differently. There, a studio manager monitors the audio and switches live between four cameras, so that the video edit is ready immediately afterward. That principle—directing live instead of editing afterward—is exactly what a smart studio automates. The console takes on the role of both the mixing board and the director’s console, and the AI cameras take over the cameraman’s work.
For entrepreneurs, marketing teams, and organizations, this results in three things:
- Speed: An episode is ready for use immediately after recording, both as a complete video and as separate tracks.
- Independence: One person—often the host—can handle the entire production.
- Consistency: Every episode looks and sounds the same, because the settings are fixed.
What a fully equipped studio should include
Below you’ll find the components of a complete, smart studio for two speakers, along with a description of what each component does.
| Part | Quantity | Function in the studio |
|---|---|---|
| All-in-one production console with touchscreen | 1 | Audio mixing, video switching, multitrack recording |
| AI-powered 4K cameras | 3 | A wide shot and a close-up of each speaker, with auto-tracking and auto-framing |
| Broadcast Microphones | 2 | One microphone per speaker, each on its own track |
| Studio Headphones | 2 or more | Listen in live without any sound leaking into the microphones |
| Internal hard drive | 1 | Primary storage for each recording |
| External hard drive, 2 TB | 1 | Instant backup while recording |
| Studio PC | 1 | Editing, exporting, and post-production of the footage |
| Acoustic panels | by room | Reducing reverberation and reflections |
| Lighting and Furniture | by room | A uniform look and a stable, comfortable layout |
Do you want to expand the studio to accommodate more guests in the future? In our article about a multi-person pod and video cast studio, you can read about how to scale up without disrupting your workflow.
Integrated workflow: everything comes together in the console
The production console is the nerve center. All microphones and cameras feed into it, and from that point on, you control everything from a single screen.
Audio
Each broadcast microphone has its own channel with its own gain, filter, and level. You set it up correctly once and save it as a preset. For the next recording, you load the preset and you’re good to go right away. On the touchscreen, you can see the meters for each speaker, so you can tell if someone is speaking too softly or causing clipping.
Video
The three camera feeds are displayed side by side on the touchscreen. The program feed—the video that’s actually being recorded—is displayed in a large window. You can switch between them with a single tap. You’ll learn more about that later.
Multitrack recording
This is the main advantage of the integrated workflow. The console records not only the mixed version, but also each source separately:
- the edited video with the stereo mix;
- each camera feed as a separate file;
- each microphone as a separate audio track.
This gives you two options after recording. Want to publish quickly? Then use the directed version right away. Want to edit it—for example, to remove a guest’s cough or replace a shot? Then use the individual tracks. Since everything is recorded from a single device with the same clock, the video and audio are perfectly synchronized. Manual synchronization is no longer necessary.
Secure storage: both internal and external
During recording, the console saves everything to the internal hard drive. At the same time, a copy is saved to an external 2 TB drive. This has two advantages. If one drive fails, the recording is still on the other one. And after recording, you can disconnect the external drive and take it to the editing location without having to copy any files.
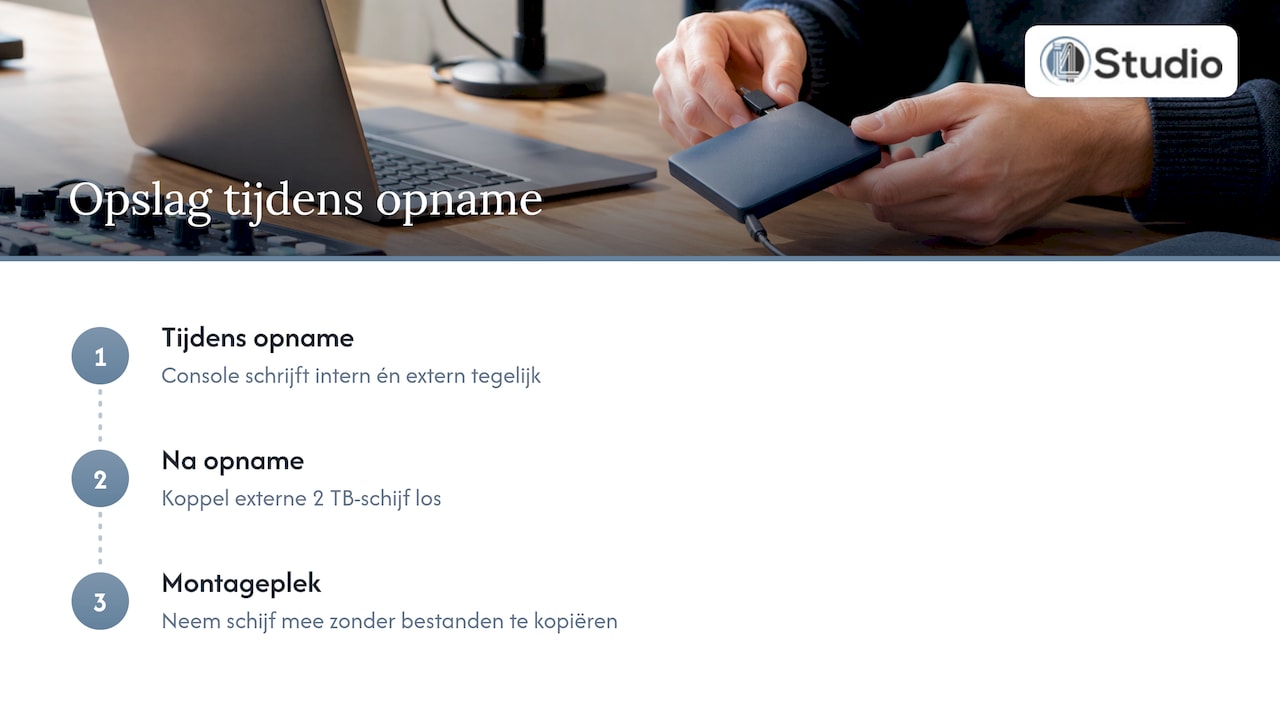
A practical tip: Give each episode a consistent folder name that includes the date and title, and free up space on the external drive after each editing session. 4K video from three cameras plus separate audio tracks will fill up a drive faster than you’d expect. So after each shoot, take a moment to check how much space is left, so you never run out of space in the middle of a conversation.
Smart camera control without a separate cameraman
In a traditional video studio, there is someone behind each camera who zooms in, adjusts the shot, and tracks the speaker. In a smart studio, the cameras do that on their own.
Auto-tracking and auto-framing
The camera’s AI recognizes faces and body postures. Auto-tracking means that the camera follows a speaker when they lean forward, turn to the side, or stand up to show something. Auto-framing means the camera automatically frames the shot neatly: the head and shoulders are nicely in the frame, with enough space above the head. If a second person enters the frame, the framing adjusts accordingly.
The three-camera setup
With three cameras, you can fully cover a conversation between two people:
- Camera 1, wide shot: straight on or slightly angled, with both speakers and the table in the frame. This is your go-to shot—the one you can always fall back on.
- Camera 2, Speaker A: positioned diagonally across from Speaker A, focused on the face and hands.
- Camera 3, Speaker B: mirrored, positioned diagonally across from Speaker B.
Position the speakers’ cameras at about eye level. A camera that films from below can quickly make the scene look awkward. Also, make sure the cameras aren’t in each other’s shots.
Shifting Gears Using the Touchscreen
On the console’s touchscreen, you’ll see the three images as small windows. If you tap a window, it becomes the program feed. This lets you switch live from the wide shot to the speaker who’s talking, and back to the wide shot when there’s a reaction or a laugh. After just one episode, it already feels second nature.
The host can do this themselves during the call, or a colleague can operate the screen. Because the cameras track and frame the shot on their own, no one needs to adjust them manually anymore. The direction has been reduced to a single decision: which view to show next. And because each camera feed is recorded separately, you can always correct a missed transition during editing.
Audio: Broadcast microphones and studio headphones
Viewers will overlook a slightly less sharp picture, but they’ll tune out if the sound is poor. That’s why every speaker gets their own broadcast microphone. A broadcast microphone is designed for speech close to the mouth: a warm, full-bodied sound with minimal ambient noise. Mounted on a microphone boom, it is positioned close to the speaker while keeping the face clear for the camera.
When installing it, keep three things in mind:
- Distance: Keep a consistent distance of about a hand’s width between your mouth and the microphone so that the volume remains constant.
- Direction: Point each microphone toward its own speaker and away from the other. This keeps each track clean.
- Setup: Use a sturdy arm and a shock mount to prevent table taps from being picked up in the recording. You’ll find arms, mounts, and pop filters in our microphone accessories section.
Studio headphones complete the setup. Everyone can hear in real time what the microphones are picking up, so a rattling bracelet or a voice that’s too soft stands out immediately. Choose closed-back headphones: they don’t let any sound leak out, ensuring that the microphones pick up only the voices. Looking for more options in microphones for speech and vocals? Then check out our studio microphones category.
The Space: Acoustics Determine the Final Result
Even the best microphone sounds hollow in a bare conference room with glass and hard walls. Sound bounces back and re-enters the microphone with a slight delay. You hear this as reverberation.
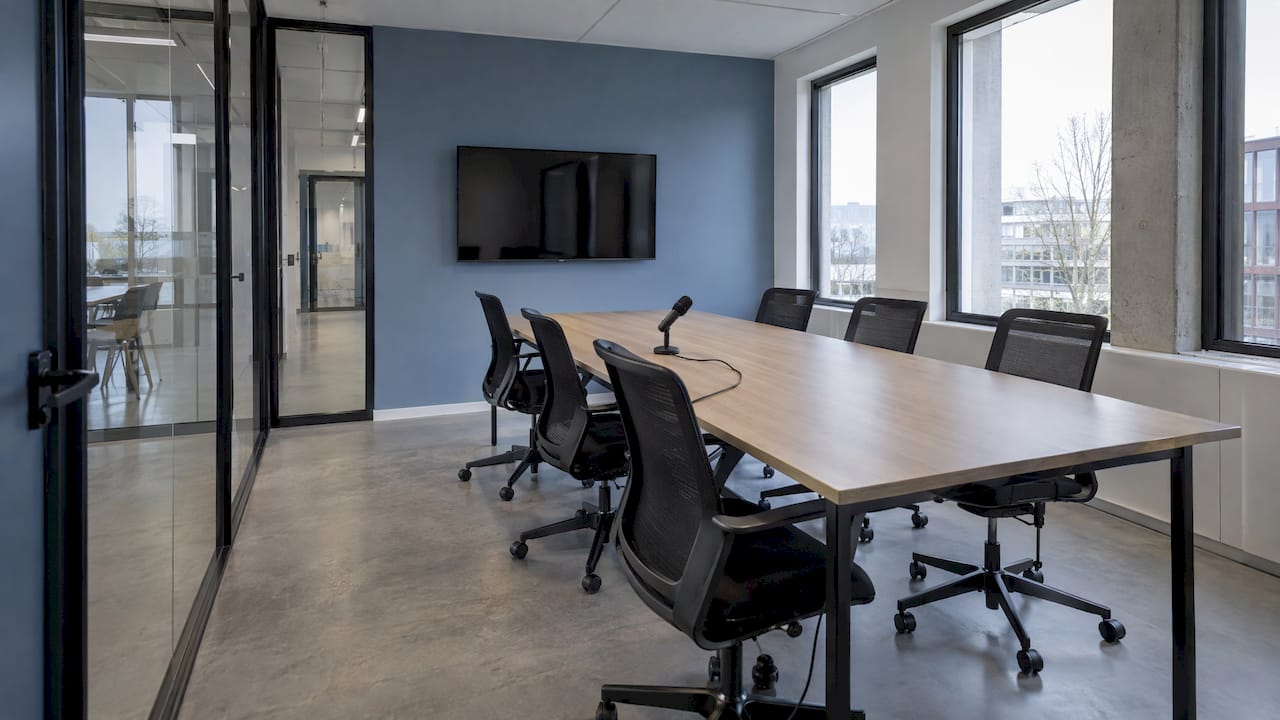
The Dutch standardization organization NEN is clear on this in its white paper on acoustics in office spaces: start by applying sound-absorbing finishes to the ceiling, walls, and floor. Without that foundation, other measures have little effect. NEN also cites reverberation time—the time it takes for sound to fade away—as a measure for evaluating a space. Carpet also helps reduce footfall noise.
For a podcast studio, this translates into a few specific choices:
- Walls behind and next to the speakers: this is where the first reflections occur. Acoustic wall panels in these areas do the most work.
- Ceiling above the table: Voices also bounce upward. A panel above the table dampens that.
- Floor: A rug under the table and chairs reduces reflections and the sound of chairs scraping.
- Visuals: Panels also serve as decor. Choose colors and shapes that match your brand identity, because the wall behind the speakers is visible in every shot.
Do you want to be able to move panels around when the studio doubles as a meeting room? If so, a magnetic mounting system is a good option. You can find more information in our guide to improving studio acoustics.
Step-by-Step Guide: How to Set Up Your Studio
- Determine the format. How many speakers are typically at the table, and how often do guests join? That determines the number of microphones, cameras, and headphones. Video is especially useful when visuals add something—such as facial expressions, gestures, demonstrations, or graphics. In a conversation where faces and reactions are visible, this is almost always the case.
- Choose and measure the room. Ideally, choose a room without large windows behind the speakers and with as little outside noise as possible. Measure the walls and ceiling for acoustic treatment.
- Address the acoustics. Start with the space, then the technology. Install the panels before positioning the cameras, because they also affect the image.
- Set up the table, chairs, and microphone stands. A fixed setup ensures that the cameras and microphones are positioned the same way for every episode. A sturdy studio cabinet keeps the console and cables neatly organized.
- Set up the three cameras and the lighting. Soft lighting coming from a slight angle in front creates a calm image. Test the wide shot and both speaker shots with auto-framing enabled.
- Connect everything to the console: microphones, cameras, headphones, and the external 2 TB drive. Make sure the backup is active before you press record.
- Save presets. Save the levels, camera layout, and recording folder so that every subsequent recording starts with a single press of a button.
- Do a test recording. Record for ten minutes, listen back through headphones, and view the footage on a large screen. Only then should you adjust the details.
For a more detailed version of this process, you can also check out our practical step-by-step guide to setting up a podcast studio.
The editing station: a studio PC that can handle 4K
The console delivers ready-to-use footage. If you want to create clips for social media, add subtitles, or edit individual tracks, you’ll need a computer that can smoothly process three 4K streams plus multiple audio tracks. A standard office laptop will quickly struggle with this: stuttering timelines, long export times, and crashes in the middle of a project.
A studio PC built specifically for audio and video, with plenty of processing power, memory, and fast storage, prevents that from happening. Our studio PCs are built with a focus on stability and low latency, so you can edit without waiting. For a demanding video and audio workflow, check out the Tower of Power Gold ULTRA 7, for example, or browse our entire selection of studio computers for audio and video.
Our Take on the Smart Studio
What we see is that the technology itself is rarely the problem. A studio performs well or poorly depending on how its components work together. A top-of-the-line camera next to a microphone that picks up the echo from a bare room won’t produce a professional episode. Neither will a high-speed console next to a computer that can’t keep up with 4K footage.
That’s why, when designing a studio, we always look at the big picture: space, acoustics, sound, video, and the computer you’ll be using for editing. We combine high-end equipment with a configuration optimized for both audio and video, and provide hands-on advice on both hardware and acoustics. This helps you avoid having to replace individual components later on because they don’t work well together.
Above all, a smart studio should provide a sense of calm. You walk in, press “record,” and have a good conversation. Everything else has been taken care of in advance.
Harold
Have Your Studio Designed by i4studio
At i4studio, you’ll find everything you need for a podcast and videocast studio under one roof: microphones, audio interfaces, studio equipment, acoustic panels, and studio PCs starting at €1,099. We’ll advise you on the acoustics of your space and the hardware, and we’ll set up professional studio installations.
Would you like to know which setup is right for your space, team, and format? Schedule a consultation at i4studio.nl and discuss your plans with our specialists.
Frequently Asked Questions
Can one person direct a videocast using three cameras?
Yes. The AI cameras track and frame the speakers on their own, so no one needs to stand behind the camera. All that’s left is to choose which view to show live, and you can do that with a single tap on the touchscreen. The host can do this themselves during the call.
Why record to both an internal and an external drive?
Because if a recording is lost, you can’t redo it—especially not with a guest. By recording simultaneously to the internal drive and an external 2 TB drive, you’ll always have a second copy. Plus, you can take the external drive right to your editing station.
Do I need acoustic panels if I have good microphones?
Yes. Even a broadcast microphone positioned close to the mouth picks up reflections from hard walls. According to NEN, sound-absorbing finishes on walls and ceilings are the foundation of good acoustics. Panels behind and to the sides of the speakers provide the greatest improvement.
Does a podcast always include video?
No, but video is gaining ground. Video is especially valuable when facial expressions, gestures, or demonstrations add something to the conversation. With multitrack recording, you get both: the video for YouTube and social media, and the separate audio tracks for an audio-only version.
How much does a complete podcast and videocast studio cost?
That depends on the number of speakers, the space, and the quality of the equipment. A studio PC for editing starts at €1,099 with us. For a complete setup including a console, cameras, microphones, and acoustic treatment, we’ll work with you during a consultation to put together a configuration that fits your space and your format.
Sources
- Het Parool: Local Wave in Southeast Amsterdam aims to make podcasts accessible
- NEN: White Paper on Acoustics in Office Spaces
- DIE ZEIT: Why podcasts are increasingly working as videos too