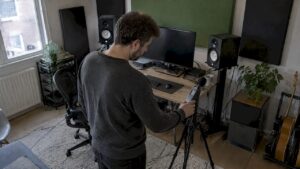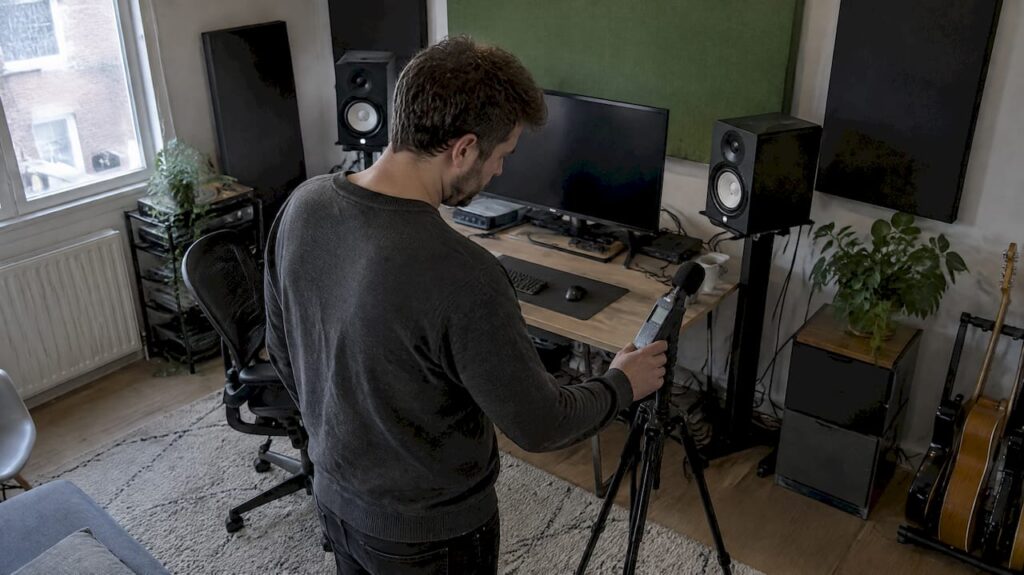
Sound standards for a home studio are acoustic guidelines for listening quality and room design, not noise pollution regulations. Aim for a reverberation time of approximately 0.2–0.4 seconds in the midrange and a background noise level of around 20 dB(A). First, take measurements; then treat the early reflections and bass; and only after that adjust the placement and measure again. The technical foundation comes from the EBU and ITU, while the practical implementation is based on our own studio experience.
Briefly:
- Place the monitors symmetrically at a short distance, keep obstacles out of the line of sight, and avoid the center of the room as a listening position, where standing waves converge.
- Standard absorptive panels do little to address very low frequencies; combine corner bass traps with membrane bass traps and experiment with monitor placement to reduce bass peaks.
- Use T20, T30, and EDT together to measure reverberation time, check for early reflections within 15 milliseconds, and compare measurements before and after each intervention.
- Use tone control only after physical treatment: a filter corrects sound at one measurement point at most, while a bass trap also works in other areas of the room.
- Renters can use panels mounted on stands or on movable screens; heavy curtains and rugs primarily absorb higher frequencies, not the deep bass.
Table of contents
- What are the recommended specifications for a critical listening room?
- How do you position monitors and the listening position?
- Low frequencies and bass traps: what works in small rooms?
- How do you approach this step by step, and which materials should you choose?
- What measurements and tools do you actually use?
- What mistakes do home studios often make?
- When is professional advice really helpful?
- Here’s how we can help you with panels, advice, and custom solutions
- Frequently Asked Questions
- Sources
What are the target values for a critical listening room?
The EBU, ITU, and AES provide the standards that professional control rooms rely on. For your home studio, they serve as a useful guideline, not a rule. Three values are the most important:
- Reverberation time: In the mid-range, the standard range for critical listening rooms is between 0.2 and 0.4 seconds. The reference formula TM = 0.25·(V/100)^(1/3) adjusts that value to the volume of your room.
- Background noise: NR10 to NR15 is technically achievable in control rooms. In a residential home, approximately 20 dB(A) is a realistic target.
- Frequency response: Minor irregularities per 1/3-octave band are acceptable; significant dips and peaks in the bass are not.
The EBU, AES, and IEC recommendations specify reverberation times of 0.25–0.45 seconds for reference rooms, with a correction for volume. A small home studio is therefore on the shorter end of that range.
How do you position your monitors and listening position?
The EBU Tech 3276 provides specific placement guidelines that work even in a small room. It’s all about symmetry: the left and right sides of the room relative to your listening position should behave as similarly as possible.
- Adjust the stereo base, listening angle, and listening distance to create a symmetrical listening setup.
- Ideally, place the speakers at a slight distance from the side walls.
- The height of the speaker axis is approximately 1.2 meters, with a maximum tilt of 10°.
- Keep obstacles—such as a large monitor, a rack, or a synthesizer—away from the speakers and your ears.
In small rooms, near-field monitors are the logical choice, since you’ll mainly hear the direct sound. If you want to compare or replace your monitors, check out our studio monitors.
Pro tip: Don’t place your listening position exactly in the middle of the room. That’s where standing waves often interfere strongly. Move over a little and see if the bass sounds more balanced.
Low Frequencies and Bass Traps: What Works in Small Spaces?
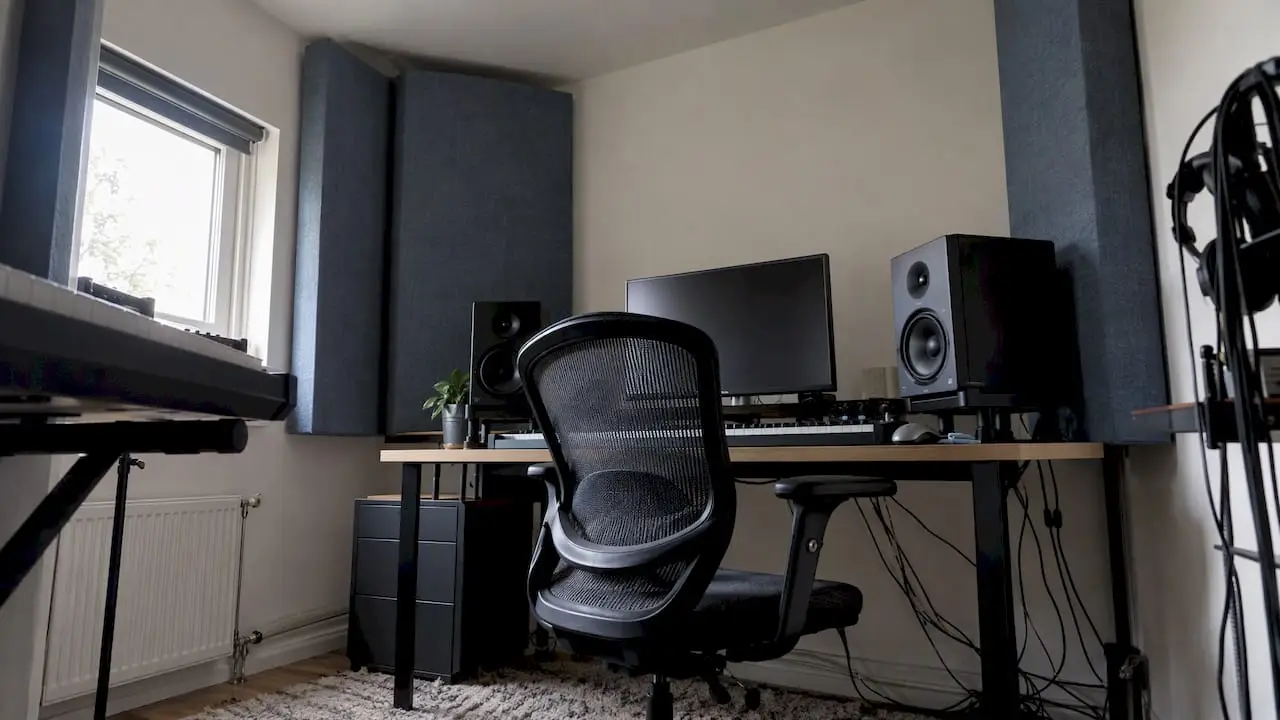
Standing waves dominate in small rooms. At certain low frequencies, the room itself creates peaks and troughs, causing the bass to sound rich in one spot and fade away in another. According to research on small spaces, this is the biggest acoustic problem in small volumes. The research also shows that standard resistive absorbers are largely ineffective at very low frequencies.
That’s why a combination works best:
- Corner bass traps capture the energy where it builds up.
- Membrane or diaphragm traps tackle deep bass where thick absorbers fall short.
- Smart placement of monitors and the listening position eliminates most of the peaks.
- Electronic correction is a last resort, never the starting point.
Be realistic: you’ll never achieve the level of a professionally built control room in a living room, but a noticeable improvement is definitely achievable.
How do you tackle this step by step, and which materials should you choose?
Work in this order to get the most out of every euro:
- Measure your room and mark the problem areas: listening position, early reflections, and bass buildup.
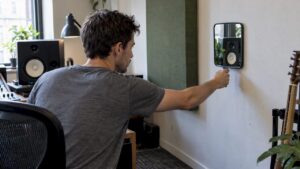
- Treat the early reflections on the side walls and ceiling with acoustic panels.
- Install corner bass traps for the lowest frequencies.
- Add diffusion behind your listening position if the room is large enough.
- Measure again and compare with your initial measurement.
Glass wool and mineral wool are the standard materials for the panels themselves. Thicker panels also absorb low-to-mid frequencies. When renting, you have several options:
- Individual panels mounted on a stand or a mobile screen, without drilling.
- Heavy curtains or a rug to absorb higher-frequency reflections.
- Temporary mounting systems, as described in our guide to acoustics in your rental home without drilling.
Costs range from DIY projects using individual materials to ready-made panels. Custom work is especially worthwhile if your room has an irregular shape or if you want it to look nice.
What measurements and tools do you actually use?
Just relying on your sense of touch isn’t enough—you need to measure your results. Professional evaluations use T20, T30, and EDT for reverberation time, and C50 and C80 for clarity. You should also look at early reflections within 15 milliseconds and the bass response per 1/3-octave band.
- A simple RTA or measurement app provides an initial indication of peaks and troughs.
- A measurement microphone with measurement software provides more reliable readings, including for reverberation time.
- Record your measurements so you can demonstrate improvements.
Use T20, T30, and EDT together: they are derived from professional measurement methods for room acoustics and, when used in combination, provide a clearer picture than a single number.
The workflow is simple: measure your reference position, make adjustments, measure again, and compare.
What mistakes do home studios often make?
The biggest mistake is using EQ to solve room problems. According to the Stanford course “Mixing and Monitoring,” EQ usually corrects only at a single listening position and does nothing to address time-domain issues such as reverberation and reflections. For that, you need physical absorption, diffusion, and bass traps.
- Start with early reflections and the bass, and don’t invest in diffusion until that foundation is right.
- Mix using near-field monitors at a short distance so the room has less of an effect on the sound.
- Measure after every adjustment; otherwise, you won’t know what worked.
Pro tip: When in doubt, always choose a physical solution over a plug-in. A bass trap works for every listening position in the room, while a filter only works at the specific spot where you measure.
When is professional advice truly helpful?
I’m a specialist in studio equipment and acoustics, and at i4studio we focus on custom-built studio PCs and acoustic solutions. My philosophy: standards are a compass, not a straitjacket. A room with slanted walls, an open staircase, or a strict landlord calls for a custom solution that no chart can provide. That’s when it pays to have an experienced ear take a look, especially if you want to mix at a high level. If you want to get started right away, you can find our solutions under “Improving Studio Acoustics.”
— Harold
Here’s how we can help you with panels, advice, and custom solutions
A good plan starts with understanding your room, and we’re here to help with that. Our consultants will work with you to determine which panels, grilles, and installation options will deliver the best results for your space and budget—without making you buy more than you need. You’ll receive guidance from industry experts who prioritize stability and accurate sound reproduction.
- Advice on acoustic panels for your room and listening position.
- Delivery of panels and custom solutions.
- Smart combinations with studio monitors and studio computers for a complete setup.
Current pricing information is available on our acoustic panels page. Request measurement advice or a quote there.
Frequently Asked Questions
What are the noise standards for a home studio?
These are acoustic guidelines for the sound quality of your space, not legal regulations regarding noise pollution. Among other things, they describe reverberation time, background noise, and monitor placement. The EBU and ITU provide the technical basis for these guidelines.
How many decibels of background noise are allowed in a home studio?
Aim for about 20 dB(A) in a residential setting as a practical guideline. The EBU and ITU specify NR10 to NR15 for control rooms, which is technically feasible but difficult to achieve in a home. The quieter it is, the better you can hear small details.
How long should the reverberation time be in a small studio?
For the mid-range, a range of 0.2 to 0.4 seconds is typical for critical listening rooms. The exact value depends on the volume of your room, as calculated using the EBU formula. Always measure the reverberation time after each treatment.
Can I fix room issues with EQ?
No, EQ corrects at most one measurement point and does not address time-related issues. Physical treatment involving absorption, diffusion, and bass traps remains necessary. Use EQ only as a last resort.
Sources
If you’d like to review the exact measurement and specification data yourself, start here:
- EBU Tech 3276-1998 Listening Conditions for Sound Program Material: M&S
- Fundamentals of Acoustic Measurements
- Mixing and Monitoring 2014