The five adjustments that eliminate most DAW glitches on Windows are: setting power management to the Performance plan, forcing the correct ASIO driver, adjusting the buffer size to the task, freezing tracks, bouncing, and storing your samples on an NVMe drive. Together, they address the main causes of dropouts and freezes: insufficient CPU resources, slow disk access, and driver conflicts. In many studios, this combination is considered the quickest path to a stable workflow.
Briefly:
- Make sure your power scheme is set to high power and that your ASIO driver is configured correctly, as this will eliminate the main causes of dropouts and freezes.
- First, invest in a fast NVMe drive and enough RAM for large sample projects before you consider a more powerful processor.
- Use a small buffer size during recording for minimal latency, and increase it during mixing for greater stability; freeze editable tracks to reduce CPU load.
- Set Windows to “Highest Performance,” disable unnecessary services, and update drivers from the manufacturer to reduce the risk of glitches and latency issues.
- Test for system and hardware issues using LatencyMon, clean boots, and cable swaps—especially if glitches continue to occur despite optimizations.
Table of contents
- Quick-Check Checklist: 10 Immediate Settings and Checks
- Hardware Bottlenecks: Which Upgrades Really Help—and Which Don’t
- Windows 11 & Drivers: Step-by-Step Optimizations
- BIOS, firmware, and connections: safe settings for stability
- DAW settings and workflows that save CPU resources without sacrificing quality
- Diagnosis & monitoring: how to quickly isolate the causes
- i4studio Evidence and Checklist: When Customization Is Needed
- A personal note from the author (Harold): Priorities in real-world projects
- i4studio: Custom Solutions When Quick Fixes Are No Longer Enough
- Sources
- Frequently Asked Questions
Quick-Check Checklist: 10 Immediate Settings and Checks
Before you start recording, go through the list below. It will take you five minutes and help prevent most glitches during a session.
- Restart your system if it has been running for more than a day.
- Close all programs you don’t need, including your browser and chat apps.
- Turn off Wi-Fi and Bluetooth if you’re using a wired connection.
- Set the power plan to a high-performance power plan in Windows Settings.
- Force the highest processor state using the advanced power options.
- Pause Windows Update during the session.
- Make sure your audio interface is using the correct ASIO driver, not the generic Windows driver.
- Disable USB selective suspend for your interface’s port.
- Close notifications and background apps from the Action Center.
- Test with an empty session to see if the latency indicator in your DAW remains stable.
These steps require little effort but lay the groundwork for the rest of your optimization. Without this foundation, investing in hardware makes little sense.
Hardware Bottlenecks: Which Upgrades Really Help and Which Don’t
Not every upgrade delivers the same benefits. A DAW primarily relies on single-core clock speed for plugin processing within a single track, while multicore processing is most helpful when working with many simultaneous tracks and rendering tasks. A processor with a higher clock speed is better at preventing the audio engine from becoming overloaded than a processor with additional cores but a lower clock speed.
- For sample-heavy projects (orchestral banks, drum libraries), 32 GB of RAM is often the starting point, while 64 GB is recommended for large productions.
- For live tracking with a limited number of plugins, 16 to 32 GB is usually more than enough.
- An NVMe drive for your operating system and sample libraries delivers the most noticeable speed boost, as load times for large samples drop dramatically compared to a SATA drive or hard drive.
- An audio interface with its own power supply is more stable than a bus-powered model as soon as you use multiple channels simultaneously; Thunderbolt connections offer lower overhead latency than standard USB.
Pro tip: Invest in storage and RAM first before considering a new processor. A slow hard drive can slow down even the fastest processor.
Windows 11 & Drivers: Step-by-Step Optimizations
Windows 11 is perfectly suited for audio production, provided you adjust a few settings. That’s because the operating system isn’t set to low latency by default, but rather for general use.
- Enable the “Best Performance ” power plan and avoid using CPU affinity or real-time priority unless you’re troubleshooting a persistent issue; if set incorrectly, this can backfire.
- Turn off non-essential services and background apps using Task Manager and the Settings app, and schedule Windows Update for a time outside of your studio hours.
- Disable USB power management for each port to which your interface or controller is connected, so that Windows does not put the device into sleep mode.
- Choose carefully between ASIO and WASAPI: ASIO generally offers the lowest and most predictable latency for professional interfaces.
- Keep your drivers up to date through the manufacturer’s website, not through Windows Update, and keep a working older version on hand in case an update causes problems.
Practical adjustments such as enabling a Performance power plan, disabling USB selective suspend, and pausing automatic updates noticeably reduce audio glitches and latency. A complete step-by-step guide to these settings, including BIOS configuration, can be found in I4studio’s Windows 11 optimization guide.
BIOS, Firmware, and Connections: Safe Settings for Stability
The BIOS determines how much control Windows has over your processor, and that’s where things often go wrong. Test each change separately so you know which one had an effect.
- Disable CPU power-saving features (C-states) if you’re experiencing brief spikes in latency; this prevents the processor from constantly switching back and forth between power states.
- Disabling Hyper-Threading or SMT can help with older or unstable systems, but test this first: on modern processors, it more often results in a performance loss than a gain.
- Update Thunderbolt and USB firmware through your motherboard manufacturer, and connect your interface directly to a port rather than through a hub.
- Document every BIOS change and keep a backup of your working BIOS profile before you start experimenting.
Pro tip: Never change multiple BIOS settings at the same time. Test one change, run a recording session, and only proceed if it remains stable.
DAW settings and workflows that conserve CPU resources without sacrificing quality
Buffer size is the setting that allows you to balance latency and stability. When recording, you’ll want to use a low buffer size to minimize latency. When mixing, latency is no longer a factor, so you can increase the buffer size to improve stability, depending on how many plugins your system needs to handle.
- Freeze CPU-intensive tracks as soon as you’ve finalized the settings, so the processor no longer has to calculate the plugins in real time.
- Bounce tracks to audio when a section is finished, rather than keeping all plugin instances active.
- Use sends and returns for shared effects like reverb, instead of loading the same plugin on every track.
- Reduce the number of active plugin instances by grouping tracks together whenever possible.
CPU load decreases noticeably by freezing tracks , bouncing them, and temporarily increasing the buffer size while mixing, which prevents crashes during large sessions. As for sample rate: 44.1 or 48 kHz is more than sufficient for most releases, and 96 kHz is required only for specific film or broadcast projects. In addition, work with a fixed project template in which routing, groups, and frequently used plugins are already set up, so you don’t have to repeat the same memory-intensive setup every time. I4studio’s workflow and session tips show how project organization further reduces I/O load.
Pro tip: Create a separate “recording template” with a low buffer and minimal plugins, and a “mixing template” with a high buffer. Switch between them depending on the task instead of constantly tweaking a single setting.
Diagnosis & Monitoring: How to Quickly Pinpoint Causes
If glitches persist despite your settings, take a systematic approach. First, open Task Manager and Resource Monitor to see if the CPU, disk, or memory are spiking at the time of the glitch.
- Run LatencyMon during a session: this tool reveals driver latency and IRQ conflicts that aren’t visible in your DAW itself.
- Unplug your interface and plug it back in to a different USB port to rule out cable or port issues.
- Boot Windows in Safe Mode to test whether a background process is causing the issue.
- Check your DAW’s crash log or error report; this often points directly to a specific plugin or driver.
- Only seek assistance from the manufacturer or a technician if the steps above do not identify the cause.
i4studio Documentation and Checklist: When Customization Is Needed
Some specialized companies build custom studio PCs and have identified the most common issues: incorrectly selected drivers, insufficient storage space for sample libraries, and power settings that have never been adjusted after purchase. The practical guides—such as the comprehensive strategy for optimizing DAW performance—are based on configurations that are actually running on real systems.
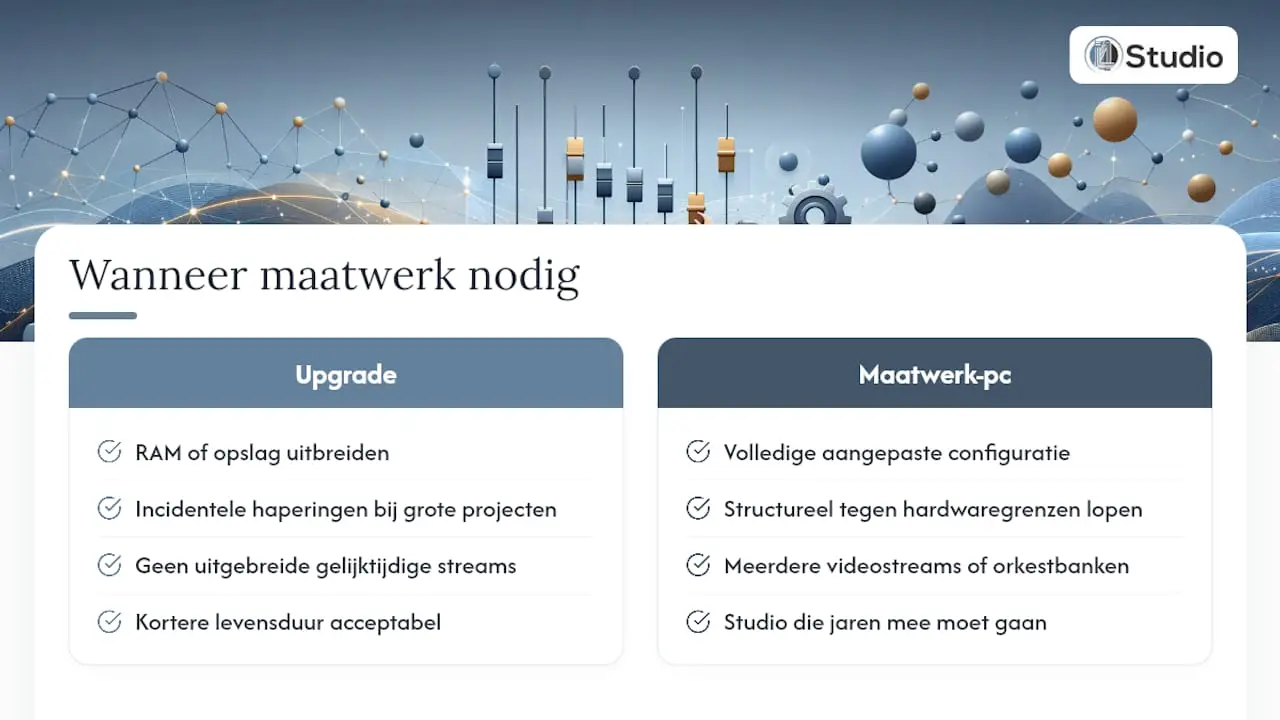
Upgrading your RAM or storage is often enough if your system occasionally slows down when working on large projects. A custom-built PC becomes the better choice once you consistently hit the limits of your hardware, run multiple simultaneous video streams or orchestral tracks, or set up a studio that needs to last for years without constantly replacing individual components.
A personal note from the author (Harold): Priorities in real-world projects
The three quickest ways to improve performance are always: power management, the right ASIO driver, and NVMe for samples. For live recordings, I always test the buffer size and USB stability first—never the plugins themselves. That saves the most stress later on.
– harold
I4studio: Custom Solutions When Quick Fixes Are No Longer Enough
Have you implemented all the settings in this guide, and is your system still reaching its limits? Then the problem is no longer with the software, but with the hardware itself. There are custom-built studio PCs available that are specifically tailored to your DAW, your plugins, and your recording workflow—rather than a generic consumer PC that you have to tweak yourself.
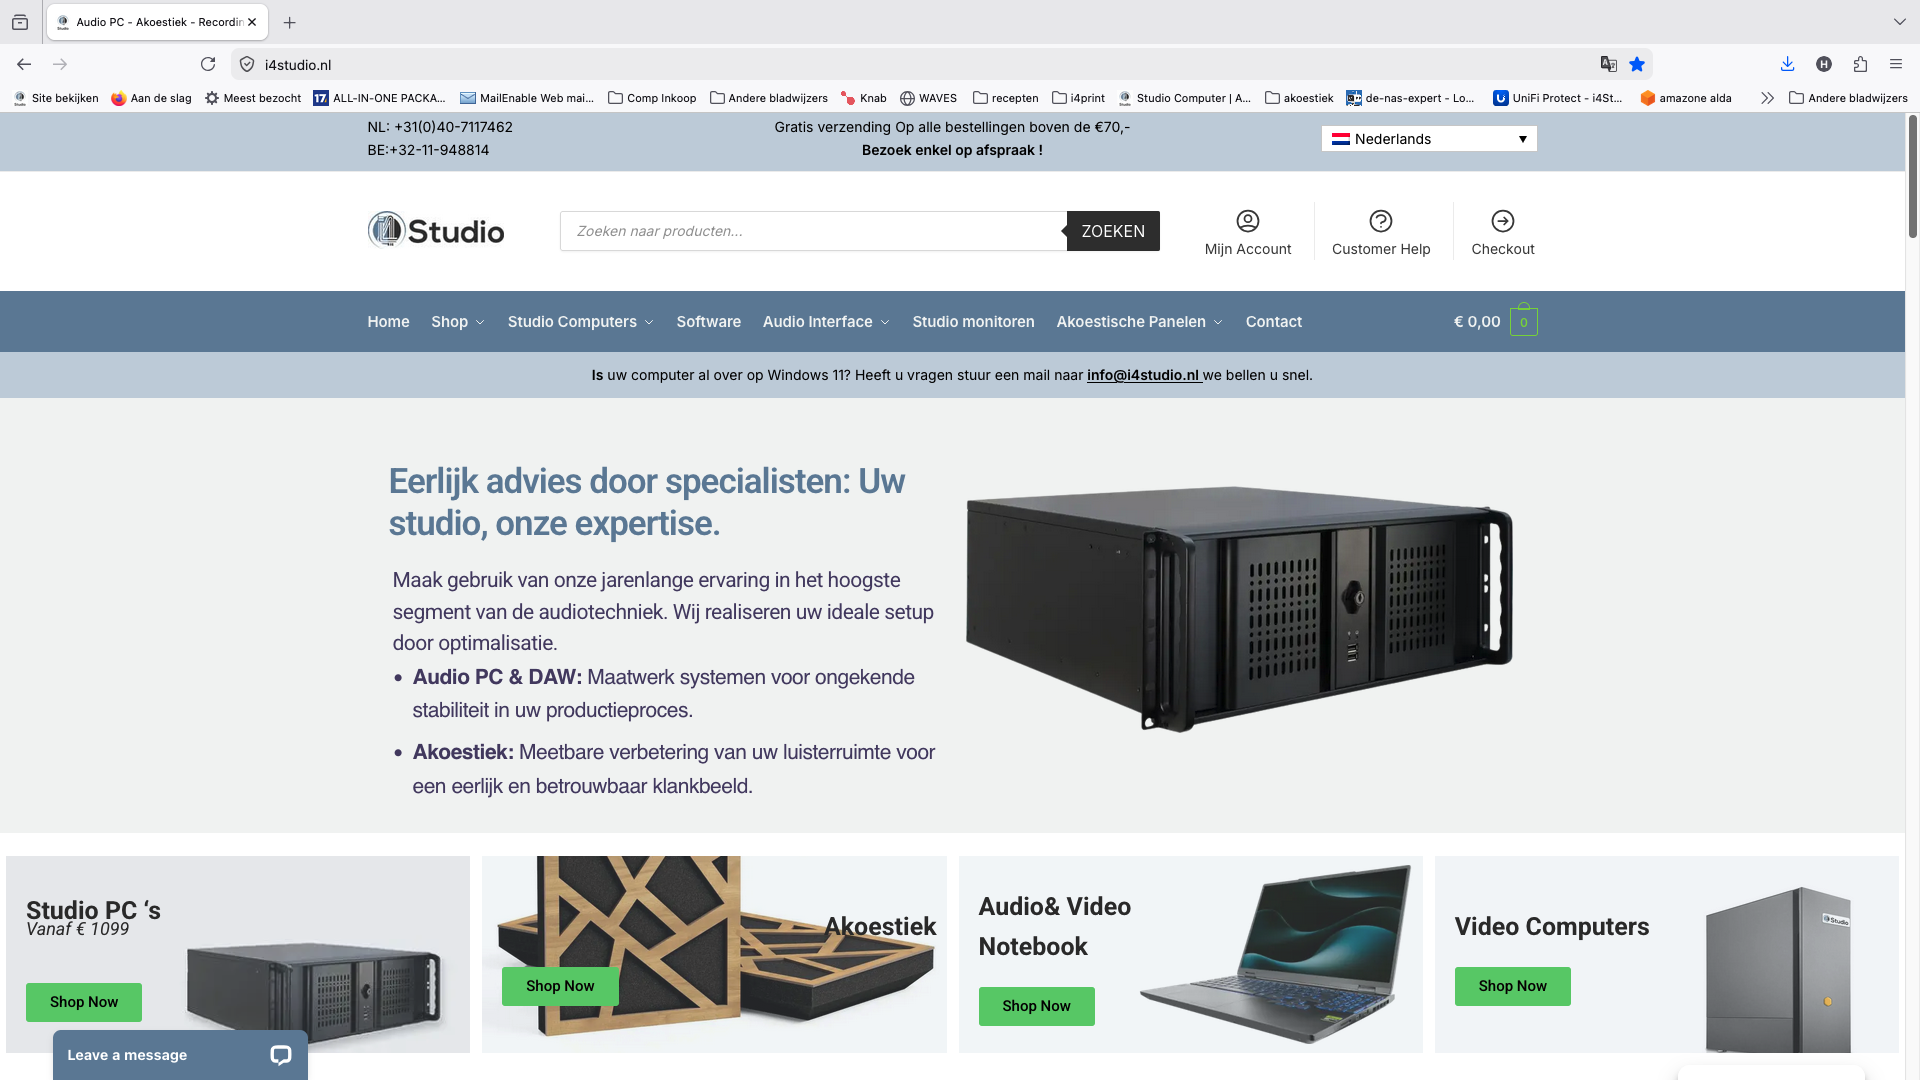
In addition to custom-built PCs, some companies also offer acoustic audits and solutions for your space, because even a perfectly optimized system won’t solve issues with reverberation or reflections. Not sure whether an upgrade is enough or if a new system makes more sense? Find out which studio PC is right for you, or get inspired by specific studio PC examples to see which configuration fits your workflow.
Sources
Save these links for your next pre-session check: I4studio’s Windows 11 optimization guide for BIOS and driver settings, LatencyMon for detecting driver conflicts, and AmmarAI’s Sound Studio partner page for additional mixing and post-production tools.
- Optimizing Windows for Audio Production: A Detailed Guide
- 8 Tips for CPU Optimization When Using Your DAW
Frequently Asked Questions
What’s the fastest way to fix DAW glitches?
Set your power management to ” Best Performance,” force the correct ASIO driver, and temporarily increase the buffer size. These three steps will resolve most dropouts immediately.
What buffer size should I use when recording?
Use a small buffer size while recording to minimize latency, and increase the buffer size while mixing to improve stability.
Does more RAM always prevent DAW crashes?
Only if your bottleneck is actually memory; for sample-heavy projects, 32 to 64 GB definitely helps, but it won’t solve any disk or driver issues.
When should I switch to a custom-built studio PC?
As soon as you consistently hit the limits of your current hardware despite all software optimizations, a custom system from I4studio is often more cost-effective than continuing to pile on individual upgrades.
Which tool can detect driver issues that my DAW doesn’t show?
LatencyMon uncovers driver latency and IRQ conflicts that remain hidden in your DAW statistics, and is the first step in troubleshooting persistent glitches.