Briefly:
- An effective recording setup consists of a microphone, an audio interface, and a DAW, all tailored to your recording environment. Setting up your equipment correctly and improving the acoustics are crucial for a clear, professional recording. Investing in good monitoring and patiently recording multiple takes significantly improve the quality.
A recording setup is the combination of a microphone, audio interface, DAW, and recording space that together determine how good your recordings sound. With the right recording setup guide, you can set up a functional recording environment step by step, whether you’re recording at home or in a small studio. This guide covers the essential equipment, technical settings, acoustics, and recording techniques that make the difference between a noisy demo and a clear, professional recording.
What equipment do you need for an effective recording setup?
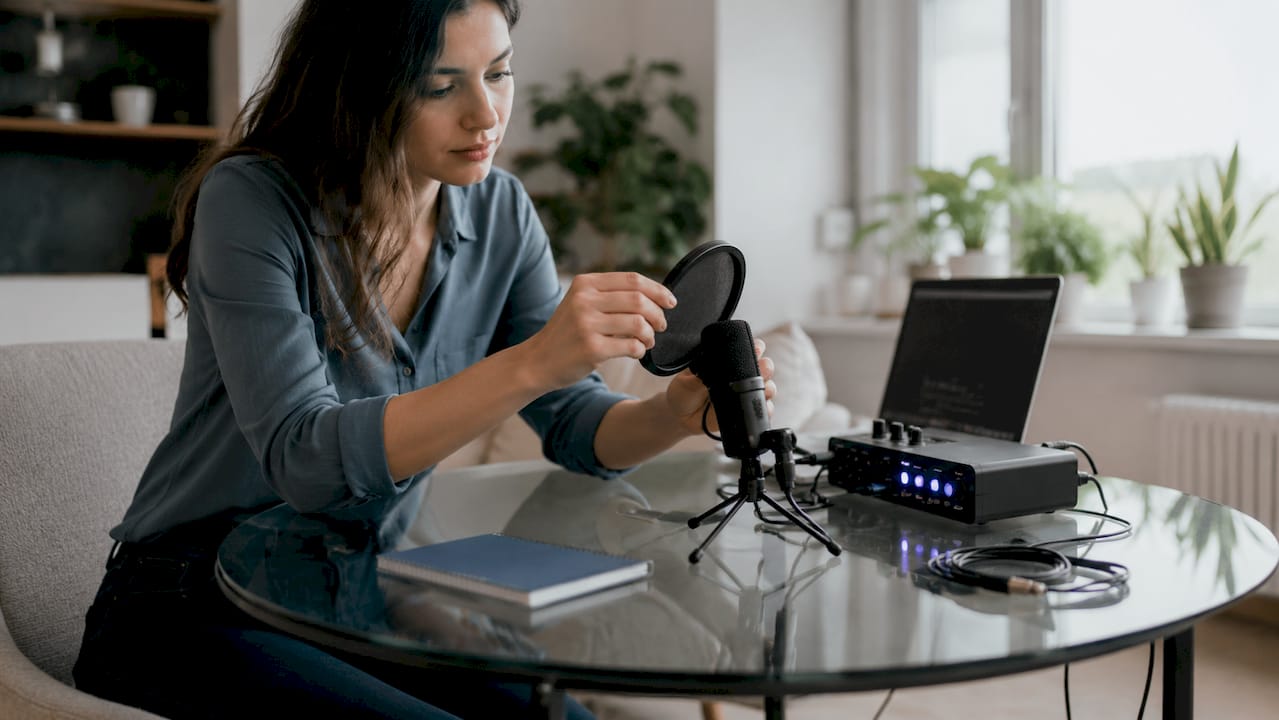
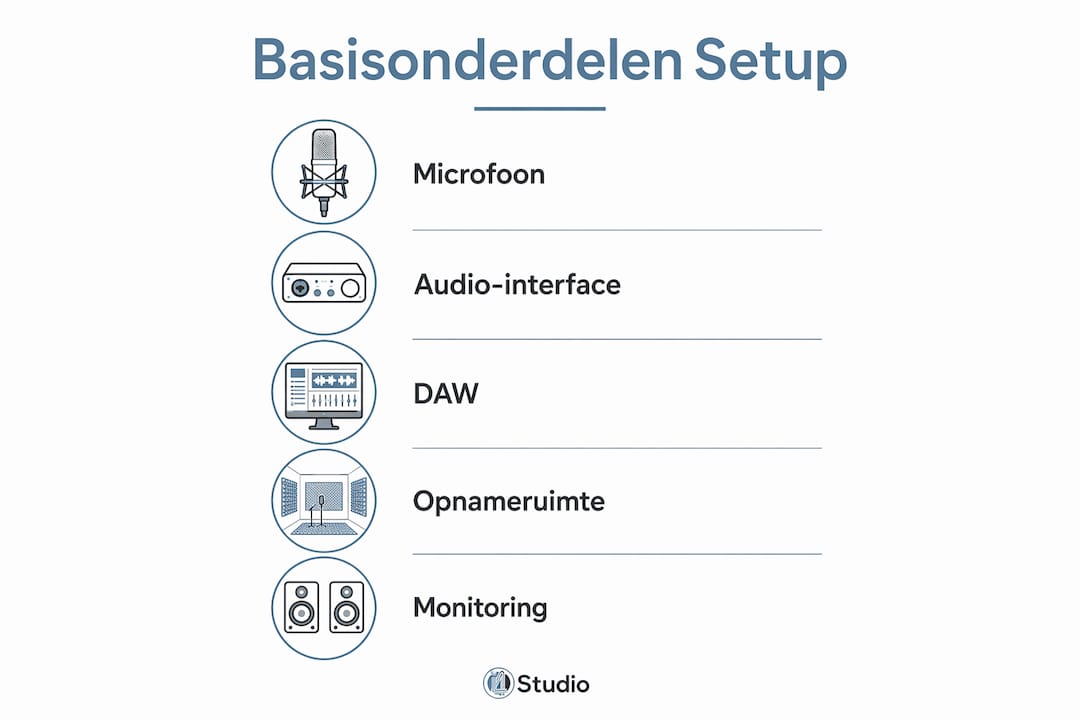
A recording setup consists, at a minimum, of a microphone, an audio interface, and a DAW. Each component has a specific role, and any weak link in the chain will be evident in the final result.
The Four Basic Components
| Department | Function | Entry Level |
|---|---|---|
| Microphone | Converts sound into an electrical signal | Dynamic or condenser |
| Audio interface | Connects a microphone to a computer via USB or Thunderbolt | 1–2 inputs for solo use |
| DAW | Software for recording, editing, and mixing | Free options available |
| Monitor Speakers | Neutral sound reproduction for accurate monitoring | Near-field monitors, 5–8 inches |
Dynamic microphones work well in untreated rooms because they pick up less ambient noise. Condenser microphones provide more detail and are the standard choice for vocals and acoustic instruments in a treated room. The choice depends on your recording environment, not just your budget.
An audio interface with a good preamp helps determine the tone of your recording. Cheap interfaces with poor-quality preamps add noise, even when used with an expensive microphone. Choose an interface that has the number of inputs you need at any given time.
Pro-tip: Start by buying a reliable audio interface and a mid-range microphone. A good interface paired with a mid-range microphone sounds better than a poor-quality interface paired with an expensive microphone.
There are both paid and free options for DAWs. Well-known paid packages include Ableton Live, Logic Pro, and Cubase. Free alternatives such as GarageBand or Reaper (with a trial license) are great for beginners. Compatibility with your operating system and audio interface is the first requirement when choosing software.
Want to know what basic equipment your home studio really needs? I4studio breaks down the essentials.
How do you set up your recording equipment correctly from a technical standpoint?
The technical settings of your equipment determine whether you’ll get a clean recording or one full of noise and distortion. Follow these steps to set up your recording properly.
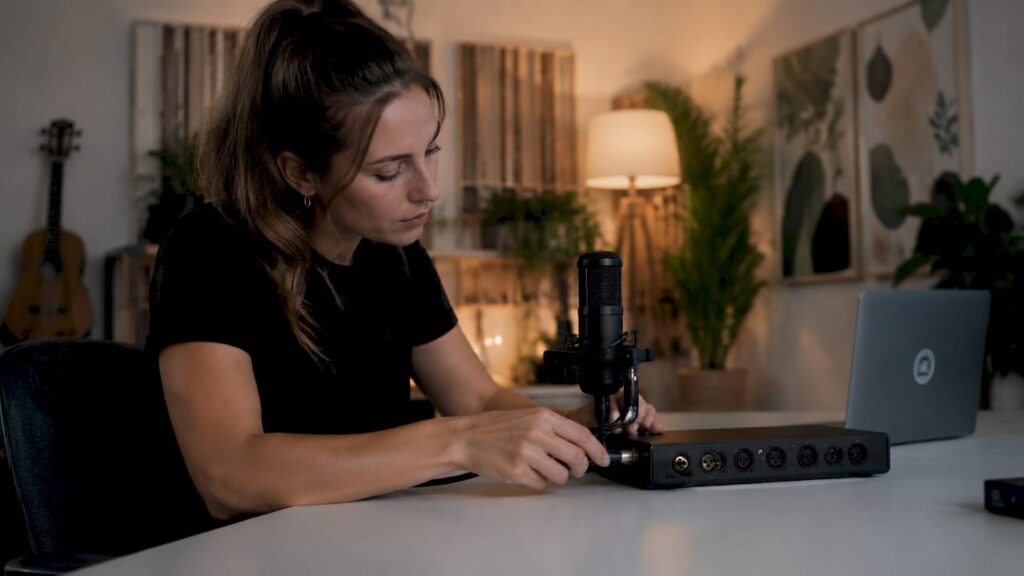
- Connect the microphone to the audio interface. Use an XLR cable for condenser microphones and turn on phantom power (+48V) if the microphone requires it.
- Connect the audio interface to your computer via USB, USB-C, or Thunderbolt. Install the corresponding driver if the operating system does not automatically recognize the interface.
- Set up the audio input in your DAW. Select the interface as the default audio device and assign the correct input to your recording track.
- Adjust the gain on the interface. Make sure the input meter peaks between -12 dB and -6 dB. This is the safe operating range for digital recordings.
- Set the buffer size. Use a low buffer size (64–128 samples) during recording to minimize latency. Increase the buffer size to 512 or 1024 samples when mixing to reduce the load on the processor.
- Test the signal. Speak or sing into the microphone and check to see if the meter moves without going into the red.
Clipping and Input Levels
Clipping occurs when the input level exceeds 0 dB. The result is audible distortion that cannot be corrected in the mix. As soon as the meter turns red, lower the gain on the interface.
The target range of -12 dB to -6 dB provides enough headroom for unexpected peaks. That headroom is called headroom. More headroom means more flexibility during mixing and mastering.
Setting the buffer size is a trade-off between latency and stability. A small buffer size reduces latency but puts a heavier load on the processor. A large buffer size eliminates glitches but increases the latency you hear through your headphones.
Pro-tip: Use direct monitoring through the audio interface instead of software monitoring in your DAW. That way, you can hear yourself without any noticeable delay, regardless of the buffer size.
You can avoid background noise by temporarily turning off electrical appliances such as refrigerators and fans while recording. Also, put your phone in airplane mode to prevent radio frequency interference.
How do you optimize the acoustics of your recording space?
The acoustics of your space have a greater impact on sound quality than any piece of equipment. Hard surfaces, such as bare walls and large windows, cause reflections that make your recording sound muddy. You’ll hear those reflections as a vague “spatial quality” that doesn’t fit the music.
Simple adjustments without significant costs
- Lay down a thick rug to reduce floor reflections.
- Hang heavy curtains on the windows to absorb high frequencies.
- Place a bookshelf full of books behind or next to the recording area. Books both absorb and diffuse sound.
- Use a mattress or blanket as a temporary sound absorber behind the microphone.
Furnishings such as rugs and curtains noticeably reduce reverberation. This is the most affordable way to improve the acoustics of a room before investing in acoustic panels.
Acoustic panels and diffusers
| Solution | Effect | Installation |
|---|---|---|
| Absorption Panel | Reduces reverberation and high reflections | First reflection points on side walls |
| Bass reflex | Absorbs low frequencies in corners | Corners of the room |
| Diffuser | Disperses sound without dampening it | Rear wall behind the listening position |
Acoustic panels should ideally be hung at the first reflection points. These are the spots on the side walls where sound from the monitor reflects toward your ear. You can find them by sliding a mirror along the side wall: wherever you see the monitor, that’s where you should hang the panel.
Diffusers should be placed on the back wall behind the listening position. They prevent the room from sounding too “dead,” which can be tiring during long sessions. I4studio offers, among other things, acoustic diffusers for home studios that are suitable for small and medium-sized rooms.
Microphone and Speaker Placement
Position your monitor speakers at the same height as your ears and at equal distances from each other and from you. The ideal setup forms an equilateral triangle. Do not place the monitors right up against the back wall: a distance of at least 30 centimeters reduces bass buildup.
Do not place the microphone in the center of the room. The center of a rectangular room has the strongest standing waves. Move the microphone slightly forward or to the side to avoid this.
Pro-tip: Record a test track and listen to it through headphones. If you hear a distinct “room” in the sound, there are too many reflections. Add absorption first before adjusting the gain or EQ.
What are the best practices for recording itself?
Proper preparation for every recording session saves hours of post-production work. Always check the input levels, the room, and the equipment before you start.
Step-by-Step Preparation and Implementation
- Check the room. Close the windows, turn off the fans, and eliminate sources of background noise.
- Adjust the gain. Have the singer or musician play the loudest part and adjust the gain so that the meter peaks between -12 dB and -6 dB.
- Use a pop filter. Pop filters reduce popping sounds caused by pronounced consonants such as “p” and “b.” Hang the pop filter 5–10 centimeters in front of the microphone.
- Set up the monitoring. Use real-time monitoring via the interface or disable software monitoring to avoid delays.
- Record several takes. Three to five takes provide enough material to edit.
Comping and Listening Back
Recording multiple takes and comping them significantly improves the recording quality. Comping means combining the best parts from different takes into a single, perfect performance. Most DAWs have a built-in comping feature that simplifies this process.
Always listen to your recording through headphones and monitors. Headphones reveal details and mistakes. Monitors let you hear how the sound comes across in a room. A recording that sounds good on both is ready for mixing.
Would you like to learn more about recording at home? I4studio’s complete guide to home studio recording takes a closer look at space, mixing, and workflow.
Musicians who are also active in the performing arts and want to use music as a way to earn extra income can find practical information on Nowjobs about how to turn their recording skills into paid work.
Key insights
An effective recording setup requires proper input levels between -12 dB and -6 dB, an acoustically treated room, and a careful selection of microphone, interface, and DAW.
| Item | Details |
|---|---|
| Monitor Input Level | Keep peaks between -12 dB and -6 dB to prevent clipping and distortion. |
| Address Acoustics First | Treat the room with curtains, rugs, and panels before buying expensive equipment. |
| Adjusting the Buffer Size | Use a low buffer size when recording and a high buffer size when mixing for optimal performance. |
| Recording Multiple Takes | Compile the best clips to create a flawless final take. |
| Using a Pop Filter | A pop filter eliminates plosive sounds in vocal recordings without the need for additional post-production. |
What I Would Do Differently After Years of Studio Experience
The biggest mistake I’ve seen among musicians who are just starting out is that they try to do everything at once. They buy an expensive microphone, install a resource-intensive DAW, and immediately start recording in an untreated room. The result always sounds disappointing—not because of the equipment, but because of the room.
My honest advice: start with the acoustics. A bare room with hard walls makes any microphone sound bad. I’ve heard recordings made with a cheap dynamic microphone in a well-treated room that sounded better than condenser recordings made in an untreated space. The room is the instrument you underestimate the most.
The second issue I see going wrong time and time again is monitoring. Musicians mix using cheap computer speakers or consumer headphones with excessive bass. They think the mix sounds good, but on other systems, everything falls apart. Invest early in a pair of neutral near-field monitors. That’s the investment that will last the longest and pay off the most.
In conclusion: patience is a skill. The best recordings don’t come from the first take. They come from ten takes, good comping, and critical listening. Those who respect that process get more out of a modest setup than those who chase after perfect equipment.
– harold
Build your setup with the right gear from I4studio
A good recording setup starts with the right choices in equipment and acoustics. I4studio helps musicians and studio owners put together a setup that suits their skill level and budget.

Whether you’re just starting out or looking to upgrade your existing studio, I4studio’s beginner’s guide to studio gear gives you a clear overview of what you really need. For those looking to improve their monitoring setup, the Mackie Big Knob monitoring controller is a reliable choice for accurate monitoring. I4studio also offers acoustic solutions and custom-built studio PCs that fit your workflow.
Frequently Asked Questions
What’s the minimum you need for a recording setup?
A recording setup consists, at a minimum, of a microphone, an audio interface, and a DAW. Without these three components, professional recording is not possible.
What is the correct input level for digital recording?
The input signal must peak between -12 dB and -6 dB. Above 0 dB, clipping occurs, resulting in audible distortion that cannot be corrected.
How can you improve the acoustics of a home recording studio?
Lay down a rug, hang heavy curtains, and arrange furniture with soft surfaces. Acoustic absorption panels placed at the first reflection points further improve sound quality.
What does a pop filter do during vocal recordings?
A pop filter reduces popping sounds caused by consonants such as “p” and “b.” It’s an inexpensive solution for cleaner vocal recordings without the need for post-production editing.
What is comping, and why do you use it?
Comping is the process of combining the best parts of multiple takes into a single, perfect performance. This technique significantly improves recording quality and is standard practice in professional studio production.
Recommendation
- Studio Recording: A Complete Guide for Musicians and Producers
- Home Studio Sound Recording Tips: From Space to Mix – https://i4studio.nl/
- Studio setup explanation: this is how to build a professional home studio
- Home Studio Setup Tips: Complete Guide To A Professional Studio At Home – https://i4studio.nl/