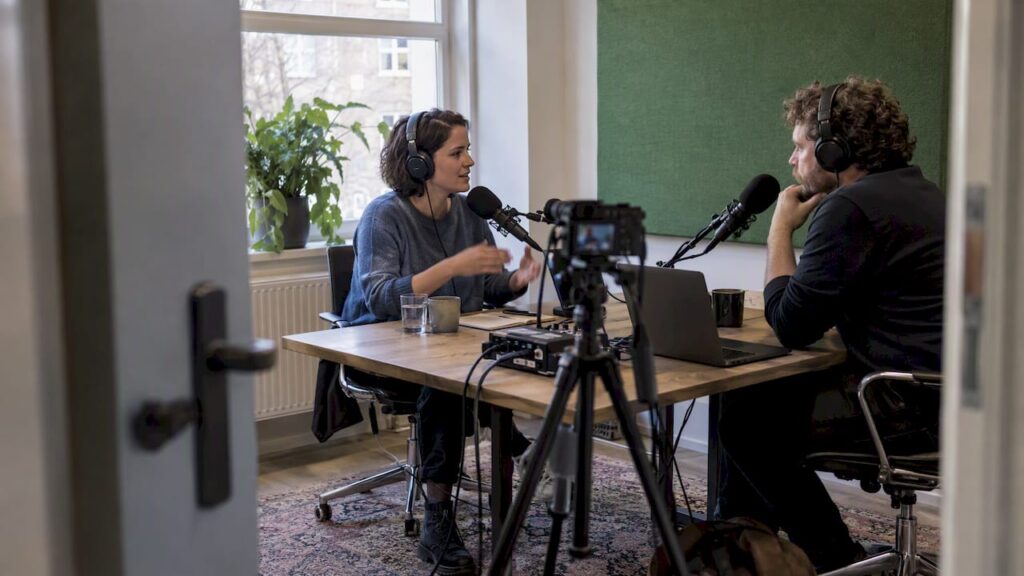
For good podcast audio, you’ll need at least a microphone, an audio interface or recorder, headphones, and a microphone arm with a pop filter. If you also want to record video, you’ll need a camera, a tripod, and basic lighting. XLR equipment and hardware-based monitoring provide more control than a basic USB setup. If you’re looking to scale up professionally, we offer custom solutions and acoustic consulting.
Briefly:
- A USB microphone is sufficient for one or two presenters; choose XLR microphones and an interface as soon as you need multiple inputs or latency-free monitoring.
- Acoustic treatment using curtains, a rug, or a bookshelf can be more effective than a more expensive microphone; add panels only after that.
- A starter kit costs about €100 to €200; for a mid-range setup with an interface and headphones, you’ll typically pay €300 to €500.
- Record audio at 44.1 or 48 kHz and 24 bits, save a local copy right away, and make a second recording as a backup if necessary.
- An interface that works directly with the recording software minimizes synchronization issues; before each session, do a quick test recording to check that the video and audio are in sync.
Table of contents
- Audio equipment: microphones, audio interface, headphones, and accessories
- Video equipment: cameras, tripods, lighting, and synchronization
- Space and acoustics: sound absorption, panel placement, and priorities
- Recording workflow and software: settings that ensure quality
- Accessories and checklist for the recording day, plus cost estimate
- I4studio: Who We Are and How We Help with Equipment and Acoustics
- Go live quickly or invest in scalable quality
- Custom solutions and advice from i4studio for your studio setup
- Frequently Asked Questions
- Resources
Audio equipment: microphones, audio interfaces, headphones, and accessories
The choice between a dynamic and a condenser microphone largely determines your audio result. Dynamic microphones are more robust and work well in cluttered or untreated spaces, while condenser microphones are more sensitive and capture more detail in quiet, acoustically treated spaces. For most podcasts, a cardioid pickup pattern is the best choice: this pattern primarily picks up sound from the front and attenuates unwanted noise from the sides and rear.
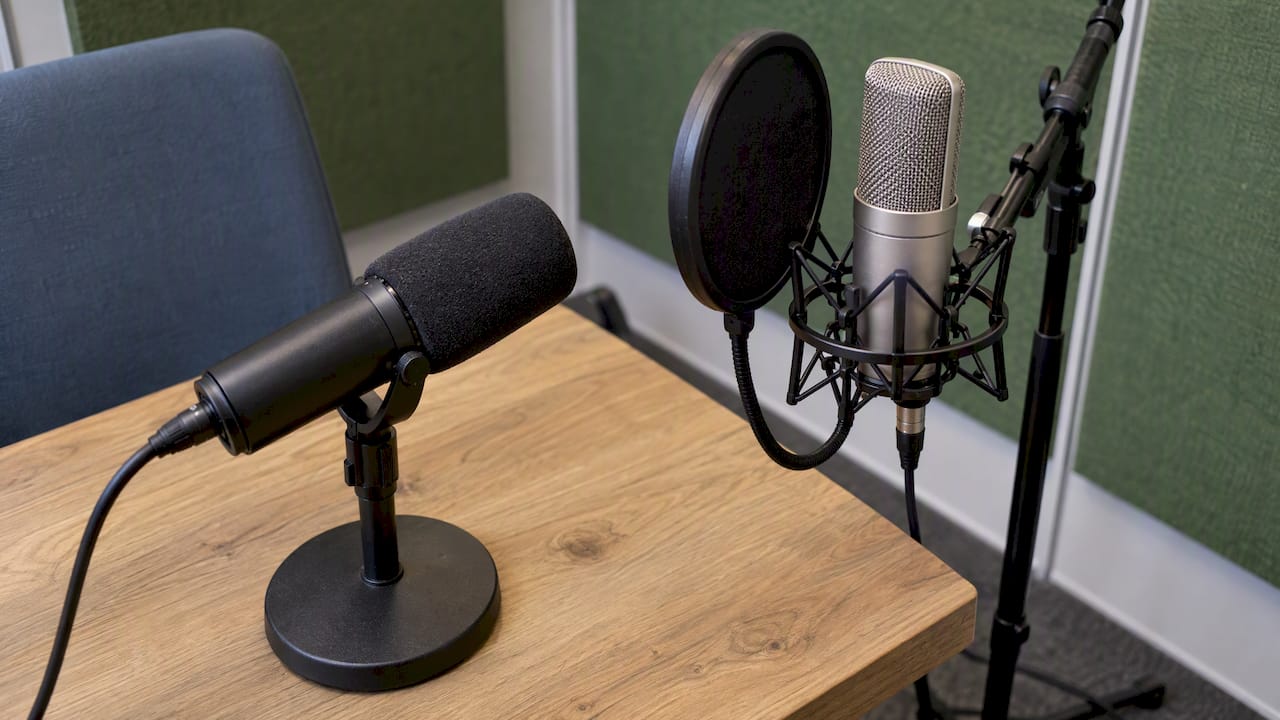
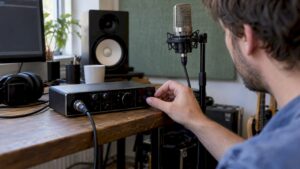
A USB microphone is sufficient for a simple setup with one or two presenters. As soon as you start using multiple microphones, want to adjust the gain per channel, or need direct monitoring without latency, you’ll want to switch to XLR microphones with an audio interface. An audio interface provides you with separate inputs, adjustable gain, and zero-latency monitoring through the headphone output—features that are often missing from USB-only solutions.
For monitoring, we recommend closed-back headphones: they allow less sound to leak into the microphone and provide better isolation than open-back models. Set the gain so that your peak levels remain just below clipping, to ensure a sufficient signal-to-noise ratio without distortion.
Essential accessories:
- A pop filter prevents popping sounds caused by hard consonants.
- A shock mount dampens vibrations transmitted through the stand.
- A sturdy microphone arm or tabletop stand keeps the mic at the correct distance.
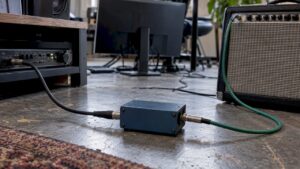
- XLR or USB cables and a stable power supply prevent interference and outages.
In terms of budget, a rough guideline is: a starter kit with a USB condenser microphone, a tripod, and a pop filter starts at around 100 to 200 euros; a complete mid-range set with an audio interface and headphones costs around 300 to 500 euros; and professional sets with multiple XLR microphones and a feature-rich audio interface cost more than that.
Video equipment: cameras, tripods, lighting, and synchronization
A smartphone or webcam is fine for a simple video broadcast with limited post-production, but a mirrorless camera or camcorder delivers sharper images, more connectivity options, and better control over depth of field. Choose based on how much post-production and image quality you’re looking for, not just on price.
Lighting makes the biggest visual difference. A two- or three-point setup with continuous LED panels produces an even, professional result. Use a diffuser to soften harsh shadows, and make sure the color temperature is consistent across your panels so that faces don’t appear green or orange.
Practical considerations for visuals:
- A sturdy tripod with smooth pan and tilt functions prevents shaky footage.
- Frame the shot so that presenters are centered and at eye level in the frame.
- Always check the framing and lighting on a separate screen or monitor while recording.
Pro tip: Before each recording session, start by recording a short 10-second test to check the video, audio, and synchronization before you really get started.
Lip-sync issues often arise because audio and video are recorded separately without a shared time base. A hardware audio interface that connects directly to your recording software significantly reduces that risk because audio and video are captured simultaneously rather than being merged separately during editing.
Space and Acoustics: Sound Absorption, Panel Placement, and Priorities
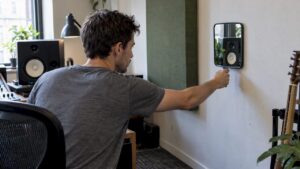
Acoustics often have a greater impact on your sound quality than the price of your microphone. Reflections off bare walls and built-up bass frequencies in small spaces create a hollow, “tinny” sound, even with expensive equipment. Acoustic treatment, such as panels and curtains, often improves a recording more than a microphone upgrade alone.
Take it step by step:
- Place your microphone close to the sound source and point it away from hard, reflective surfaces.
- Add soft materials, such as a rug, curtains, or a bookshelf, before investing in panels.
- Expand with targeted absorption panels at the first reflection points next to and above the microphone.
- Add bass traps in corners if your room still has a rumbling bass after implementing the first steps.
- Consider a portable vocal booth if full room treatment isn’t possible.
For multi-channel setups, or if you’re unsure about the correct placement of the panels, it’s worth having a specialist perform an acoustic measurement. At i4studio, we provide advice on acoustic panels and work with you to determine a placement that suits your space and budget.
Recording Workflow and Software: Settings That Ensure Quality
A reliable workflow follows set steps: setting up equipment, testing sound levels, recording, editing, and exporting. For video, you should also check at each step to ensure that the video and audio remain in sync, especially after cutting clips.
For audio, Audacity is a widely used free editor suitable for recording and basic editing without subscription fees. For video, a simple editor with synchronization and color correction features is sufficient for most podcast productions.
Practical Settings:
- Record at 44.1 or 48 kHz; both are common standards for podcasts.
- Use 24-bit recordings for more headroom during mixing.
- Submit your file as a WAV to preserve quality or as an MP3 for distribution.
- Keep an eye on average loudness so your episode doesn’t sound too soft or too loud compared to other shows.
Always make a local copy immediately after recording, and consider a second, redundant recording as a backup in case of technical issues during a session.
Accessories and checklist for recording day, plus cost estimate
Make sure you have all the small, easily overlooked items ready: enough cables, adapters, a stable power supply, and extra storage space. Proper cable management prevents malfunctions and loose connections during recording.
Checklist for recording day:
- Test sound levels and make a short test recording for each microphone.
- Check camera framing and lighting before having the presenters take their seats.
- Perform a synchronization test for video and audio.
- Verify that backup storage and backup systems are active before you begin.
In terms of cost, as a rough guide: a starter setup with a basic microphone, tripod, and software costs around 100 to 200 euros; a mid-range setup with an audio interface, headphones, and a simple camera costs around 300 to 500 euros; and a professional setup with multiple microphones, acoustic treatment, and video equipment costs even more. Start simple and invest first in your microphone and acoustics—that will yield the fastest audible results.
I4studio: Who We Are and How We Can Help with Equipment and Acoustics
We offer expertise in the high-end audio technology sector: custom-built studio PCs, acoustic solutions, and guidance on hardware selection, with a focus on stability, low latency, and configurations tailored to recording practices for both audio and video.
Specifically, we provide advice on acoustic panels, custom-built studio PCs, and equipment such as audio interfaces and microphones. If you want to set up your studio step by step, you’ll find a practical overview in our step-by-step guide to setting up a podcast studio. For shows with multiple hosts, we cover routing and input recommendations in our guide to podcast studios for multiple people.
Go live quickly or invest in scalable quality
How often you publish and how much time you want to spend on post-production largely determine what equipment is worth investing in. Those who publish weekly with limited editing time will benefit most from a reliable basic setup. Those aiming for professional-quality audio or video will often see that investment pay off in the form of less post-production time and noticeably higher quality.
– harold
Custom Solutions and Advice from i4studio for Your Studio Setup
We offer custom-built studio PCs, acoustic panels, and audio interfaces, along with personalized advice tailored to your space and recording workflow. Instead of making disjointed, piecemeal purchases, we work with you to design a configuration that delivers consistent performance for both audio and video.
Wondering how much a custom setup costs or which panels are right for your space? Check out our studio PCs and ask for advice on acoustic panels to create a setup that grows with your ambitions.
Frequently Asked Questions
How much can you earn by creating a podcast?
Revenue from a podcast varies widely and depends on listener numbers, sponsorship, and distribution channels; there are no set guidelines that apply to everyone. Most creators start with little or no revenue and only begin to secure sponsorship or brand deals later, as their audience grows.
How do you get video with a podcast?
You can add video using a camera or webcam, a tripod, and basic lighting, synchronized with your audio recording. A hardware audio interface that connects directly to your recording software helps keep the video and audio in sync during editing.
Can you just start a podcast?
You can get started without a license, but you may not use other people’s music, photos, or videos without permission, because copyright automatically protects that material. If you do use protected material without permission, you run the risk of legal action by the copyright holder.
What equipment do I need for a podcast?
Your basic setup consists of a microphone, an audio interface or recorder, headphones, a microphone arm, and a pop filter. If you also want to include video, add a camera, a tripod, and basic lighting, and consider acoustic treatment for your space to achieve noticeably better sound quality.
Sources
- Central Government
- Frequently Asked Question 2 About Podcasting Equipment: Answer and Explanation | Share My Voice Audio
- Audacity