A word clock is the master clock that keeps all digital studio equipment running at the same sample rate, without any audio data being transmitted over that signal. The result: no drift, no clicks, and no timing errors between your converters, interfaces, and other digital devices. You’ll need one as soon as you start using multiple digital sources together.
Briefly:
- A stable, well-synchronized word clock is essential for preventing timing errors and jitter, especially when multiple digital sources need to remain precisely synchronized.
- Use only 75-ohm coaxial cables with BNC connectors, make sure that only the last device is terminated, and keep the cable length under 100 meters to avoid reflections.
- Set the device with the internal clock as the master, and connect other devices using the appropriate clock setting, depending on the digital protocols used, such as AES, S/PDIF, or ADAT.
- If you encounter synchronization issues, always check the physical cabling, termination settings, and whether the last device is properly terminated before assuming there is a software problem.
- A dedicated word clock generator isn’t always necessary; in many cases, it’s sufficient to set the audio interface as the master and check the physical connections.
Table of contents
- How Word Clock Works Technically: Pulses, Sample Rates, and Jitter
- Cabling and physical installation: BNC, 75 ohms, and termination
- Master/slave architecture and device settings in practice
- Troubleshooting and diagnosis: checklist and quick fixes
- Practical advice and recommendations from I4studio
- What Most Studios Underestimate About Clock Synchronization
- Need help setting up a stable studio setup?
- Resources
- Frequently Asked Questions
How does the word clock work from a technical standpoint: pulses, sample rates, and jitter
A word clock generates a square wave that sends exactly one pulse per sample. At 48 kHz, that means 48,000 pulses per second; at 96 kHz, it’s double that. Every connected device uses those pulses as a reference to synchronize its own internal clock, so that all converters sample or play back at exactly the same moment.
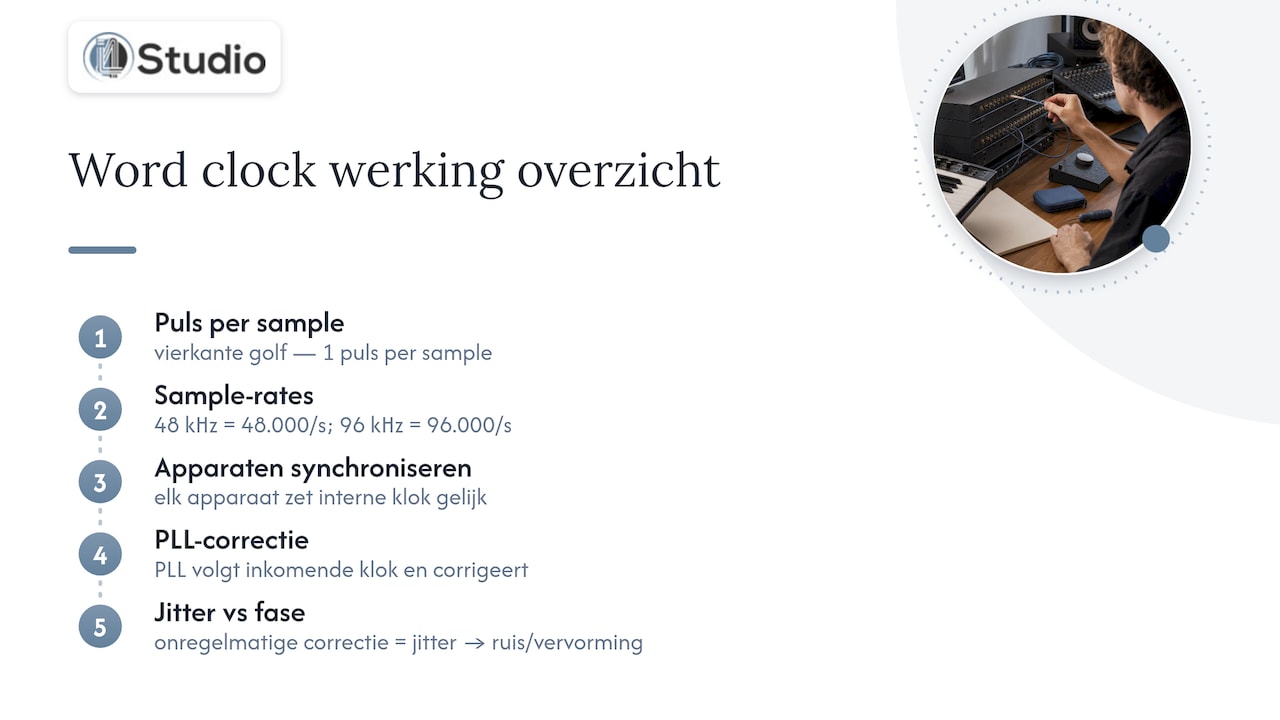
That sounds simple, but the quality of those pulses determines the final result. A phase-locked loop (PLL) in each device tracks the incoming clock and corrects minor deviations. When that correction is irregular, jitter occurs: tiny timing variations that result in noise, distortion, or a less-defined stereo image. Frequency stability alone is therefore not enough. Two devices can both run perfectly at 48 kHz and still be out of sync because their phases are drifting apart.
That is why the AES recommended practice for digital synchronization explicitly addresses phase accuracy in addition to frequency. The guideline serves as a technical standard for studios that work with multiple digital sources and describes the limits within which devices must remain in sync. For you as a technician, this means that a stable, properly terminated word clock connection is just as important as the correct sample rate setting in your DAW.
Cabling and Physical Installation: BNC, 75 ohms, and Termination
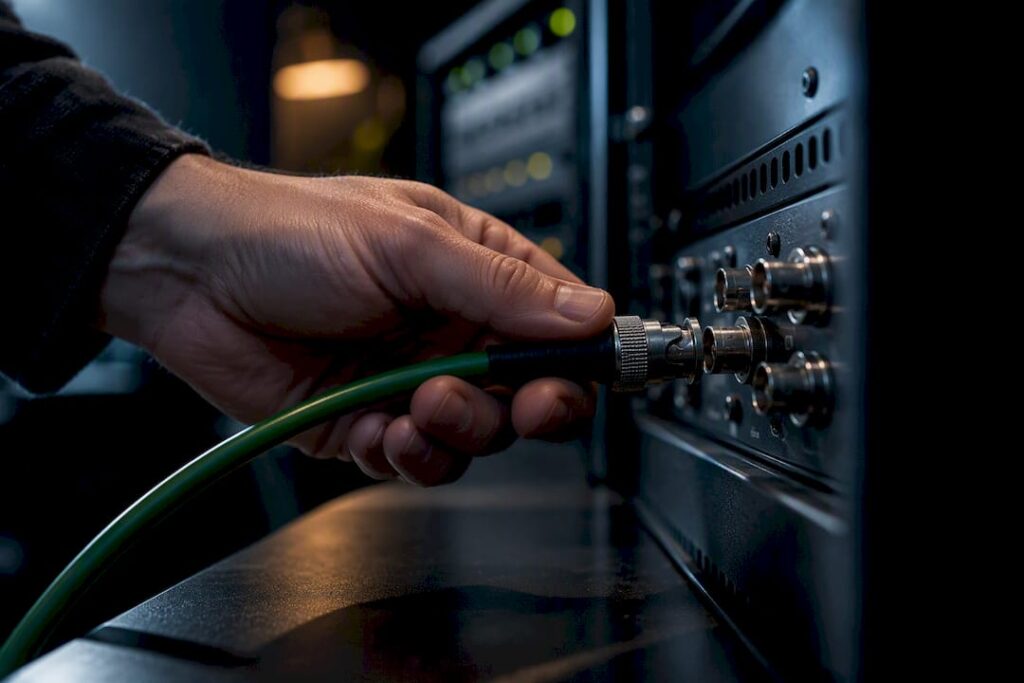
Word clock signals travel through 75-ohm coaxial cable with BNC connectors, never through standard audio cable. That impedance is not a random choice: a mismatch causes reflections on the line, causing the signal to distort at the end of the cable and making it difficult for devices to lock in.
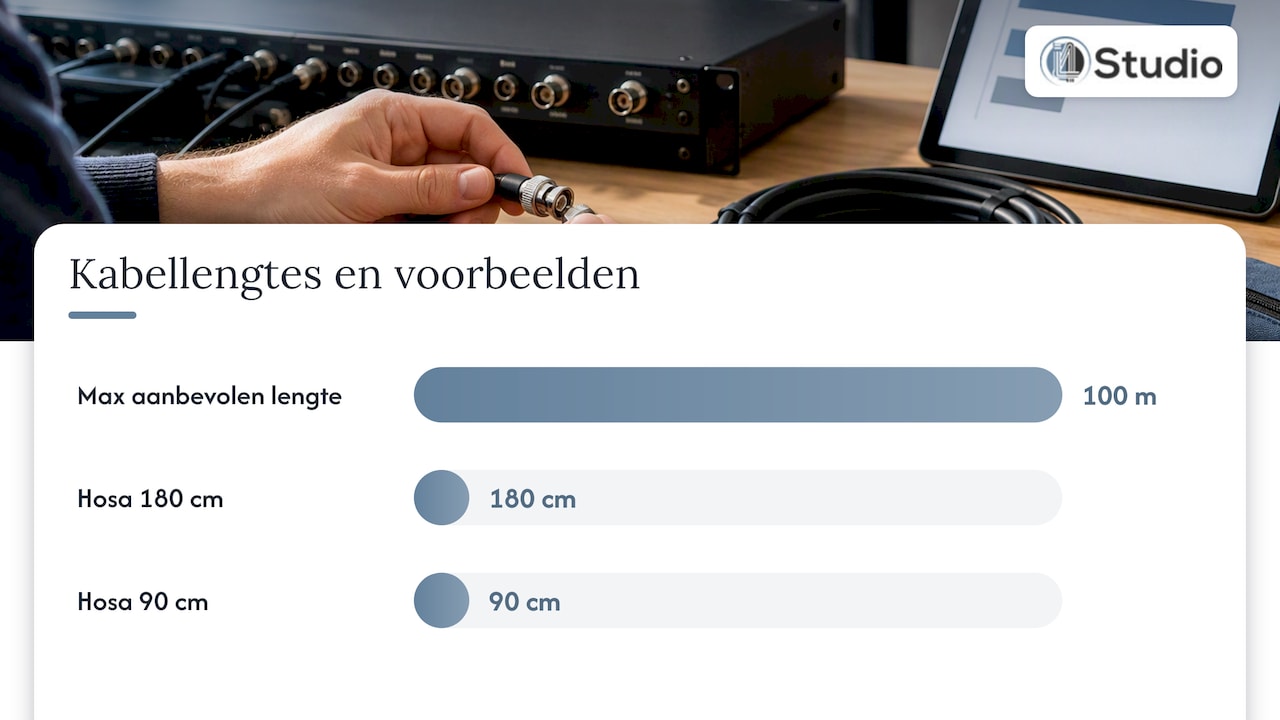
The RME documentation on word clock cabling states that the cable length should not exceed approximately 100 meters and that each cable must be properly terminated. For most studios, this is more than enough, as the distances between the rack and the control room are generally much shorter.
- Use only 75-ohm coaxial cable with BNC connectors; do not use any other cables with mismatched impedance.
- Terminate only the last device in the chain, either with the internal 75-ohm termination enabled or using a separate terminator.
- Avoid using T-adapters on inputs: they are only useful for splitting a signal to multiple outputs, not for connecting devices in series.
- Keep the total cable length within the recommended limit to prevent reflections.
For an immediate solution, a ready-to-use cable—such as the 180-cm Hosa Pro 75-ohm coaxial BNC word clock cable—that meets the correct impedance specifications will suffice. For shorter distances in a patchbay, the 90-cm version is often more practical.
Pro tip: For each device, check whether the internal termination switch is on or off before you start looking for a software-related cause of sync issues.
Master/Slave Architecture and Device Settings in Practice
Every digital chain requires exactly one master. All other devices act as slaves. In most studios, it’s more practical to set your audio interface as the master than to use a separate word clock generator, unless your setup is large enough to benefit from a dedicated solution.
- On the master, set the clock source to ” Internal” so that the device uses its own crystal as a reference.
- On each slave, set the clock source to Word Clock, ADAT, AES/EBU, or S/PDIF, depending on which connection you’re actually using.
- If you’re working above 48 kHz, check whether your device requires an option such as “Word Out Single”: at 96 kHz, the device will then output a 48 kHz clock signal so that slaves that don’t support high clock frequencies can still keep up.
- Check the status indicators on each device: “NO LOCK ” means no valid clock signal was found; ” LOCK ” means the device is locked to a reference; and “SYNC ” confirms that both the frequency and phase match the master.
Digital connections such as ADAT, AES, or MADI often already carry an embedded clock signal, so a separate word clock cable isn’t always necessary. However, as soon as you combine multiple devices using different protocols, a dedicated word clock connection becomes the most reliable way to synchronize them all.
Troubleshooting and Diagnosis: Checklist and Quick Fixes
Synchronization issues almost always occur in one of a few predictable places. Check the physical layer first before looking into the software.
- Check that each BNC connector is securely fastened and that the cable shows no visible damage.
- Verify that only the last device in the chain is terminated; never terminate two or more at the same time.
- Never connect T-adapters to an input that is already receiving a signal.
- Test using a loopback—for example, an ADAT output fed directly back into its own input—to confirm that the interface is actually locked onto the selected source.
The RME technical documentation on the WCM module explains that a low-jitter PLL design, combined with proper termination, prevents reflections and sync errors. Poor termination is one of the most common causes of unstable lock in digital studio chains, which explains why a simple cable check often helps faster than reinstalling a driver.
If a slave device fails to acquire a lock, follow this specific sequence: first check the physical connection, then the termination setting, next the selected clock source in the software, and finally the master’s sample rate setting.
Practical Advice and Recommendations from I4studio
At I4studio, we find that synchronization issues are primarily caused by a combination of low-quality cables and unclear termination settings, not by defective equipment. Our approach focuses on the hardware level: a stable power supply, properly terminated cables, and a well-designed studio PC reduce jitter and latency before you even need to correct them with software.
For those setting up a complete studio setup, we provide suitable 75-ohm BNC cables and help you determine the right master/slave configuration for your equipment. You can find more background information on common causes of synchronization issues in our article on audio synchronization problems, and a broader overview of digital infrastructure is available in our guide to studio essentials.
What Most Studios Underestimate About Clock Synchronization
The common assumption is that an expensive word clock generator automatically produces less jitter than your interface’s internal clock. That’s not necessarily true: modern interfaces with a well-designed PLL often perform just fine as a master, and the real problem almost always lies in the cabling or termination, not in the absence of a separate box.
Here’s what I’d prioritize: check your physical signal chain first before spending money on extra hardware. A two-meter cable with the wrong connectors will cause more damage to your sound than not having a premium clock generator. Only when your setup is large enough—with multiple converters, ADAT lightpipes, and digital mixing consoles running simultaneously—does a dedicated word clock solution become the logical next step.
The lesson I often see people overlook: synchronization isn’t a one-time setup. If you change the sample rate, add a device, or swap out a cable, double-check to make sure everything still shows “LOCK” instead of assuming it’s “SYNC.”
– harold
Need help setting up a stable studio setup?
You don’t have to figure out for yourself which cable, interface, or PC configuration best suits your digital workflow. I4studio combines expertise in hardware and acoustics with specific products that prevent synchronization issues rather than fixing them after the fact.
What we’ll take care of for you:
- Customized advice on which audio interface and cabling are best suited for your sample rate and equipment setup.
- Suitable 75-ohm BNC cables and termination solutions, available immediately.
- Custom-built studio PCs are available, optimized for low latency and stable digital connections. See the website for current prices.
Check out our studio PCs and synthesizers, or contact us for an assessment of your current setup and a concrete proposal for a more stable digital workflow.
Sources
- Word Clock – Knowledge Base | PreSonus
- Word Clock :: RME Manuals
- WCM (Word Clock Module) Technical Notes
Frequently Asked Questions
What exactly is the difference between LOCK and SYNC?
LOCK means that a device has found a valid clock signal and has tuned its frequency to match it. SYNC goes a step further and confirms that both the frequency and phase match those of the master, which is the actual safeguard against audible timing errors.
Do I always need a separate word clock generator?
No, in many studios, it’s sufficient to set the audio interface as the master using the PreSonus Knowledge Base instructions on Word Clock. A dedicated generator is only necessary for more complex setups with multiple converters that don’t support a shared digital clock.
Why do I need to use 75-ohm cable instead of regular cable?
Word clock signals require an impedance of 75 ohms to prevent reflections on the line, as described in the RME cabling documentation. Standard audio cable has a different impedance and can cause the signal to distort at the end of the cable.
What is the maximum length for a word clock cable?
The recommended maximum length is around 100 meters, as stated in the RME documentation on word clock. For most studio setups between the rack and the control room, that provides ample margin.
What should I do if a device remains stuck on NO LOCK?
First, check the physical connection: the cable, connector, and termination setting of the last device in the chain. If the problem persists, verify that the clock source in the software actually matches the source you have physically connected.