Briefly:
- Good cable management protects equipment, improves safety, and keeps the studio organized.
- Velcro is suitable for dynamic environments, while zip ties are better for permanent installations.
Cable management is the systematic organization, bundling, and securing of cables in a studio to create a well-organized, safe, and flexible work environment. For studio owners and audiovisual professionals, this is not a luxury. Loose cables pose a tripping hazard and can cause malfunctions due to disconnected connections or wear and tear. Proper cable management protects expensive equipment, speeds up troubleshooting, and gives your studio a professional look. At I4studio, we see with every studio build that cable organization makes the difference between a workspace that works and one that’s frustrating.
What are the benefits of cable management in a studio?
Cable management in a studio offers immediate benefits in terms of safety, efficiency, and equipment protection. A cluttered workspace with exposed cables creates visual distractions and reduces productivity. A tidy setup helps you focus better and work faster.
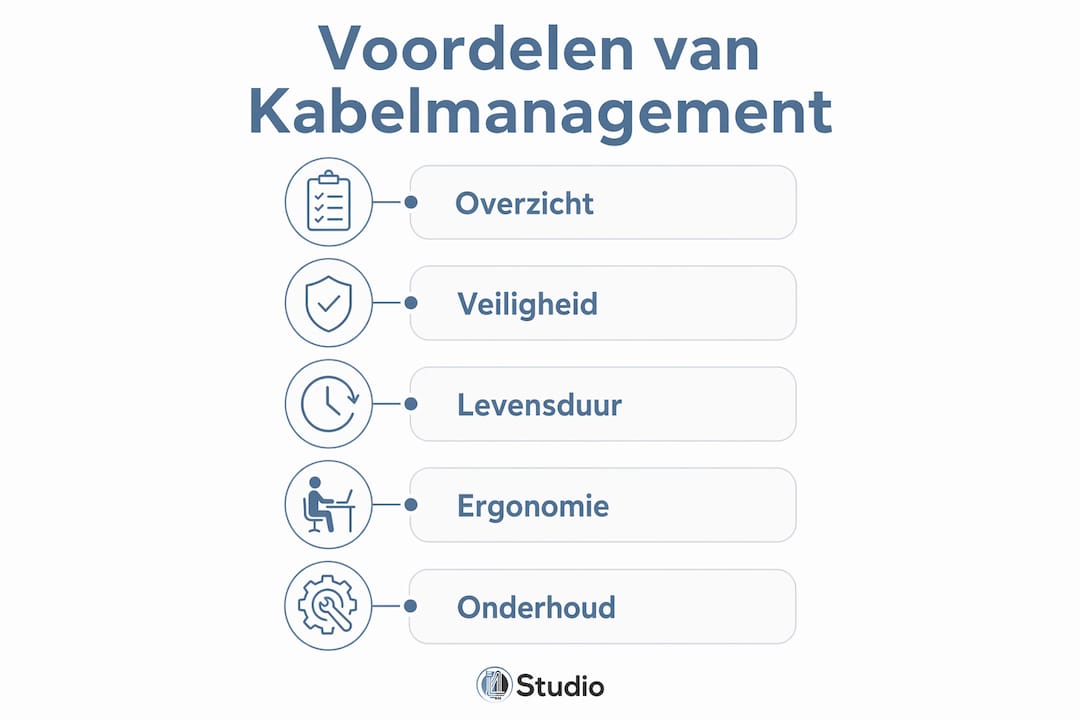
The benefits at a glance:
- Safety. Bundled cables eliminate the risk of tripping. In a studio with a lot of movement, visitors, and expensive equipment, this is no minor matter.
- Overview and quick troubleshooting. If each cable has its own route, you can find a faulty connection in seconds instead of minutes.
- Protection of equipment. Cables that are left lying around or run over by an office chair wear out faster. Proper management extends the lifespan of expensive cables from brands such as Mogami or Van Damme.
- Productivity gains. Spending less time looking for the right cable means more time for the work itself.
- A professional appearance. Customers and business partners also judge a studio based on its appearance. Neatly organized cables convey a sense of professionalism.
A studio with dozens of XLR cables, power cables, USB connections, and network cables can quickly become a tangled mess without a system in place. The benefits of cable management are therefore greatest in setups with a lot of equipment and multiple users.
How does effective cable management work in practice?
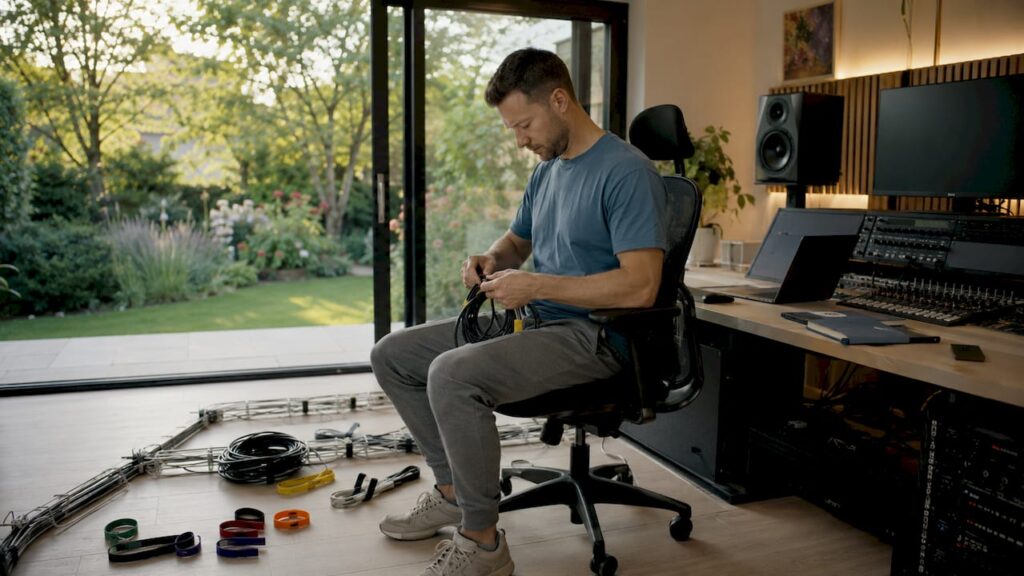
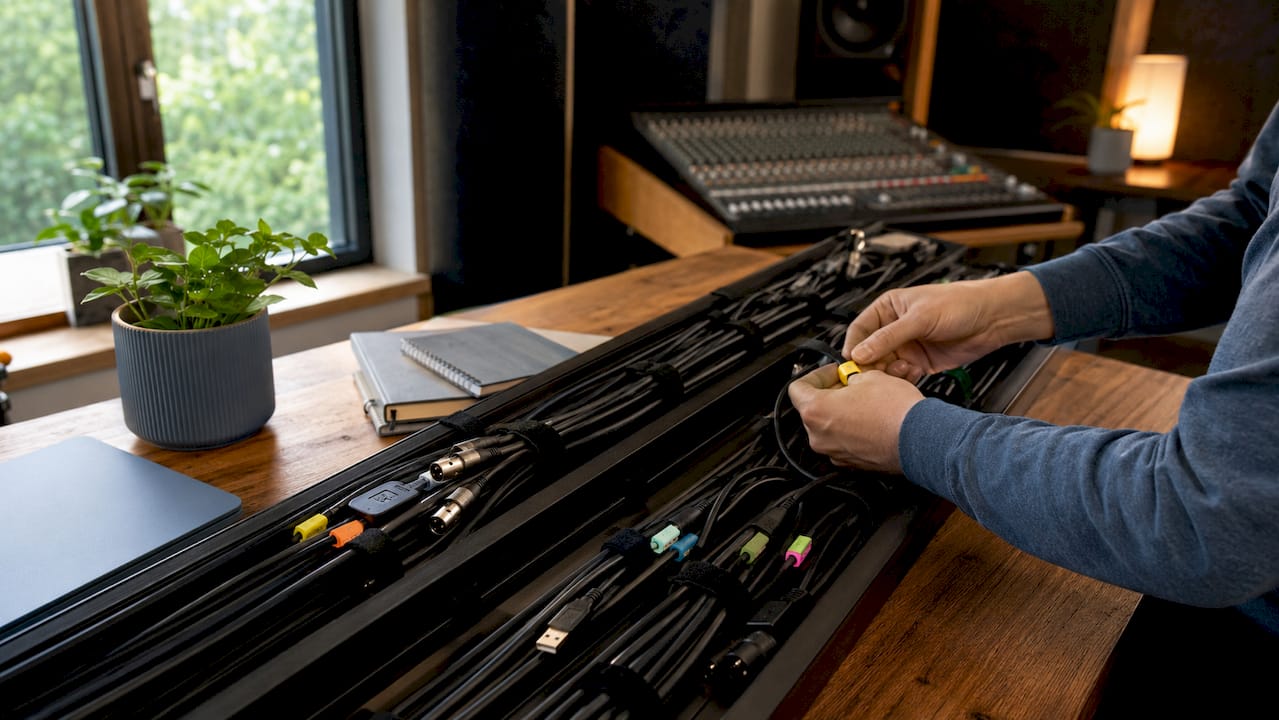
Effective cable management starts with choosing the right materials. Velcro is the best choice for most studios because it’s reusable and doesn’t damage cable jackets. Cable ties are cheaper, but less suitable for dynamic environments where cables are frequently swapped out.
Velcro vs. zip ties
| Feature | Velcro | Tie wraps |
|---|---|---|
| Reusable | Yes | No |
| Cable Sheath Protection | Good | Risk of damage |
| Suitable for dynamic setups | Yes | Limited |
| Long-term costs | Lower | Higher |
| Application | Active studios | Fixed, permanent installations |
For permanent installations where cables are never moved, wide nylon tie wraps with slack and protective tape are a sensible choice. The width of the strap prevents pinching, and the slack ensures that the cable is not compressed.
Cable trays, clamps, and conduits
Cable clamps, cable trays, and cable supports keep cables neatly in place and prevent damage. Cable trays running along the floor or wall are ideal for fixed routes between devices. Conduits—tubes through which cables run—protect cables in high-traffic areas and provide a clean finish.
Planning cable routes is just as important as the equipment itself. Determine the shortest logical route for each cable. Keep power and signal cables separate to prevent interference. In the audiovisual industry, separating power and audio cables is standard practice to prevent noise and hum.
Labels and Documentation
Labeling each cable takes five minutes. It will save you hours later on. Documenting cable routes and mounting methods makes maintenance easier and prevents miscommunication when collaborating with others or expanding the studio.
Pro-tip: Use color-coded labels for each cable type: red for power, blue for audio, and yellow for network. This way, you can identify a cable at a glance, even in a crowded cable tray.
What are some common mistakes in cable management in studios?
The most common mistake is tightening cable ties too much. Tie wraps that are too tight cause internal cable damage, degrade signal quality, and lead to faster wear and tear. This is a creeping problem: the damage isn’t visible on the outside, but signal quality gradually deteriorates.
Other common mistakes:
- No schedule for setting up the studio. Cables are laid haphazardly, without taking future expansion into account. The result is a tangled mess that is difficult to modify.
- Striving for a perfect “standstill” in a dynamic setup. A studio is constantly changing. If you permanently route cables in a flexible environment, you’ll run into problems every time you make an adjustment.
- Failure to maintain documentation. Without a clear overview of which cable goes where, every change takes an unnecessary amount of time.
- Use of unsuitable materials. Thin zip ties on heavy XLR cables, or tape instead of cable clamps: it works temporarily, but it’s not a long-term solution.
- Mixing power and signal cables. This causes electromagnetic interference, which is audible as a hum or noise in the recording.
Pro-tip: Whenever you make a change or adjustment to the studio, be sure to check the cable management as well. Cable management is an ongoing process, not a one-time task.
A rapidly growing studio is at the greatest risk. New equipment is connected without reviewing the existing system. After a year, the big picture is lost, and a complete reorganization is needed.
How do you incorporate cable management into your studio design?
Cable management should be taken into account starting from the design phase, including the installation of patch bays and conduits to ensure scalability and ease of maintenance. Anyone who tries to fix this after the fact ends up paying twice: in time and in frustration.
Patchbays as Central Hubs
A patchbay is the most effective solution for studios with many fixed connections. All devices are connected to the patchbay once. After that, you can switch connections using short patch cables on the front panel, without ever having to crawl behind the equipment. This makes the studio flexible and keeps cable management under control. Check out I4studio’s studio design tips for practical examples of patchbay integration.
Fixed Installations vs. Flexible Setups
| Situation | Recommended Approach |
|---|---|
| Permanent recording studio | Patchbay, cable trays, conduits, tie wraps with slack |
| Home studio with a variable setup | Velcro, modular cable carriers, loose cable trays |
| Hybrid studio (fixed and mobile) | Combination: fixed routes for power, Velcro for signal |
| Mobile Production | Velcro, numbered labels, compact cable reels |
Ergonomics and Workplace Comfort
Good cable management also improves the ergonomics of your workspace. Cables lying on the floor restrict freedom of movement and increase the risk of accidents. By routing cables along walls and under desks, you keep the floor clear. This is not only safer but also more comfortable during long work sessions.
The power supply in your studio plays a direct role in this. Power cables that are neatly concealed and kept separate from signal cables reduce the risk of interference and make the workspace more organized.
Professional studios that take cable management seriously build their systems in layers. Power runs through fixed conduits. Audio signals run through the patchbay. Network cables have their own dedicated path. Each layer is documented separately and can be modified without disrupting the other layers.
Ongoing adjustments and maintenance
Cable management isn’t a project you can simply complete. It requires regular maintenance: checking labels, tightening loose clamps, and incorporating new cables into the system right away. Studio experts confirm that cable management is an ongoing process, not a one-time task. If you follow this principle, you’ll keep your studio organized year after year.
A practical approach is to conduct an annual “cable check”: go over all the routes, remove unused cables, and update the documentation. This takes an afternoon and saves months of frustration.
Key insights
Proper cable management in a studio requires the right materials, early planning, and ongoing attention to documentation and maintenance.
| Item | Details |
|---|---|
| Material Makes the Difference | Velcro protects cables better than zip ties and is reusable in dynamic studios. |
| Plan from the Start | Incorporate cable routes and patch bays early in the design phase to prevent problems later on. |
| Document everything | Labels and wiring diagrams save time during maintenance and troubleshooting. |
| Separation of Cable Types | Keep power and signal cables separate to prevent interference and noise. |
| Cable management is an ongoing process | Check and update the system every time you make changes to the studio, not just during the initial setup. |
Why I Never Treat Cable Management as a Minor Issue
I’ve seen enough studios from the inside to know that cable management is the first thing professionals notice and the last thing beginners think about. The irony is that poor cable organization affects precisely those who have the least time to fix it: busy producers, sound engineers in the middle of a session, and videographers who need to switch gears quickly.
What strikes me most is that the choice between zip ties and Velcro says a lot more than people realize. Anyone who uses cable ties in an active studio has never had to replace a cable after a session. Anyone who uses Velcro works with their setup every day and knows the value of flexibility. It’s a small choice with major consequences for the lifespan of your cables and the quality of your signal.
The second lesson I’ve learned: documentation isn’t bureaucracy. It’s showing respect for your future self. A simple diagram showing which cable goes where is the difference between solving a problem in five minutes and spending an hour searching through a tangle of wires.
My advice to every studio owner: treat cable management as part of your equipment. A guitarist tunes his guitar before every session. A studio owner checks his cable setup with every expansion. It’s not extra work. It’s part of the craft.
– harold
I4studio helps your studio grow
A well-organized studio starts with the right equipment and a well-thought-out design. I4studio not only supplies studio gear, but also works with you to plan the layout of your workspace.

Whether you’re setting up a home studio or building a professional recording space, choosing the right equipment and accessories determines how well your cable management works. Check out the complete overview of studio gear for beginners and advanced users. For a complete recording setup, the sE Electronics X1 S Studio Bundle is a solid starting point. Do you have questions about setting up your studio? I4studio is here to provide personalized advice.
Frequently Asked Questions
Why is cable management so important in a studio?
Cable management prevents tripping hazards, protects expensive equipment, and speeds up troubleshooting. Neat cable organization also increases productivity because you spend less time searching for the right connection.
Which is better for studios: Velcro or zip ties?
Velcro is the best choice for active studios because it is reusable and does not damage cable jackets. Cable ties are only suitable for fixed, permanent installations where cables are never moved.
How do you get started with cable management in an existing studio?
Start by labeling all cables and documenting their routes. Then replace cable ties with Velcro and install cable trays for the busiest routes. Work from power to signal, and always keep the two separate.
How can you prevent interference and noise caused by poor cable management?
Always run power and signal cables separately, and cross them at right angles only when necessary. Use shielded cables for long signal runs, and keep power cables as far away from audio cables as possible.
When do you need a patchbay in your studio?
A patchbay is useful as soon as you have more than five fixed pieces of equipment that are regularly reconfigured. It centralizes all connections and makes the studio flexible without requiring you to work behind the equipment.