An unexplained click or dropout in the middle of a recording is often not a mystery but a system clue. Troubleshooting audio requires a structured approach: first verify, then isolate, and finally fix in a targeted manner. This guide helps audio professionals, musicians and content creators step by step in recognizing, diagnosing and fixing the most common audio problems – from hardware and cables to drivers, DAW settings and power-related malfunctions.
Why a structured approach works
Attacking without a plan often leads to wasted time and frustration. A structured method prevents unnecessary changes, keeps equipment and settings traceable and increases the likelihood that a problem will be resolved permanently. In addition, documentation helps with recurring issues and transfer to colleagues or external support, for example, to a vendor such as I4studio that specializes in audio, video and broadcast workstations.
Overview of common causes
Interference in audio can come from a variety of sources. Below is an overview of main groups with brief explanations so that one knows immediately where to start.
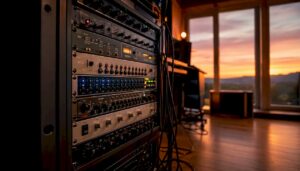
- Cables and connectivity – loose XLRs, broken TRS cables, misplaced adapters or poorly gold-plated connectors cause noise, dropped signal or hum.
- Audio interface and converters – faulty preamps, AD/DA problems or sample rate mismatch lead to clicks, latency or wrong pitch.
- Drivers and operating system – outdated or corrupt ASIO/Core Audio drivers, incorrect buffer settings or background processes can cause dropouts and glitches.
- DAW and plugins – plugin crashes, uncontrolled CPU or RAM load, and sample rate/bit depth differences between projects and audio devices.
- Electrical and ground problems – ground loops, poor grounding or mains voltage disturbances are classic causes of hum or low-frequency noise.
- EMI and RF interference – cell phone signal, LED drivers, or nearby transmitting equipment can cause interference, especially with sensitive preamplifiers.
- Network and digital audio – in Dante, AVB or network-based systems, bandwidth, switch or clocking issues can lead to packet loss and jitter.
- Environmental and acoustic problems – echo, flutter, modal problems and low-frequency density can look like hardware failures but are acoustic in nature.
Start with a quick checklist
Before diving deep, a short, targeted checklist is often enough to fix 50% of the problems.
- Check all cable connections: XLR/TRS, USB/Thunderbolt, optical/SPDIF.
- Reboot the audio interface and the computer (not just the DAW).
- Turn off all cell phones and unnecessary RF sources.
- Open the mixer/DAW and mute all channels – add one source at a time.
- Check system monitor or task manager for spikes in CPU/IO/RAM.
- Check sample rate and bit depth on computer, interface and project.
Detailed steps for diagnosis
Step 1: Basic physical examination
When one begins troubleshooting audio, the physical plane deserves the first attention. Many problems simply turn out to be cables or connectors.
- Swap cables with known good ones.
- Check connectors for corrosion or deformation.
- Listen with different monitor paths: lead directly from interface to headphones to exclude speakers.
- If there is hum, disconnect one device at a time from power and couplers to find the source.
Step 2: Interface and drivers
Audio interfaces are the heart of the digital chain. Incorrect drivers or conflicts with the OS are common culprits.
- Be sure to use the latest stable interface driver directly from the manufacturer.
- Whenever possible, use the manufacturer’s recommended buffer settings; start coarse (e.g., 512 samples) and reduce incrementally.
- Avoid generic operating system drivers for professional recording; choose ASIO (Windows) or Core Audio (macOS).
- If multiple audio interfaces are present, test with only one active device to rule out driver conflicts.
Step 3: DAW settings and plugins
DAW settings and intensive plugins play a big role in audio troubleshooting. A project can suddenly become unstable because of one weak plugin.
- Check project sample rate and choose the same setting in interface and system.
- Start the DAW in “safe mode” or with an empty project to test if the problem is DAW-related.
- Deactivate or remove suspicious third-party plugins; sometimes it helps to update or replace plugins with less CPU-intensive variants.
- Use freeze/bounce functions to relieve CPU bottlenecks.
Step 4: System resources and background processes
A typical mistake is underestimating background processes – automatic updates, antivirus scans and indexers can cause spikes precisely during take-off.
- Disable unnecessary services and automatic backups during recording sessions or use a “studio” power plan.
- Monitor CPU, disk and RAM usage with system tools; look for unexpected spikes.
- Use fast SSDs for audio plug-ins and sample libraries; slow drives cause buffer problems with large orchestral responses.
Specific malfunctions and how to resolve them
Clicks and pops
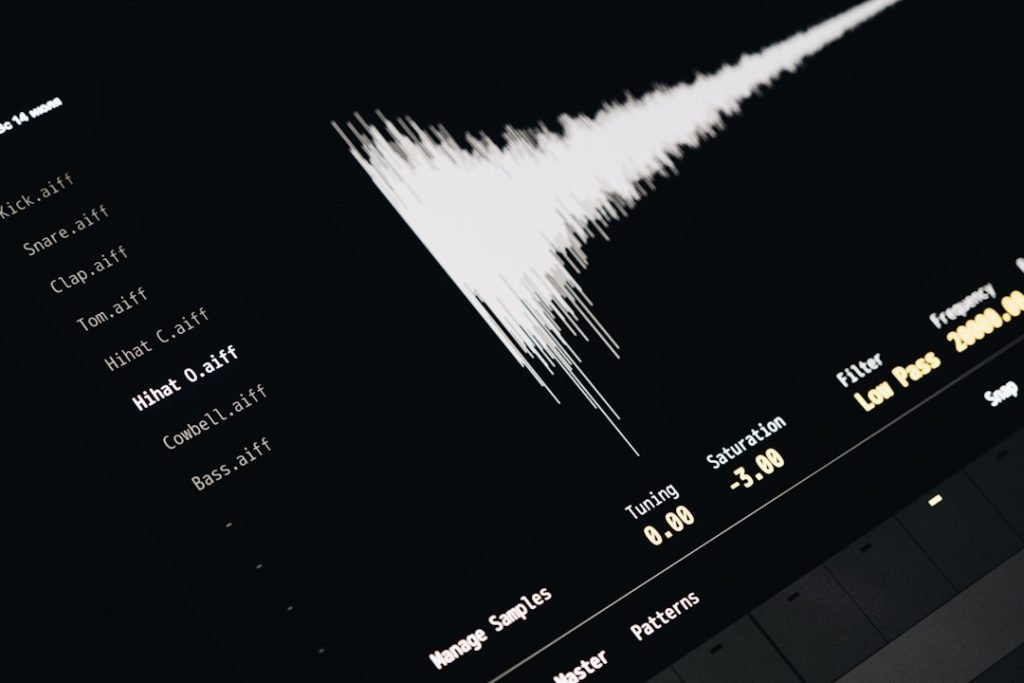
Clicks and pops often indicate buffer underruns, damaged audio files or poor clocking.
- Increase the buffer size in the audio interface or DAW.
- Check the sample rate and make sure all devices use the same clock; with multiple digital devices, a master clock or word clock connection is crucial.
- Test the audio files for corrupt sections by importing them into another player or editor.
Dropouts and outages
Dropouts are usually related to I/O issues, CPU overload or disk problems.
- Use a faster buffer or turn up latency as a fallback.
- Move heavy sample libraries to a dedicated SSD and set streaming options correctly.
- On Windows: set power management to “High Performance” and disable USB selective hibernation.
- Check Thunderbolt or USB hubs; some hubs introduce latency or bandwidth limitations.
Hum or low-frequency noise
Ground loops and power supply problems are the main sources of hum.
- Try connecting devices to one circuit or use a professionally insulated DI box or ground-lift where appropriate.
- Use balanced cables (XLR/TRS) and keep signals separate from power cables.
- Consider professional power filters or isolation transformers for persistent problems.
Unstable network audio (Dante/AVB).
In network-based audio systems, switches, VLANs and QoS parameters are critical.
- Provide gigabit switches with proper latency and multicast settings and use dedicated networks for audio traffic.
- Turn off voltage and PoE issues: some switches offer adjustable PoE limits that can limit audio devices.
- Synchronization: use a reliable PTP/WordClock source and check clockstability in the network.
Tools and handy resources
For serious failures, some tools help to quickly identify cause and effect.
- LatencyMon (Windows) – detects drivers or processes that cause DPC latency.
- Task Manager / Activity Monitor – for real-time resource monitoring.
- Audio analyzers and oscilloscopes – useful for electrical interference and ground problems.
- Loopback or virtual audio drivers – testing internal routing without physical cables.
- Network monitoring tools – at Dante or AVB they detect packet loss and jitter.
Prevention: how to prevent audio malfunctions
Prevention is cheaper and less stressful than repair. A solid routine significantly reduces chances of failure.
- Regular maintenance of cables and connectors; replace old cables preventively.
- Standardize sample rates and bit depths in studios and train team members to avoid mismatches.
- Create a system image of the recording setup and save drivers/firmware versions; for updates, try them out on a test machine first.
- Use UPS/line conditioners for sensitive equipment to dampen voltage spikes or disturbances.
- Document all changes in hardware and software-that speeds troubleshooting for future problems.
Live production versus studio work: special concerns
Live production
Live environments require quick solutions and redundancy is key.
- Use redundant signal paths and hardware (dual audio interfaces, backup mixing consoles).
- Dress female and male connectors (XLR) and clearly label all cables.
- Implement quick recovery plans: in the event of an interface failure, one should be able to switch within seconds.
Studio recordings
In the studio, stability and sound quality are more important than instant failover.
- Invest in proper monitoring and calibration of the room – sometimes something seems defective but is an acoustic problem.
- Schedule updates outside recording periods and test new software thoroughly.
- Use dedicated machines for recording and save editing/remote tasks for other systems or timing outside of critical recording sessions.
Advanced troubleshooting: when things get complex
Sometimes symptoms indicate subtle or compound problems. Here are some advanced tactics.
Isolate by substitution
Replace components one at a time with known good ones to find the source of error. This works well in studios where spare parts are available or where a supplier such as I4studio can provide replacement hardware quickly.
Measuring clocking and jitter
In digital conversion, the clock must be externally or internally stable. Jitter can sometimes be visible in spectrum analysis and leads to smoldering high frequency noise or unexplained phase problems.
Use of logs
Create logs of exact times when outages occur. Correlation with power surges, HVAC cycles or network backups often reveals patterns.
Practical examples and case studies
Case 1: Clicking at overdubs
An engineer noticed clicks during overdubs that occurred only when using a specific plugin. Solution: plugin update caused incompatibility with the ASIO driver; resetting to a previous version and then testing on a staging machine fixed the problem.
Case 2: Hum in live setup
In a small theater production, there was a persistent hum. By switching off equipment in phases, it was discovered that a dimmer on the same power path was the cause. Solution: move dimmer to other group and apply professional isolation.
Case 3: Dropouts when using large sample libraries
A producer was getting dropouts with orchestral libraries. Solution: moved samples to an NVMe SSD, increased streaming buffer settings in the sampler and disabled background processes. In addition, I4studio provided advice on a workstation with enough PCIe lanes and cooling to prevent throttling.
When to seek help from a specialist?
If the problem source is not within reasonable time, or if the issue disrupts production, professional intervention is wise. Vendors such as I4studio offer not only hardware but also advice on configuration and site audits. They can help with:
- Custom-built audio/workstation builds with a focus on low latency and reliable drivers.
- Onsite diagnostics and acoustic treatment recommendations for studios.
- Remote support for driver and network configuration, or providing replacement hardware for critical productions.
Roadmap: quick repair in the event of an admission crisis
- Stop recording and note exact time and system status.
- Enable only the essential signals and mute the rest.
- Don’t change anything on the hardware except temporary swaps of cables and headphones.
- If fast recovery is not possible: switch to backup system or record directly on a simple recorder.
- After the session: perform full diagnosis following the steps described above and document findings.
Summary
The process of troubleshooting audio works best with a methodical approach: verify, isolate and repair. Many problems arise from simple causes such as cables, incorrect drivers or sample rate mismatch. Other failures require deeper analysis, such as clocking issues, ground loops or network errors in the case of Dante/AVB. Preventive measures – good documentation, redundancy in live environments and maintenance – reduce the likelihood of unexpected outages.
For audio professionals who want maximum reliability, partnering with a specialized vendor like I4studio can add great value: custom-built workstations, professional consulting services and studio setup support reduce downtime and increase production value.
Frequently Asked Questions
What is the first step in audio troubleshooting?
The first step is always to check physical connections: cables, connectors and power supplies. Many problems turn out to be easily fixed by replacing a faulty cable or securing a loose connector.
How to fix clicks and pops quickly?
Clicks and pops often indicate buffer underruns or sample rate problems. Temporarily increase the buffer setting, check that all devices are using the same sample rate, and test the audio files for corruption.
When is a UPS or line conditioner needed?
A UPS or line conditioner is recommended in studios or live settings where power irregularities or voltage spikes can damage equipment or interfere with recordings. They are particularly useful for sensitive converters and digital racks.
Is network audio (Dante/AVB) reliable for live productions?
Yes, provided the network is set up correctly. That means gigabit switches intended for audio, separate VLANs for audio traffic, proper QoS settings and a reliable clocking solution. For critical live productions, redundant paths and monitoring tools are essential.
What can I4studio do for persistent failures?
I4studio provides customized audio and broadcast workstations, offers advice on system configuration and acoustics, and can assist with onsite or remote troubleshooting. For producers looking to minimize downtime, I4studio can also provide rapid replacement and preventive maintenance recommendations.