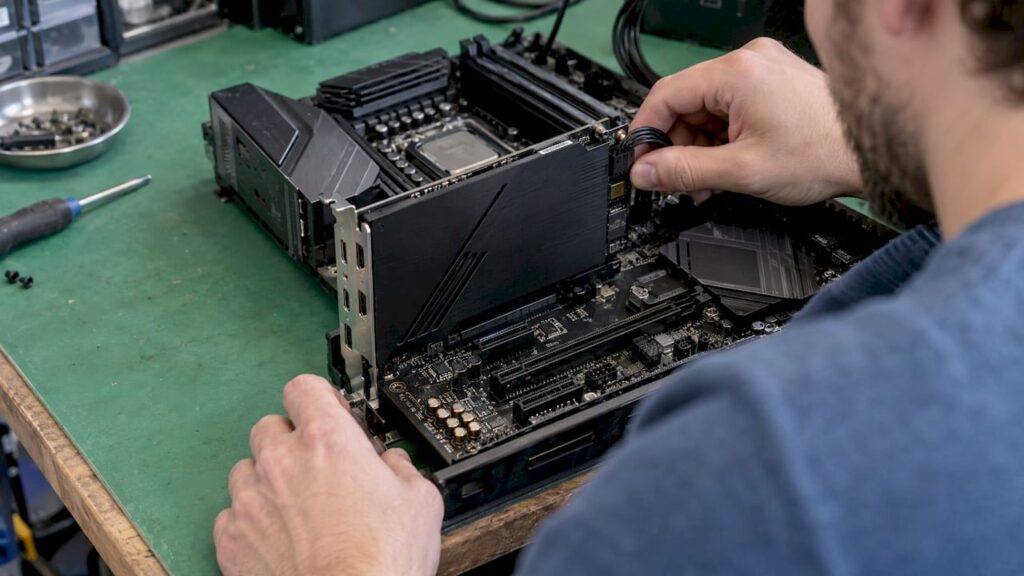
Is your Thunderbolt add-in card not recognized by the BIOS or Windows, or do your audio interface and drives keep disconnecting? The cause is almost always one of five things: the card isn’t compatible with the motherboard, it’s in the wrong PCIe slot, a header or power cable is missing, the Thunderbolt options in the BIOS are turned off, or the driver and firmware are out of date. A loose cable or a standard USB-C cable is the sixth possibility. In this guide, we’ll walk you through everything in a logical order so you don’t have to swap cables at random.
In a nutshell
- A Thunderbolt card is not a regular PCIe card: it only works with a motherboard that is officially designed for it, with the correct Thunderbolt header and BIOS support.
- Use the PCIe slot specified in your motherboard’s manual. On some motherboards, the card will only work in one specific slot.
- Connect all cables: the Thunderbolt header, USB 2.0 header, 6-pin PCIe power connector, and, if applicable, the DisplayPort loop-through.
- Enable Thunderbolt support in the BIOS, and then install the latest driver and firmware.
- Use a genuine Thunderbolt cable. A USB-C port or USB-C cable is not automatically Thunderbolt.
Table of Contents
- Why a Thunderbolt card works differently from other expansion cards
- Step 1: Check that the motherboard and card are compatible
- Step 2: Is the card installed in the correct PCIe slot?
- Step 3: Connectors, power supply, and the DisplayPort loop
- Step 4: BIOS or UEFI settings
- Step 5: Windows, drivers, and firmware
- Step 6: Rule out the cable, port, and device
- Faulty card or motherboard? Here’s how to test it safely
- Thunderbolt in the studio: what to look for when buying
- Our take on Thunderbolt in a studio PC
- A Studio PC with Thunderbolt That Works Right Out of the Box
- Frequently Asked Questions
- Sources
Why a Thunderbolt card works differently from other expansion cards
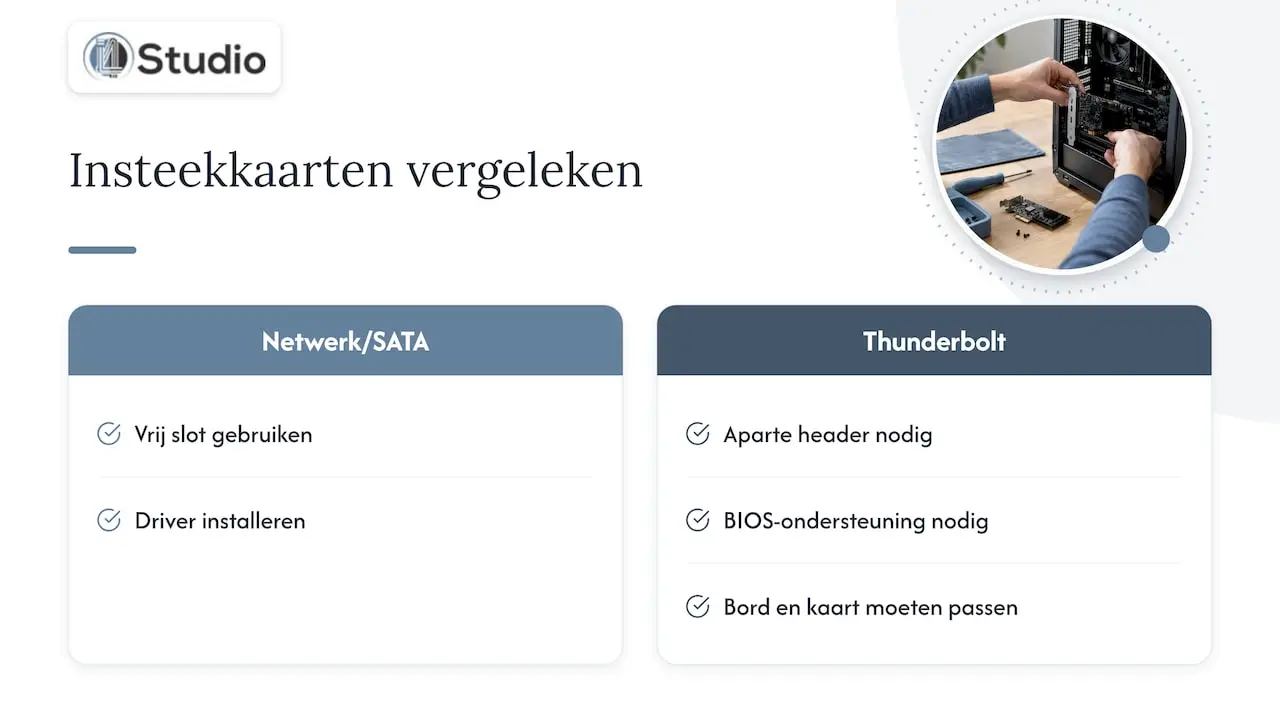
You simply plug a network card or a SATA expansion card into an available slot, install a driver, and you’re done. A Thunderbolt expansion card works differently. The card must work in conjunction with the motherboard: via a separate Thunderbolt header, the motherboard transmits the signals the card needs to start up and recognize devices. The BIOS must also actively support the card.
That’s why motherboard manufacturers almost always sell their Thunderbolt cards for their own motherboards. In the installation instructions for the ThunderboltEX 5, ASUS describes exactly which connectors and which slot are required. A physically compatible connector doesn’t prove anything: even if the plug fits into the header, the BIOS may ignore the card if the motherboard isn’t on the supported list.
For you, as a producer or video editor, this means: don’t start by reinstalling drivers; instead, ask yourself whether this card and this motherboard are actually compatible.
Step 1: Check to see if the motherboard and card are compatible
Go to your motherboard’s support page and check three places:
- The card’s compatibility list. Is your exact board model listed? Note that variants may exist: a Wi-Fi or Pro version may differ from the base model.
- The motherboard manual. This will indicate whether there is a Thunderbolt header on the board and which slot the card should be installed in.
- The BIOS version. Support for a newer card is sometimes only available after a BIOS update. Check your motherboard’s release notes.
Below are the requirements for three commonly used cards, as published by the manufacturers themselves:
| Card | PCIe interface | Headers | Power | Video input |
|---|---|---|---|---|
| ThunderboltEX 3-TR | PCIe 3.0 x4 | 14-pin Thunderbolt header, USB 2.0 header | 6-pin PCIe (for fast charging) | 2x Mini DisplayPort in |
| ThunderboltEX 4 | PCIe 3.0 slot; the recommended slot varies by board | As specified in the motherboard manual | As specified in the card’s manual | As specified in the card’s manual |
| ThunderboltEX 5 | PCIe 4.0 x4 | 14-to-1-pin Thunderbolt header cable, 10-to-1-pin USB 2.0 cable | 6-pin PCIe | Optional Mini DisplayPort cable to graphics card or motherboard |
The information comes from the ThunderboltEX 3-TR Quick Start Guide (which also lists Windows 10 64-bit as the operating system), the ThunderboltEX 4 Quick Start Guide, and the ASUS instructions for the ThunderboltEX 5.
Does your motherboard lack a Thunderbolt header? If so, that’s usually the root of the problem. You’ll often read online about users who install a card in a motherboard without a header: in such cases, the BIOS doesn’t recognize the card, or the card appears as a PCIe device but doesn’t function as a Thunderbolt controller.
Step 2: Is the card installed in the correct PCIe slot?
This is the most common issue we see. Many motherboards share PCIe lanes among slots, M.2 slots, and the chipset. As a result, a Thunderbolt card may work in one x16 slot but not in another.
A concrete example: ASUS states that the ThunderboltEX 5 works only in the PCIe x16 (G4) slot on the ROG STRIX Z890-E GAMING WIFI, as also noted in that motherboard’s manual. For the ThunderboltEX 4, ASUS notes that the recommended slot may vary by motherboard model.
What you’re checking:
- The specified slot. Not the slot that’s easiest to access, but the one listed in the manual.
- Shared lanes. Are you using multiple NVMe drives? Some motherboards will disable a PCIe slot or reduce the number of lanes for that slot.
- Make sureit’s securely seated. The card must be fully seated in the slot. Heavy cables at the back can pull a card up slightly.
Step 3: Headers, Power, and the DisplayPort Loop
A Thunderbolt card requires more cables than just the slot. Check them one by one:
- Thunderbolt header cable. Use the cable that comes with the card and check the orientation. This small cable is essential: without this signal, the system often won’t recognize the card.
- USB 2.0 header. Required for the USB functions of the Thunderbolt ports. Without this cable, some devices will work and others will not.
- 6-pin PCIe power connector. Connect a PCIe cable from your power supply. On the ThunderboltEX 3-TR, this connector is intended for fast charging of connected devices.
- Mini DisplayPort loop (optional). If you want to pass through video via Thunderbolt, connect the DisplayPort output on your graphics card or motherboard to the input on the card. This is not necessary for audio and storage only.
For a studio with an audio interface and external drives, points 1 through 3 are therefore the foundation. If even one is missing, you’ll run into exactly the kinds of issues people complain about on forums: a card that works for a few days and then stops responding, or devices that are only recognized sometimes.
Step 4: The BIOS or UEFI Settings
Once the hardware is set up, the next step is the BIOS. Thunderbolt support is disabled by default on many motherboards, or only partially enabled.
For a Thunderbolt add-on card, MSI advises in its FAQ about Thunderbolt add-on cards to go to Settings> Advanced> Intel® Thunderbolt to enable both Discrete Thunderbolt™ Support and Windows 10 Thunderbolt Support . If these are disabled, the system will not detect the Thunderbolt device.
The names vary by brand, but you’ll want to look for options such as:
- Thunderbolt Technology Support or Discrete Thunderbolt Support: On
- Thunderbolt support for the operating system: on (the name often still refers to Windows 10, even on systems running Windows 11)
- Thunderbolt Boot Support: only turn this on if you want to boot from a Thunderbolt drive
- Security Level: Choose a level that allows you to authorize new devices
Also update the BIOS itself to the latest version offered by the manufacturer for your motherboard. Older BIOS versions may not recognize a newer card. Be sure to follow the manufacturer’s update instructions and do not turn off the PC while flashing the BIOS.
Step 5: Windows, Drivers, and Firmware
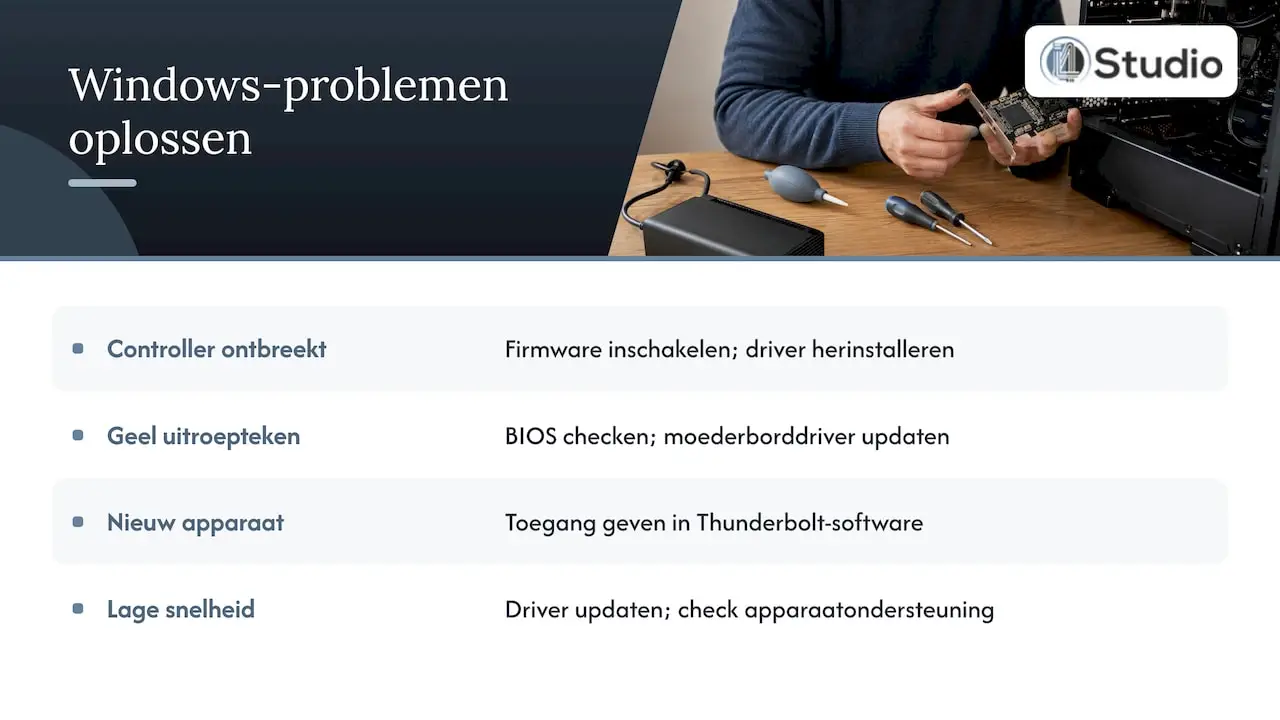
Start Windows and open Device Manager. Look under ” System Devices ” to see if a Thunderbolt controller is listed there.
Is the controller missing? MSI’s Thunderbolt driver manual provides a specific procedure for this situation: restart your computer, press Delete to enter the BIOS, go to Advanced >, select “Thunderbolt firmware update,” set it to “Enabled,” and save by pressing F10. Then reinstall the driver.
Is the controller listed, but with a yellow exclamation mark? That means Windows can detect the hardware, but can’t configure it properly. In that case, double-check the BIOS settings from step 4 and install the latest driver from your motherboard’s support page—not just any version from a download site.
Is a new device detected but not functioning? Depending on the security level, you may first need to authorize a new Thunderbolt device in the Thunderbolt software. Open the software after connecting the device and grant it access.
Does everything work, but is it slow? In its FAQ about the ThunderboltEX 4, ASUS recommends updating the card’s driver and checking whether the connected device itself supports the card’s speed if read and write speeds are low. An older hard drive enclosure can slow down the entire connection.
If you’re using a Thunderbolt audio interface, be sure to read our guide, ” Getting Thunderbolt Audio to Work Stably on Windows.” In it, we go into more detail about power management, buffer sizes, and the settings that make all the difference in achieving low latency.
Step 6: Disconnect the cable, turn off the port, and turn off the device
If the card works in Windows but one device keeps dropping out, the problem is often outside the PC.
- Use a genuine Thunderbolt cable. ASUS states that you must use a Thunderbolt cable—not a regular USB-C cable—to daisy-chain devices. They look the same, but they are not the same.
- A USB-C port is not a Thunderbolt port. If your PC also has USB-C ports on the motherboard, check to make sure you’ve actually connected the device to the motherboard.
- Count the devices in your chain. According to ASUS, up to five daisy-chained Thunderbolt devices are supported. If your audio interface is at the end of a long chain, try connecting it directly to the card.
- Test with one device at a time. Unplug everything and connect only your interface. If it works reliably, add one device at a time.
- Older adapters. Adapters for Thunderbolt 1 and 2 do not always work with newer docks and cards. Therefore, you should also test without an adapter, using a device that directly supports Thunderbolt 3 or higher.
Faulty card or motherboard? Here’s how to test it safely
Only after you have completed steps 1 through 6 should you consider the possibility of a malfunction. Work safely:
- Shut down the PC, turn off the power supply switch, and unplug the power cord from the outlet before opening the case.
- First, touch a metal part of the cabinet to discharge any static electricity.
- Remove the card from the slot and reinsert it into the designated slot.
- Check the header cable for damaged pins and reconnect it. Use only a cable that is designed for this combination of card and board.
- Reconnect the 6-pin power connector, preferably using a different PCIe cable from your power supply.
- Reset the BIOS to its default settings, re-enable the Thunderbolt options, and test with a single device and a single Thunderbolt cable that you know works.
Signs that something is actually broken:
| What You See | What it probably means |
|---|---|
| The card cannot be found in any BIOS menu or PCIe overview, not even in the correct slot | Card, slot, or header connection is defective, or the board is not supported |
| The card worked at first, but now it shuts down after a few minutes | Header cable, power supply, or the card is overheating |
| One port works, the other doesn’t | There may be a faulty port on the board |
| Doesn’t work with just one specific device | It’s more likely the device or the cable than the card |
Are you unsure, or is the card installed in a PC that’s still under warranty? If so, contact the PC or card manufacturer before proceeding. This will help you avoid causing damage yourself or voiding your warranty.
Thunderbolt in the Studio: What to Look for When Buying
For music production and video editing, Thunderbolt is particularly useful for audio interfaces and high-speed external storage. An interface like the Universal Audio Apollo Twin X Duo Gen 2 Essentials or the Antelope Audio Orion32+ Gen 4 requires a stable connection without dropouts. A studio PC in which the motherboard, graphics card, and BIOS are well-optimized for each other will prevent the issues described in this guide.
Check out the full selection in our USB and Thunderbolt audio interfaces category, or learn more about the connection itself on our page about the Thunderbolt interface. If you’re looking for an interface that’s built right into your PC, our guide to choosing a PCIe audio interface will help you out. You’ll find all brands and types in the audio interfaces category.
Our Take on Thunderbolt in a Studio PC
At i4studio, we almost never view Thunderbolt issues as a problem with Thunderbolt itself. Things go wrong when components are chosen independently of one another: a card that’s just not on the support list, a slot that shares lanes with an NVMe drive, or a BIOS setting that no one has enabled.
That’s why we build custom studio PCs, with a focus on stability and low latency. We select the motherboard, Thunderbolt port, storage, and BIOS settings as a cohesive whole, optimized for audio and video. That way, you start with a system that’s ready for your interface, instead of spending an evening troubleshooting.
And if you do run into any issues, you’ll receive personalized support from people who work with studio hardware every day. We consider that just as important as the parts themselves.
Harold
A studio PC with Thunderbolt that works right out of the box
Don’t want to deal with headers, slots, and BIOS menus yourself? Our studio PCs are built to order and start at €1,099. The Thunderbolt Computer Turbo Studio is built for producers and video editors who work with Thunderbolt equipment.
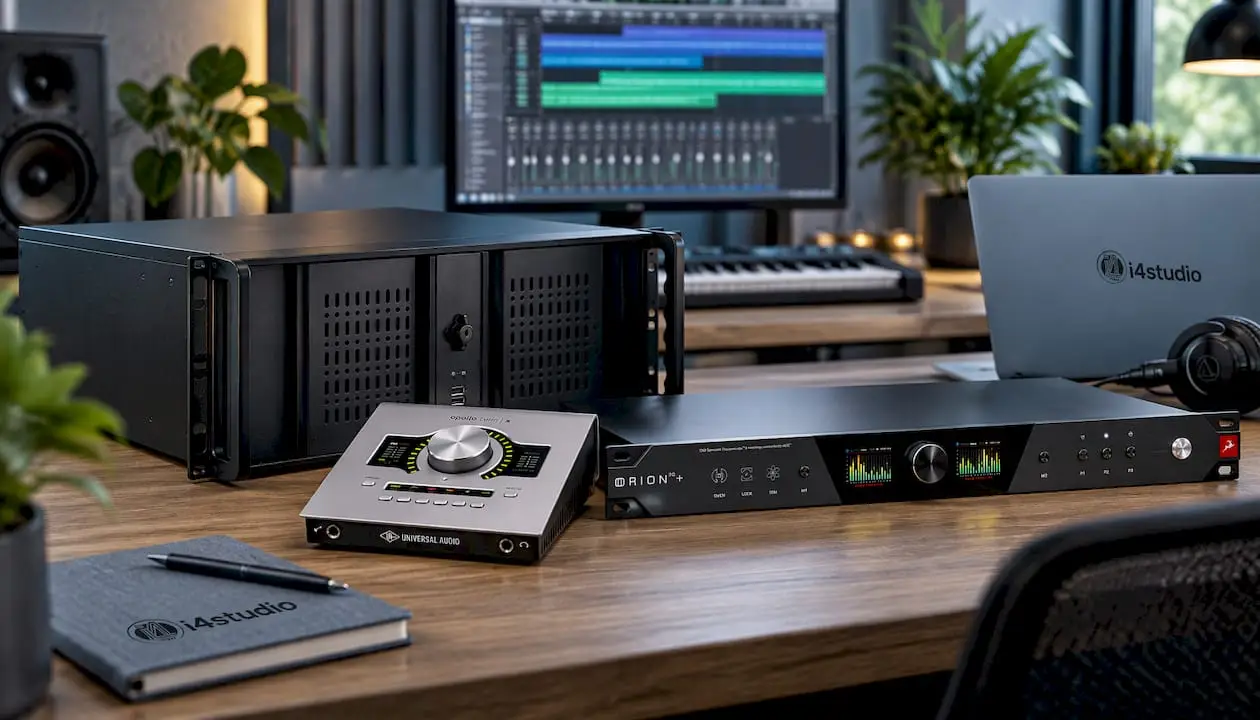
If you’re looking for a different configuration, check out the Tower of Power Gold and the Tower of Power Gold Ultra 7, or all of our studio PCs and synthesizers. For the rest of your setup, we also offer studio monitors, microphones, and studio equipment.
Frequently Asked Questions
Can I install a Thunderbolt card in any motherboard?
No. A Thunderbolt expansion card only works on a motherboard that officially supports the card, typically one with a Thunderbolt header and the appropriate BIOS settings. Always check the card’s compatibility list and your motherboard’s manual before purchasing or installing it.
Why doesn’t the BIOS recognize my Thunderbolt card?
The most common causes are an incorrect PCIe slot, a missing or improperly connected header cable, Thunderbolt options disabled in the BIOS, or an outdated BIOS version. Check these four points in that order. If your motherboard doesn’t have a Thunderbolt header at all, the card is usually not supported.
My audio interface keeps disconnecting via Thunderbolt. What should I do?
First, test the interface directly on the card, without any other devices in the chain and using a genuine Thunderbolt cable. Then, check that the 6-pin power connector and the USB 2.0 header are connected and that the driver and firmware are up to date. Our guide to Thunderbolt audio on Windows will help you configure the settings for a stable connection.
Do I need the DisplayPort cable if I’m only using audio?
No. The Mini DisplayPort loop is only necessary if you want to pass through video via the Thunderbolt ports. For an audio interface or external storage, you can leave it out. The header and power cables are still required, however.
Is a regular USB-C cable good enough?
Not for Thunderbolt devices. A USB-C cable will fit into the port, but it doesn’t always support Thunderbolt. Be sure to use a certified Thunderbolt cable, especially when daisy-chaining devices.
Sources
- ASUS: ThunderboltEX 5 Expansion Card Instructions
- ASUS: ThunderboltEX 3-TR Quick Start Guide
- ASUS: ThunderboltEX 4 Quick Start Guide
- ASUS: ThunderboltEX 4 Expansion Card Introduction
- MSI: BIOS Settings for Thunderbolt Expansion Cards
- MSI: Thunderbolt Driver Installation/Update Guide