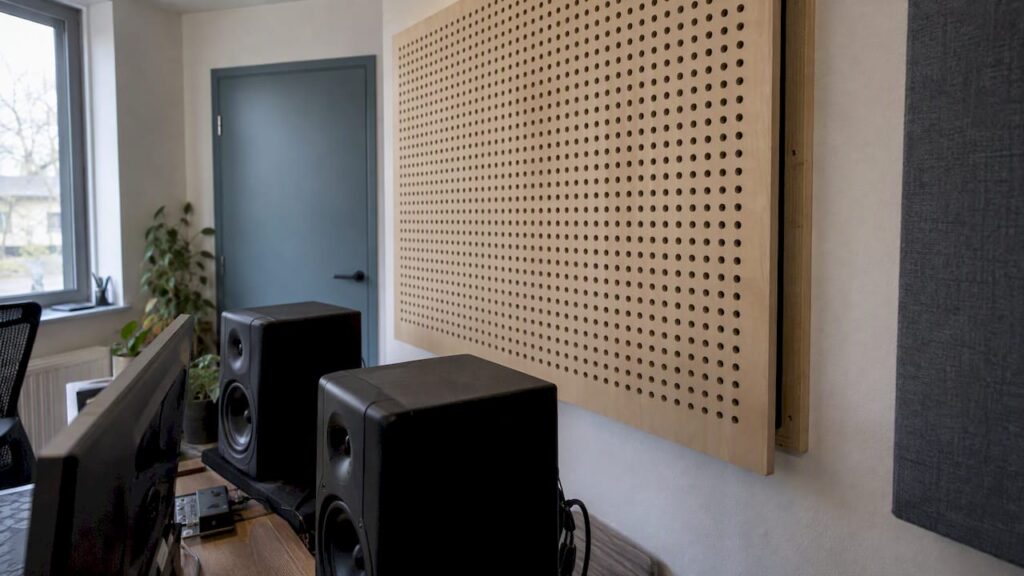
Resonator panels are tuned bass traps that remove a single narrow frequency band from your room—for example, a rumbling 50 or 70 Hz that muddies your mixes. The best-known type is the Helmholtz resonator: a sealed enclosure with a perforated or slotted front panel. Such a panel only works well if you first measure which frequency is the problem, tune it to that frequency, and hang it in the right spot. In this guide, you’ll learn how a resonator works, when it’s useful, how to calculate it, and where it falls short.
In a nutshell
- A resonator panel absorbs a narrow band of low frequencies. It is not a substitute for broadband absorption or bass traps.
- The operating frequency depends on the size of the openings, the air volume behind them, and the thickness of the front panel (the “neck”).
- Only use a resonator if one or two stubborn room modes remain after standard bass trapping.
- Always measure before and after installation: calculations are just a starting point; you’ll almost always need to fine-tune the finished bass trap.
- In a small near-field studio, you can often solve the biggest problems with well-placed absorbers and the correct monitor setup.
Table of Contents
- What exactly is a resonator panel?
- How a Helmholtz resonator works
- When should you choose a resonator, and when shouldn’t you?
- Measure first: What is the problem frequency?
- Where should you place resonator panels?
- Build It Yourself or Have It Made: What Should You Look For?
- Our take on resonator panels
- Acoustic advice for your space
- Frequently Asked Questions
- Sources
What exactly is a resonator panel?
In studio acoustics, you generally work with three types of treatments. Each type affects sound differently, and a resonator is the most specialized of the three.
| Type | What it does | Frequency range | Typical Applications |
|---|---|---|---|
| Absorber (porous panel) | Converts sound energy into heat | Wide frequency response, especially in the midrange and high frequencies; a thicker panel extends lower | Controls early reflections and reverberation |
| Bass trap (thick porous or membrane) | Absorbs low frequencies | Wide low-frequency response | Corners, rear wall |
| Diffuser | Scatters reflections without reducing energy | Mid and high | Back wall, ceiling in larger rooms |
| Resonator (Helmholtz or membrane) | Absorbs a single tuned frequency band | Narrow, low | One specific room mode |
The main difference lies in the bandwidth. An absorber operates over a wide range and is therefore forgiving. A resonator is precise: it targets a narrow band and leaves the rest virtually unaffected. That is precisely both its strength and its weakness.
Helmholtz resonator and membrane resonator
There are two main forms:
- Helmholtz resonator. An enclosure containing a volume of air behind a plate with holes or slits. The air in the openings vibrates at a single frequency.
- Diaphragm or panel resonator. A sealed enclosure with a thin, flexible front surface that vibrates along with the sound. According to Paul White in Sound On Sound, tuned traps are not broadband absorbers, with the exception of heavily damped panel traps with a flexible diaphragm.
Slatted panels with narrow slots between the slats often operate on the same principle as a Helmholtz resonator: the slot acts as the “throat.” That is why you also see this combination of diffusion and resonance in decorative wood panels.
How a Helmholtz Resonator Works
Think about blowing across the neck of a bottle. You hear a single note, and that note changes as you fill the bottle. That’s Helmholtz resonance.
The mechanism is a mass-spring system. The air in the neck moves back and forth as a single mass, while the trapped air in the cabinet acts as a spring. This is clearly explained in the physics explanation from UNSW. The frequency depends on four factors:
- The area of the opening (S): the larger the opening, the higher the frequency.
- The volume of the cabinet (V): the larger the volume, the lower the frequency.
- The effective throat length (l): the longer the throat, the lower the frequency.
- The speed of sound ©: approximately 343 m/s in air at room temperature.
The formula is: f₀ = c / 2π × √(S / (V × l)).
The effective neck length is always slightly greater than the actual thickness of the plate. This is because some air also moves around the opening; this is called end correction. Especially with a thin plate, the calculated frequency can therefore differ significantly from what you measure.
From Bottle to Panel
A studio resonator rarely consists of a single bottle. According to Paul White, a perforated panel with an air cavity forms a Helmholtz staircase in which each hole acts as a small bottle. The perforation percentage and the cavity depth together determine where the panel operates.
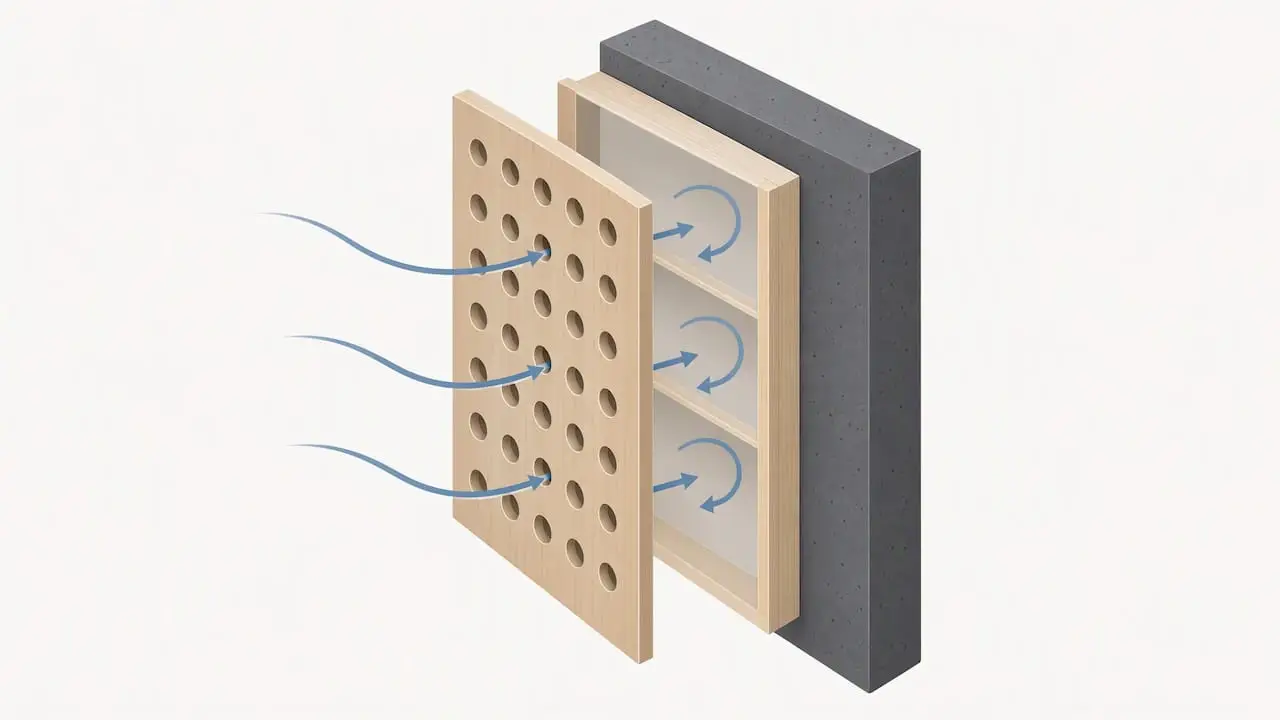
For a perforated panel, you can rewrite the formula. Each hole corresponds to a small cavity, so S/V becomes the perforation percentage (P) divided by the cavity depth (d):
f₀ = c / 2π × √(P / (d × l))
Calculation Example
Suppose you want to address a peak around 70 Hz. You choose:
- perforation P = 0.5% (0.005)
- cavity depth d = 15 cm (0.15 m)
- effective neck length l = 2 cm (0.02 m), so a plate of approximately 12 mm plus end correction
Then: 343 / 6.283 = 54.6. The square root of 0.005 / (0.15 × 0.02) = √1.667 = 1.29. That gives 54.6 × 1.29 ≈ 70 Hz.
Do you want to lower the temperature? Make the cavity deeper, the panel thicker, or reduce the perforation percentage. Two notes:
- White writes that absorptive material inside the cabinet slightly lowers the resonance frequency and broadens the peak. As a result, the bandwidth (the Q-factor) is difficult to predict in advance.
- When building a Helmholtz panel in Sound On Sound, the mineral wool actually lowered the frequency so much that additional or larger holes were needed.
So always aim slightly higher than your target frequency, or design the panel so that you can make adjustments later.
When should you choose a resonator, and when shouldn’t you?
A resonator isn’t a first step. It’s the tool for the final, stubborn problem.
A resonator is useful if:
- you’ve already treated a wide frequency range with bass traps and absorbers;
- one or two distinct room modes remain afterward;
- doors, windows, or furniture prevent you from placing large bass traps in the ideal locations.
That is also the situation Mike Senior describes in *Building a Helmholtz Panel*: a targeted solution for what remains, tailored to the frequency of the problem.
A resonator is not the right choice if:
- your room is still virtually untreated. In that case, you first need broadband absorption;
- you have multiple peaks and troughs spread across the low-frequency range. You would then need to build a series of resonators, whereas thick bass traps address all those modes at once;
- you can’t measure it. A resonator that’s 10 Hz away from the peak does virtually nothing to solve your problem;
- you’re primarily working in the near field in a small room. White notes that less complex solutions often solve the biggest problems.
That also explains why some producers say that resonators “don’t work” in home studios. Usually, it’s not because of the principle itself. Rather, the panel wasn’t properly calibrated, was tuned incorrectly, was placed incorrectly, or was used where broadband treatment was needed.
Measure first: Which frequency is the problem?
Without measurements, setting up a resonator is a shot in the dark. Fortunately, with a measurement microphone, your audio interface, and free measurement software like Room EQ Wizard (REW), you can go a long way.
Step 1: Calculate the room modes
Room modes occur between parallel walls. The first axial mode is at c / (2 × distance). In the Alpha Audio example, a length of 5 meters results in a first mode at 34.3 Hz and a second mode at 68.6 Hz. Do the same for width and height. You can read more background information in our explanation of room modes.
Step 2: Measure at the listening position
Place your measurement microphone at ear level at your mixing station and play a sweep through your monitors. For low-frequency modes, a range of roughly 10 to 200 Hz is sufficient.
Step 3: Measure at multiple locations
Jarkko’s REW guide recommends a near-field measurement of each speaker, as well as measurements at the listening position and at several other locations. This way, you can see what’s coming from the room and what’s coming from the speaker or its placement.
Step 4: Check the decay time
A peak in the frequency graph doesn’t tell the whole story. Check the spectrogram or waterfall plot to see which frequencies continue to resonate for a long time. Those long-decaying modes are your real targets.
Step 5: Compare the calculation and the measurement
Calculators are based on a rectangular, empty room. A sloped ceiling, an open door, or a full bookshelf can affect the results. So rely on your own measurements and use the calculation as a check.
Where should you place resonator panels?
With a resonator, placement is just as important as tuning. A step only works where the sound pressure of the relevant mode is high.
- On the walls associated with the modes. According to White, you place coordinated steps on the walls that correspond to the modes you want to weaken. You address a length mode on the front or back wall, and a width mode on a side wall.
- On the ceiling for floor-to-ceiling modes. You can treat a height mode with a step on the ceiling.
- In or near the corners. Corners traditionally have high pressure for all modes, making them ideal for low-frequency treatment.
Not sure? Move a measurement microphone along the wall while playing a sine wave at the problematic frequency. Wherever it sounds loudest, that’s where your resonator is. For general guidance on designing your space, check out our guide on the best placement of acoustic panels.
Check to see if it works
After installation, take another measurement using the exact same microphone position and volume. Compare the two measurements:
- Has the peak at the target frequency decreased?
- Does the mode in the spectrogram appear shorter?
- Have any new dips appeared at neighboring frequencies?
If the effect is just off the peak, adjust the panel. Adding more holes or making the holes larger increases the frequency; covering the holes lowers it.
Build It Yourself or Have It Built: What Should You Look For?
A Helmholtz panel is a popular DIY project. Building it isn’t difficult, but tuning it takes time. Based on the experiences shared in Sound On Sound, these are the key points:
- Determine your target frequency by taking a measurement, not just by using a calculator.
- Take into account the dimensions, perforations, and damping. Keep in mind that mineral wool reduces the frequency.
- Design for adjustment. Start with slightly fewer or smaller holes so you can drill additional ones. You can also cover the holes with tape.
- Seal the cabinet tightly and securely. Leaky seams and a vibrating back panel will throw off the tuning.
- Cover the holes on the inside with acoustically permeable fabric. This will keep the mineral wool fibers from escaping, which is better for your space and your lungs.
- Measure the finished panel in the room, and make adjustments until the peak actually decreases.
If you’re working with mineral wool, wear gloves, a dust mask, and safety glasses while cutting and installing it. Follow the safety instructions provided by the insulation manufacturer.
Our take on resonator panels
In practice, we often see the same pattern. Someone reads about Helmholtz resonators, gets excited about their precision, and immediately wants a tuned panel. But in most home studios, the biggest problem isn’t a single frequency. It’s a room with too little absorption, monitors placed too close to the wall, and a listening position right in a pressure peak.
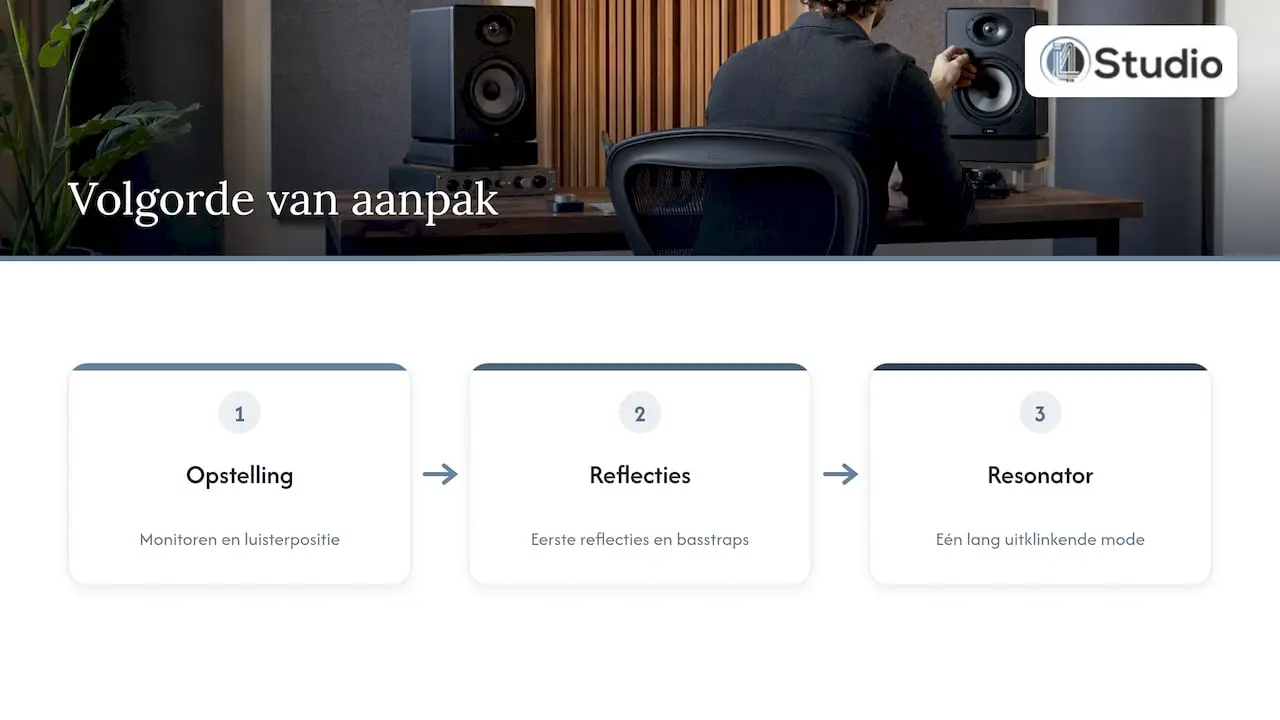
That’s why we recommend a specific order. First, set up your studio monitors and listening position. Then, address early reflections and install broadband bass traps. Only if your measurement still shows a single distinct, long-decaying mode after that does a resonator become worthwhile. At that point, it’s truly worth the money, because you know exactly what to tune it to.
As far as we’re concerned, a good studio is a combination of space and equipment. A stable, quiet setup and a room with a natural sound reinforce each other. There’s little point in investing in high-quality monitors if your room absorbs half of the low end or, conversely, makes it sound bloated.
– harold
Acoustic Advice for Your Space
Are you unsure whether your space needs a resonator, or whether you should start with absorption and bass traps instead? At i4studio, we’re here to help you figure it out. We offer a wide selection of acoustic panels and studio acoustics, along with personalized advice on which combination is best suited to your space and your measurements.
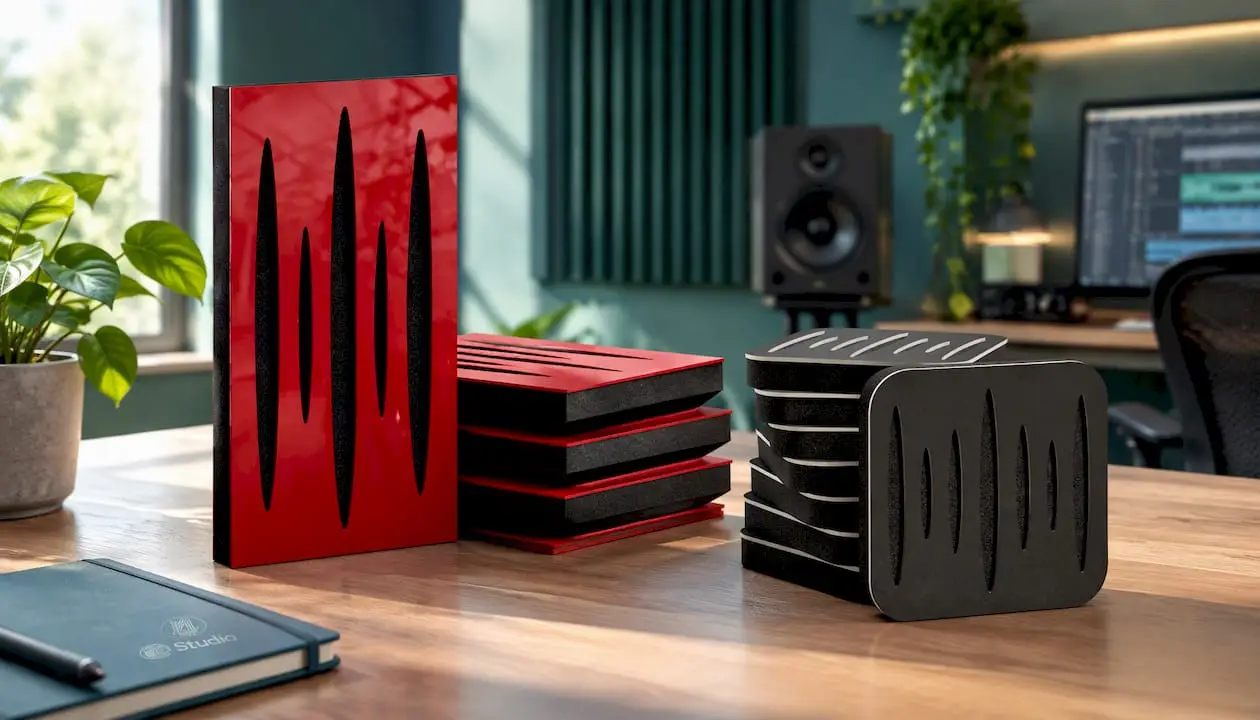
If you want to control reflections while adding some diffusion, the Pulsar Narrow Absorption-Diffusion Panel and the compact Pulsar Mini Acoustic Panel are a good place to start for the walls around your mixing area. For recording, we offer microphones and audio interfaces. If you want to set up your entire studio, you can also have a custom studio PC built, starting at €1,099, configured for stability and low latency.
Frequently Asked Questions
What is the difference between a resonator and a bass trap?
A standard bass trap absorbs a wide range of low frequencies and is therefore forgiving. A resonator is tuned to a single narrow frequency band. It is more effective at that one frequency, but has little effect outside of it.
Can I tune a Helmholtz resonator without taking measurements?
Not reliable. Calculations may vary due to final adjustments and the damping material in the cabinet, and real rooms behave differently than a calculator predicts. So be sure to measure before designing and after installation.
Do wooden slat panels also function as resonators?
The slots between the slats can act as the throat of a Helmholtz resonator, depending on the slot width, panel thickness, and the space behind it. However, without a tuned cavity and measurement, you won’t know at what frequency this occurs. Therefore, do not automatically view such a panel as a solution for a specific room mode.
How many resonators do I need?
That depends on the number of stubborn modes remaining after broadband treatment. Usually, it involves one or two frequencies. If you have many more, additional broadband bass trapping is often the better investment.
Where do I start if my room is still untreated?
Start with the basics: the placement of your monitors, absorption at the first reflection points, and bass traps in the corners. Our comprehensive guide to acoustic panels and the basics of acoustics will help you get started.