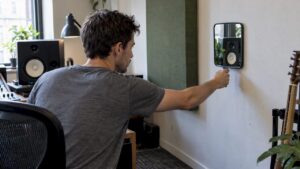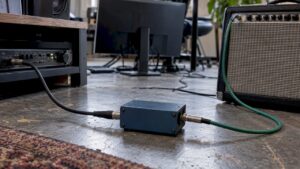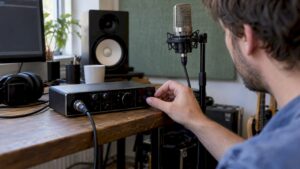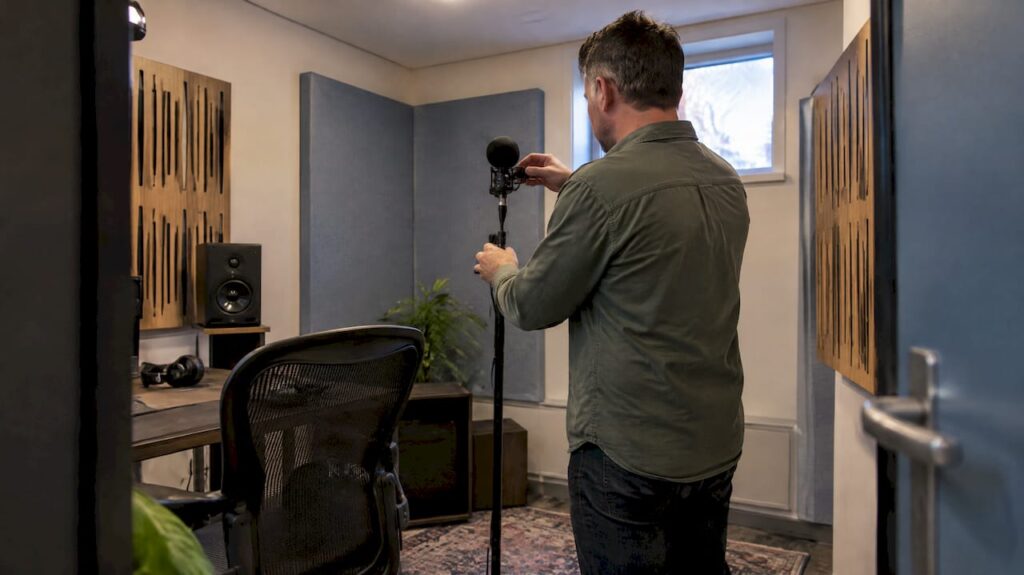
A professional on-site acoustic measurement provides a measurement report with RT60 graphs, a Schroeder frequency analysis, and specific recommendations for panel placement. The measurement methodology complies with international standards such as NEN-EN-ISO 3382-2 for reverberation time. We offer local measurement packages and cost information for studio owners who wish to have their control room or recording space analyzed.
Briefly:
- For critical listening rooms, the typical reverberation time ranges from 300 to 450 milliseconds, but the appropriate value depends on the room size and intended use.
- A flat reverberation curve is suitable for broadband panels, while sharp peaks in the low frequencies usually require directional bass absorbers in the corners of the room.
- For a small home studio, two to three measurement positions are often sufficient, whereas professional monitoring rooms with multiple monitor setups require a more comprehensive measurement protocol.
- Keep furniture and equipment in their normal working positions, clear the main listening position, and ensure a power supply so that the measurement can proceed without interruption.
- In addition to the reverberation, impulse response, and frequency response graphs, be sure to request the raw measurement files so that you can make comparisons under the same conditions after the panels have been installed.
Table of contents
- What acoustic parameters do you measure in a studio?
- How do you prepare for and carry out an on-site measurement step by step?
- How do you interpret the measurement results, and which findings require action?
- What’s included in the report, and how much does a measurement cost?
- Local expertise and practical packages for studio acoustics
- Where studio owners often cut corners—and shouldn’t
- i4studio measurement packages: how to schedule an appointment
- Frequently Asked Questions
- Sources
What acoustic parameters do you measure in a studio?
RT60 is the reverberation time: the time it takes for a 60-decibel sound to decay after the source stops. In critical listening rooms, studios typically aim for a value between 300 and 450 milliseconds, depending on the room size and intended use, as shown by a field measurement at a new studio in Berlin.
Below the Schroeder frequency, a room behaves modally: individual standing waves dominate the sound field. Above that threshold, diffuse sound predominates, with statistical acoustics taking precedence. This break determines which treatment works where, as is also highlighted in course material from Berklee Online.
Modal peaks are caused by resonances between parallel walls, often in the low-frequency range. They are audible as rumbling bass tones in specific areas of the room and require a different approach than broad absorption.
- RT60 indicates how long reverberation lasts and whether the room sounds too “lively” or too “dead.”
- The Schroeder frequency separates the modal domain from the diffuse domain.
- Modal peaks indicate specific resonances that require targeted bass control.
- Frequency response and impulse response show where frequencies are unnaturally amplified or attenuated.
A field measurement in an untreated studio clearly demonstrates why it makes sense to take measurements in advance, as a case study from Berlin illustrates: the RT60 values and Schroeder frequency from that unused space provided valuable information for the subsequent treatment.
How do you prepare for and carry out an on-site measurement, step by step?
A good measurement starts with the right equipment and a client who leaves the space in a representative condition.
Required equipment:
- A calibrated measurement microphone for accurate sound pressure level recording.
- An audio interface that sends the sweep to the monitor and records the return signal.
- A reference speaker or your own studio monitor, depending on the purpose of the measurement.
- A laptop with measurement software such as REW or an equivalent package.
Preparation by the client: Place furniture and instruments in their normal working positions, ensure there is sufficient power at the measurement location, and keep the primary listening position clear during the measurement.
Test setup: The microphone is typically positioned at ear level at the main listening position. To obtain a more representative picture, a specialist takes measurements at multiple positions and applies spatial averaging, so that local peaks and dips do not distort the overall picture.
Measurement procedure: The sweep is played back at a fixed, repeatable level via the audio interface. Calibration data, microphone position, and settings used are documented so that a follow-up verification measurement can be performed under identical conditions.
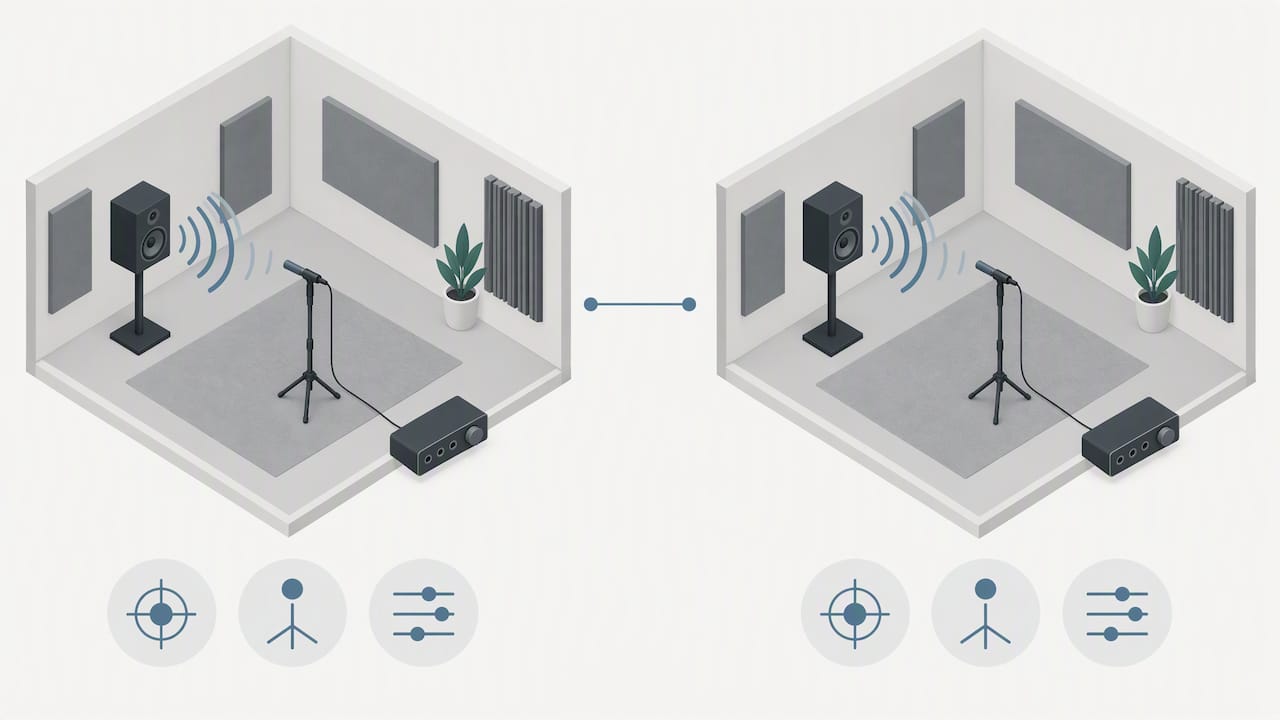
Pro tip: Always ask for the raw measurement files along with the report, so you can make your own comparison later after installing the panels.
How do you interpret the measurement results, and which findings require action?
A measurement report is only useful if you know what to look for. The shape of the RT60 curve—not just its absolute value—determines which approach is needed: a smooth curve responds predictably to broadband absorption, while peaks at specific frequencies often require targeted, narrowband solutions.
- A smooth RT60 curve across the entire spectrum indicates a room that responds well to standard acoustic panels.
- Sharp peaks around low frequencies usually indicate modal issues that require bass traps in the corners of the room.
- The Schroeder frequency shows up to what point you need to use targeted bass control and at what frequency diffuse absorption is sufficient.
- Deviations in the frequency response at the listening position often indicate reflections from first reflection points, which require panel placement on specific wall surfaces.
For a quick check before you make a purchase, compare the RT60 values across the low, mid, and high frequency bands. Significant differences between these bands are often the first indication that treating individual symptoms is not enough and that a holistic approach is needed—an insight that is also highlighted in the Berklee course material, which discusses low-frequency treatment.
What does the report say, and how much does a measurement cost?
A good measurement report includes an overview of the measurement positions used, graphs of RT60, impulse response, and frequency response, plus a conclusion with specific recommendations.
- Measurement positions and methodology are documented so that a follow-up measurement can be conducted later under the same conditions.
- Specific panel recommendations specify the type (broadband or bass trap) and the location, such as first reflection points, the rear wall, or the ceiling.
- The timeline from measurement to implementation typically takes several weeks, depending on panel delivery times and the installation schedule.
- A follow-up measurement after installation confirms whether the intended RT60 values have actually been achieved.
The cost of an on-site measurement varies primarily based on room size, the number of measurement points, and the complexity of the space. Larger control rooms with multiple monitor configurations require more measurement time than a compact home studio.
Local expertise and practical solutions for studio acoustics
We focus on the high-end segment of audio technology, offering customized solutions for stability and low latency, as well as personalized advice from industry experts. This applies to both our studio PCs and acoustic challenges.
- We offer measurement packages and pricing information for studio acoustics measurements in Amsterdam, tailored to both small home studios and professional control rooms.
- After the measurement, we provide recommendations for acoustic panels that address the identified RT60 profile and modal peaks.
- We provide support during implementation and follow-up, including a follow-up measurement if needed.
Where studio owners often cut corners—and shouldn’t
Many clients cut corners on the number of measurement positions, even though spatial averaging is precisely what determines the reliability of the report. A single position provides a distorted picture of the actual acoustics.
For small home studios, a basic measurement with two to three positions is often sufficient. Professional monitoring rooms with multiple monitor configurations warrant a more comprehensive protocol. Let the measurement data guide your panel choices, not just the appearance of the material.
— harold
i4studio Measurement Packages: How to Schedule an Appointment
We offer comprehensive measurement packages for studio acoustics, with a direct connection to suitable acoustic panels following the measurement.
During the initial consultation, we’ll ask about the room size, current use, and your availability. Check out our studio acoustics measurement service in Amsterdam and schedule an appointment right away.
Frequently Asked Questions
How long does an on-site acoustic measurement take?
An on-site measurement usually takes half a day, depending on the number of measurement points and the size of the room. Larger control rooms with multiple monitor systems take more time than a compact recording room.
How much does a professional studio measurement cost?
The cost depends mainly on the room size, the number of measurement points, and the complexity of the space. Check out our measurement packages with pricing information for an estimate tailored to your situation.
What preparations do I need to make before the measurement?
Place furniture and equipment in their normal operating positions and keep the main listening position clear. Ensure there is sufficient power at the measurement site so that the measurement team can work without interruption.
What exactly is included in the measurement report?
A report includes graphs of RT60, impulse response, and frequency response, along with the measurement locations used and specific recommendations. These recommendations specify the type of panel and the recommended placement, such as first reflection points or the rear wall.
Is a follow-up measurement necessary after installing the panels?
A follow-up measurement confirms whether the intended RT60 values have actually been achieved after installation. This is particularly valuable in professional monitoring rooms where precise tuning is essential.
Sources
- NEN-EN-ISO 3382-2:2008 (NEN)
- Architectural, Acoustic, and Audio System Design for the Modern Music Production Studio (Berklee Online)
- Darko