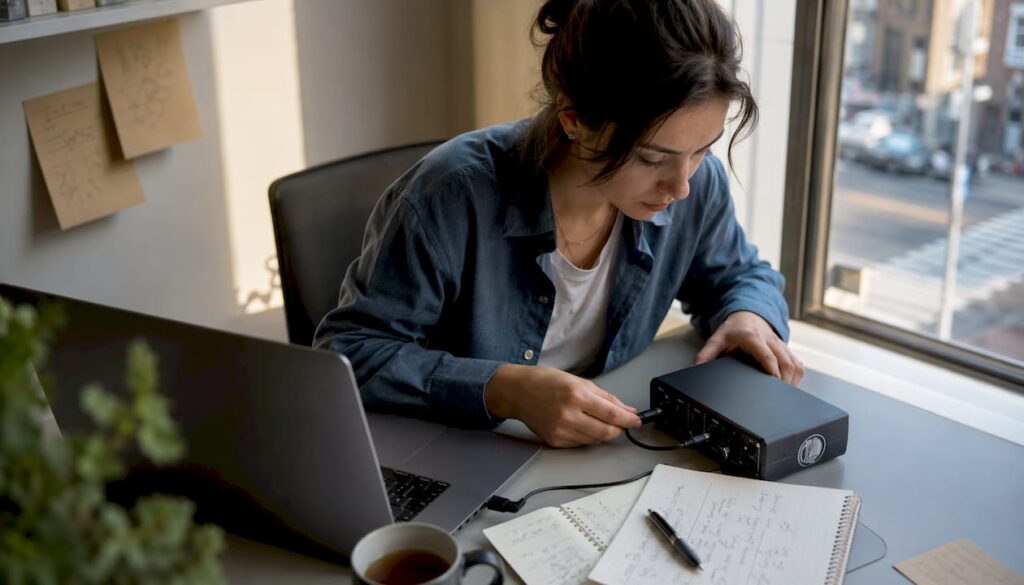
Setting up an audio interface correctly takes seven steps: installing drivers, connecting the interface directly to your computer via USB or Thunderbolt, update the firmware, configure the inputs and outputs, select the interface as an audio device in your DAW, set the sample rate and buffer size, and finally, test your recording. If you do this in the correct order, you’ll have a working studio setup within half an hour.
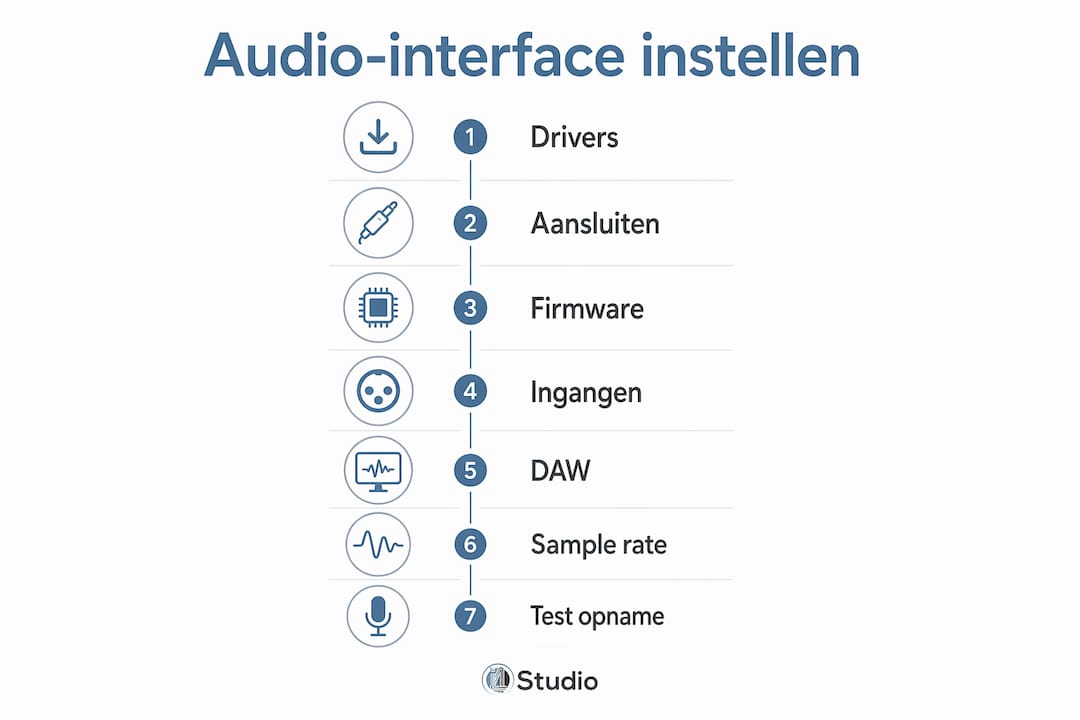
How do you set up an audio interface step by step?
Beginners often skip steps or do them in the wrong order. That wastes time and leads to frustration. Follow this step-by-step guide, and you’ll avoid most problems right away.
Step 1: Install Drivers
Download the appropriate drivers from the manufacturer’s website before connecting the interface. Some interfaces work with the operating system’s default drivers, but most manufacturers provide their own drivers for better performance.
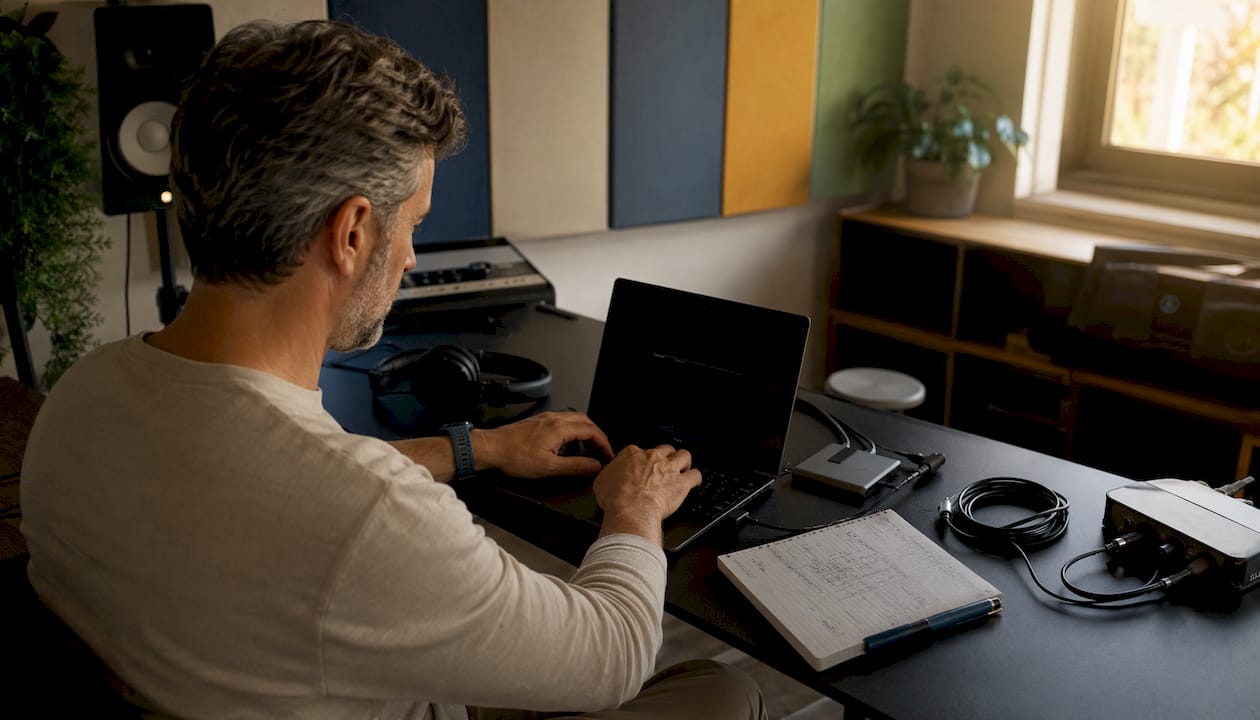
Step 2: Connect the Interface
Connect the interface directly to a port on your computer using the included USB or Thunderbolt cable. Never use a USB hub for your audio interface.
Step 3: Check the firmware
Open the included software and check if a firmware update is available. Always install it before you start recording.
Step 4: Setting Up Inputs and Outputs
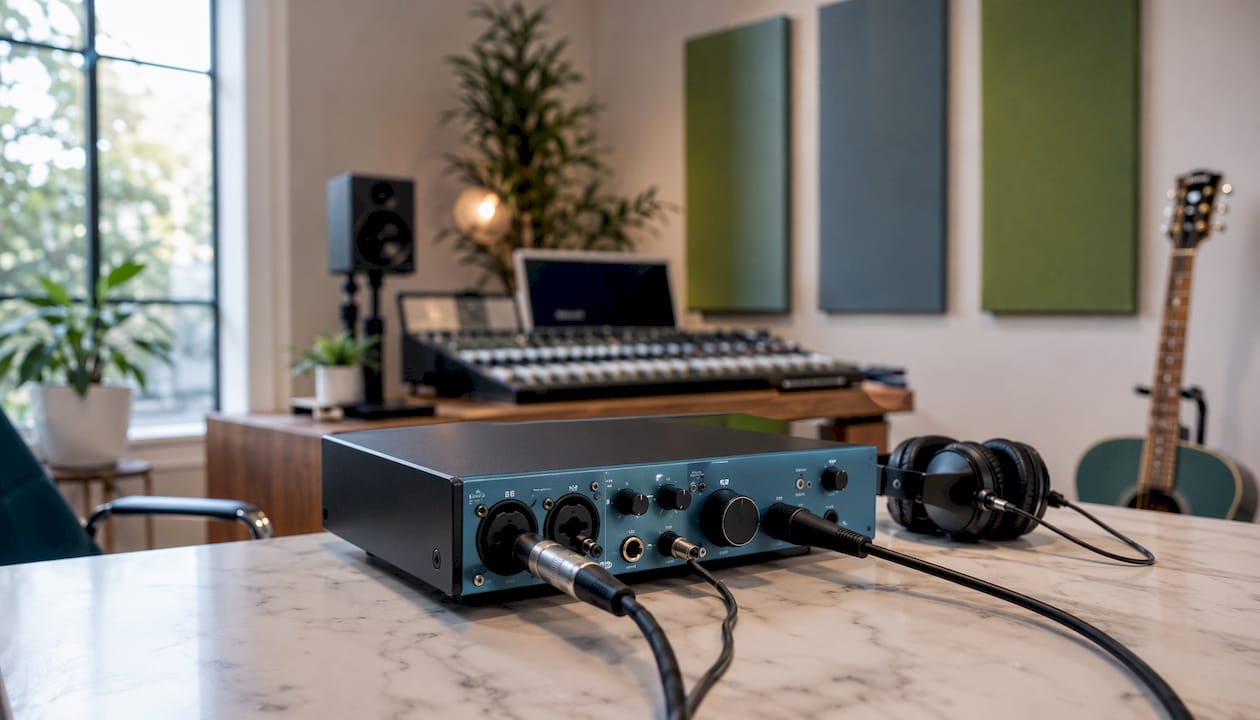
Connect your microphone via XLR, your guitar via a jack input, and your monitor speakers via the line outputs. Turn on phantom power (48V) if you’re using a condenser microphone.
Step 5: Select the interface in your DAW
Open your DAW and set the audio interface as the default input and output device.
Step 6: Set sample rate and buffer size
Choose a sample rate of 44,100 Hz or 48,000 Hz and adjust the buffer size to your workflow.
Step 7: Record a test clip
Record a short clip and check that the signal comes in clean, without noise or delay.
Why Installing Drivers Is So Important
Installing drivers is the first and most critical step in setting up an audio interface. Without the correct drivers, your computer won’t recognize the interface properly, or it will function erratically and experience increased latency.
Many interfaces use standard OS drivers, but manufacturers often provide their own drivers that offer better performance. Always visit the manufacturer’s official website and download the latest version for your operating system.
- Check whether you’re using Windows or macOS, and download the correct version
- Run the installer as an administrator
- Restart your computer after installation
- Check to see if the interface is visible in your system’s sound settings
Brands such as Native Instruments and Universal Audio provide their own management software that automatically keeps drivers up to date. With other brands, you’ll need to check for updates manually on their websites. Be sure to do this at least once a quarter, as new operating system versions can render existing drivers unusable.
Pro-tip: Always install the drivers before connecting the interface for the first time. Otherwise, some Windows systems will automatically install a generic driver that is difficult to replace later.
How do you properly connect an audio interface to your computer?
Connecting directly to a USB or Thunderbolt port on your computer is the golden rule. A USB hub introduces additional latency and can make the data connection unstable, especially when recording with multiple channels.
Always use the cable provided by the manufacturer. It has been tested for the required data transfer rates and meets the correct specifications for your interface. A cheaper replacement cable may work, but can sometimes cause unexplained connection problems.
- Check whether your interface is powered by the bus or requires an external power adapter
- Interfaces with many inputs and outputs often require their own power supply
- Plug in the power adapter before connecting the USB cable
- Avoid using extension cords
Safety precautions when connecting equipment are simple but are often overlooked. Set the volume on your monitors to zero before connecting or disconnecting cables. Turn off phantom power if you’re not using a condenser microphone. Never connect a dynamic microphone while phantom power is on, as this can cause noise.
If you’re having connection problems, check the cable first, then the port. Try a different USB port on your computer. If the interface still doesn’t show up in your system, reinstall the drivers and restart your computer. For more detailed help with connection issues involving your interface, see the I4studio troubleshooting guide.
Pro-tip: Keep one USB port on your computer free for your audio interface. Don’t use that port for anything else. This will prevent other devices from hogging the bandwidth.
How do you check for and install firmware updates?
Firmware updates improve the internal functioning of your interface: they fix bugs, add new features, and ensure better compatibility with new operating systems and DAW versions.
The update process varies by brand. For most manufacturers, you open the included management software, which automatically notifies you if an update is available. Sometimes you have to manually download the firmware from the website.
- Open the management software for your interface
- Check the “Firmware” or “Updates” tab
- Download the update and follow the on-screen instructions
- Never disconnect from the interface during a firmware update
- Restart the interface and the computer after installation
Check for new firmware at least twice a year, or immediately after a major update to your operating system. Outdated firmware is a frequently overlooked cause of strange clicking noises, crashes, and compatibility issues with new DAW versions.
What inputs and outputs does your interface have, and how do you use them?
Properly configuring inputs and outputs is the foundation of good signal processing. If you use the wrong input, you’ll end up with a signal that’s too weak or, conversely, overdriven.
| Connection | Usage | Example |
|---|---|---|
| XLR input | Microphone | Condenser or dynamic microphone |
| Jack Input (Hi-Z) | Instrument | Electric guitar or bass |
| Line Output | Monitor Speakers | Studio Monitors |
| Headphone Output | Monitoring | Studio headphones |
| MIDI In/Out | Keyboards and Controllers | MIDI keyboard |
Phantom power supplies 48V to condenser microphones. Turn it on only if you are using a condenser microphone. Dynamic microphones do not require phantom power, and 48V can even damage some ribbon microphones.
The number of channels determines how many sources you can record at the same time. For a home studio with one microphone and a guitar, an interface with two inputs is sufficient. If you want to record an entire drum set, you’ll need more channels. Check out I4studio’s overview of popular audio interfaces if you’re still unsure which model is right for your setup.
How do you configure your interface in your DAW?
Setting up the interface in your DAW is the step where many beginners get stuck. Fortunately, the process is similar in most programs.
Open the audio settings in your DAW. Search for “Preferences,” “Settings,” or “Audio Settings.” In Logic Pro, go to Logic Pro > Settings > Audio. In Ableton Live, open Options > Preferences > Audio.
Select your interface as the audio device. Select your interface for both input and output. If you’re using Windows, select your interface’s ASIO driver for the lowest latency.
Set the sample rate. Select 44,100 Hz for music you want to release on streaming platforms. Select 48,000 Hz if you’re working on video or film. Make sure the sample rate in your DAW matches the one in your interface’s control software.
Adjust the buffer size. A low buffer size (64–128 samples) results in minimal latency during recording, but places a greater load on your processor. A higher buffer size (512–1024 samples) is better for mixing with lots of effects. Incorrect buffer size settings are the most common cause of latency and click noises.
Set up real-time monitoring. Most interfaces have a direct monitoring button that lets you hear yourself through the headphones without any delay. Turn this on during recordings.
Check the bit depth. Select 24-bit for recordings. This provides a wider dynamic range than 16-bit and is the standard in professional studios.
Practical Tips and Common Mistakes When Setting Up
Even with a good step-by-step plan, things often go wrong for beginners. Here are the most common problems and how to avoid them.
- Selecting the wrong input in the DAW. Always check which physical input you’re using on the interface and set that same input as the recording source in your DAW channel.
- Forgot to turn off the phantom power. Always turn off the 48V power when you’re done recording with a condenser microphone. This will protect your other equipment.
- Set the buffer size too low. A buffer size of 32 samples sounds appealing, but it causes clicking noises on most computers. Start with 128 samples and only reduce it if your processor can handle it.
- Connect the interface via a hub. This may seem convenient, but it causes unstable connections. Always connect the interface directly.
- Do not read the manual. Brands such as Native Instruments and Universal Audio use their own routing software, which differs from standard OS settings. Without the manual, you’ll miss essential configuration steps.
Pro-tip: Save your DAW project settings as a template once everything is working correctly. That way, you won’t have to reconfigure the interface, sample rate, and buffer size for every new project.
Want to know which audio interface is best suited for your home studio? I4studio has a comprehensive guide on choosing the right audio interface for different setups and budgets. For musicians who are also active in the performing arts and are looking for additional income, NOWJOBS offers information on earning extra money in the music industry.
Ready to keep building your studio?

A well-configured audio interface is the foundation, but your home studio needs more than that to sound truly great. I4studio can help you with everything you need: from the right computer to acoustic treatment.
Check out the overview of studio gear for beginners and find out what you really need for a professional-sounding home studio. Or go straight to the sE Electronics X1 S Studio Bundle, a complete set that lets you start recording right away.
Key insights
Setting up an audio interface correctly requires the right drivers, a direct USB or Thunderbolt connection, and the correct DAW settings for sample rate and buffer size.
| Item | Details |
|---|---|
| Install Drivers First | Always install drivers before connecting the interface to ensure a stable connection. |
| Connect directly to the computer | Never use a USB hub; connect the interface directly to a port on your computer. |
| Using Phantom Power Wisely | Turn on 48V only for condenser microphones, and then turn it off again. |
| Adjusting Buffer Size and Sample Rate | Choose 128 samples as a starting point and 44,100 Hz or 48,000 Hz, depending on your goal. |
| Consult the manual | Brands such as Native Instruments and Universal Audio require their own software for proper configuration. |
Frequently Asked Questions
How do you set up an audio interface on your computer?
Connect the interface via USB or Thunderbolt, install the manufacturer’s drivers, and select the interface as the default audio device in your operating system and DAW settings.
How exactly does an audio interface work?
An audio interface converts analog signals from microphones and instruments into digital audio that your computer can process, and sends the digital signal back to your speakers or headphones.
What is an example of an audio interface that beginners use?
Entry-level models from brands such as Focusrite, Native Instruments, and Universal Audio are popular among beginners because of their ease of use and good driver support.
How do you set the buffer size correctly?
Start with 128 samples during recording to minimize latency, and increase this to 512 or 1024 samples during mixing if your processor is under heavy load from effects and instruments.
What should you do if your interface isn’t recognized?
Check the cable connection, try a different USB port directly on your computer, reinstall the drivers, and restart your system. Never use a USB hub with your audio interface.