Briefly:
- A good studio monitor setup ensures reliable and neutral sound reproduction in your mixing room.
- Consistent placement, calibration, and acoustic treatment help you avoid making poor mixing decisions.
A good studio monitor setup is defined as the combination of physical placement, calibration, and acoustic treatment that ensures reliable and neutral sound reproduction in your mixing room. Without a proper setup, you won’t hear what’s actually in your mix—just a colored version influenced by the room and the furniture. This leads to mixing decisions that don’t hold up on other systems. This guide provides the basic principles, calibration steps, and practical tips to help you set up your monitors correctly and immediately improve your workflow.
What are the basic principles of optimal studio monitor placement?
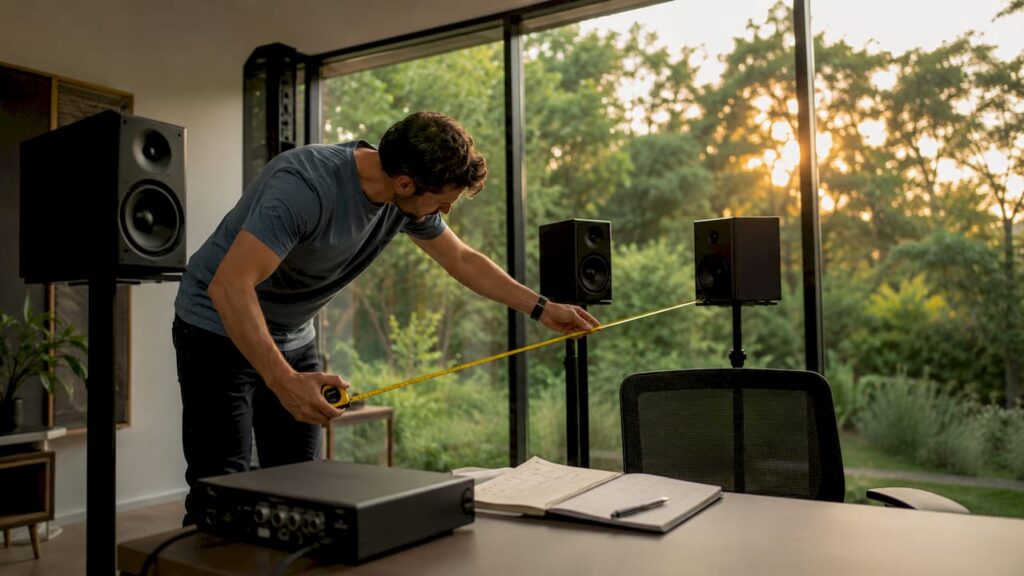
The two monitors and your listening position together form an equilateral triangle. The distance between the monitors is equal to the distance from each monitor to your head, typically 1–1.5 meters. This principle provides the widest and most accurate stereo image without one side dominating.
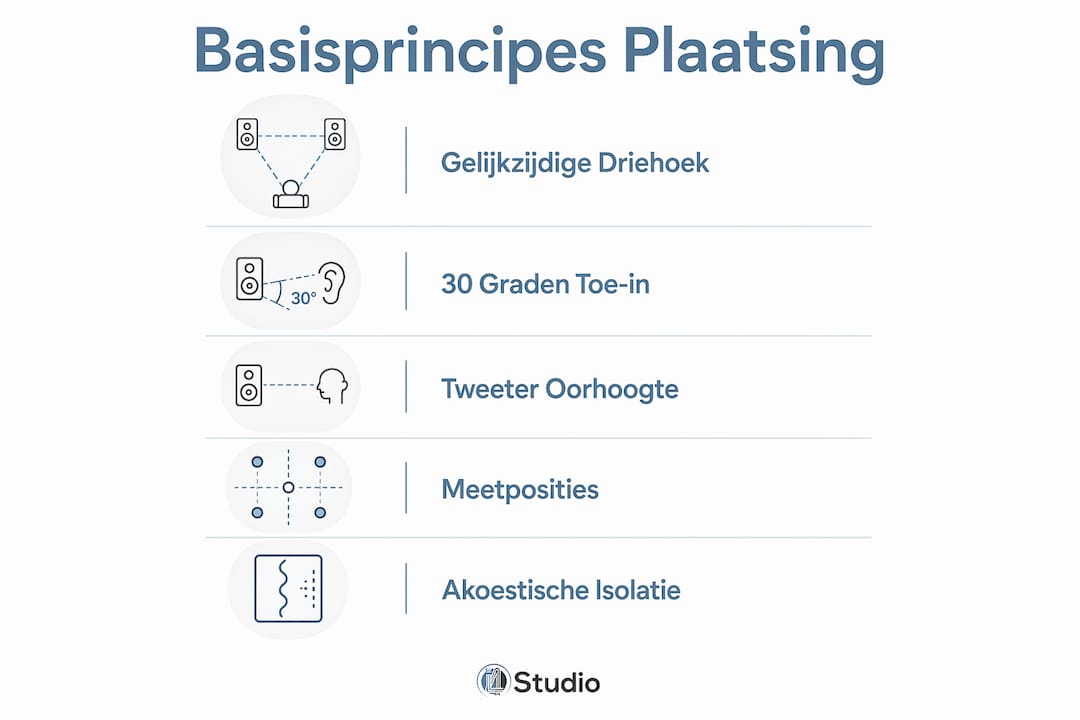
The angle of the monitors relative to your listening position—also known as “toe-in”—should ideally be 30 degrees. This ensures that the tweeter is aimed directly at your ears, allowing you to hear the high frequencies fully. Without toe-in, you lose detail and clarity in the high-frequency range.
Monitors must be placed at least 0.5 meters from the back wall to prevent bass buildup. The closer they are to a wall or corner, the more low frequencies build up. Furthermore, the distances to the left and right side walls should not be equal, because symmetrical distances reinforce standing waves.
The height of the monitors is a factor that many producers underestimate. The tweeter should be at ear level when you’re seated. If the tweeter is too low or too high, you’ll lose focus and detail in the high frequencies.
- Equilateral triangle: distance from monitor to monitor = distance from monitor to ear
- Toe-in: 30 degrees toward the listening position
- Distance from the back wall: at least 0.5 meters
- Sidewall Spacing: Deliberately Keeping Them Uneven
- Tweeter: at ear level when listening while seated
Pro-tip: Measure the distances with a tape measure and mark your listening position on the chair. Even small adjustments of 5–10 centimeters can noticeably improve the stereo image.
How do the desk, isolation pads, and stands affect the sound?
A desk surface acts as an acoustic mirror, causing phase shifts and resonance. Sound waves from the monitor bounce off the desk surface and reach your ears with a slight delay. That delay distorts the frequency response and blurs the stereo image.
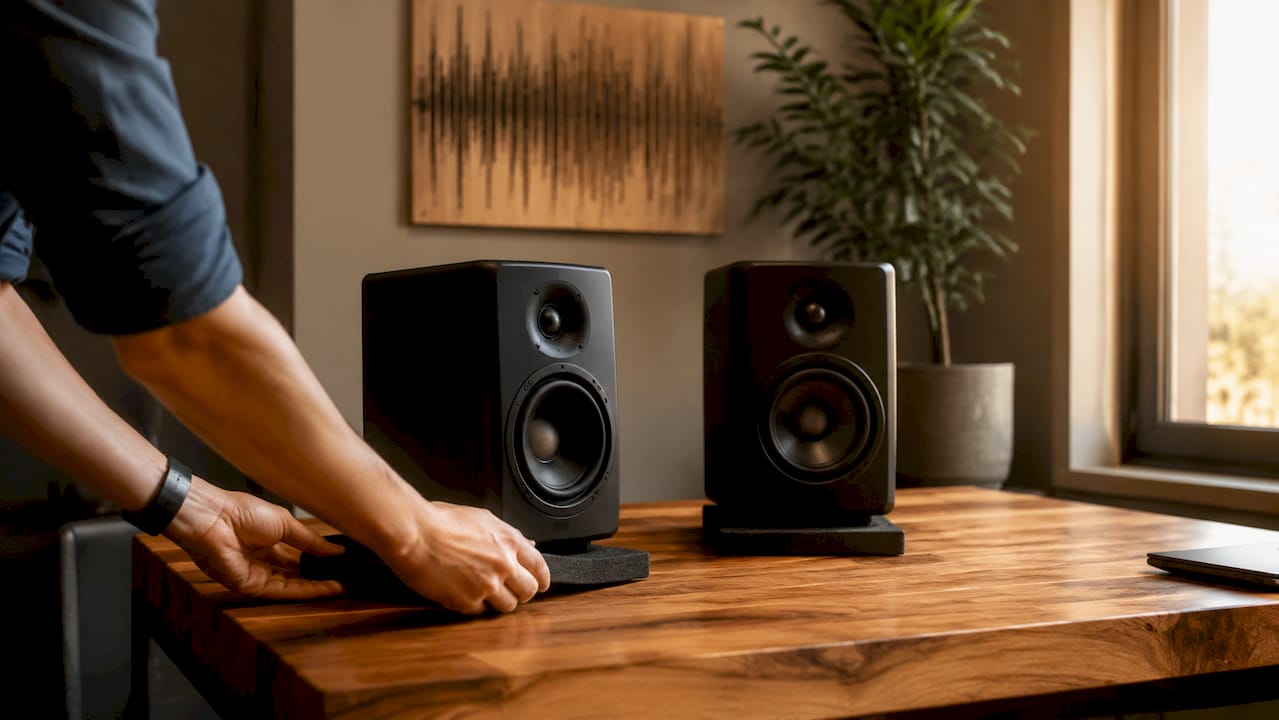
Isolation pads break the mechanical connection between the monitor and the desk. They absorb vibrations that would otherwise be transmitted through the wood or metal of your desk. In this way, isolation pads reduce distortion in the lower midrange and provide you with sharper sound definition. Products such as IsoAcoustics and Auralex MoPADs are well-known examples in this category.
Monitor stands take it a step further. They position the monitor at the correct height and completely isolate it from the floor and desk. When combined with basic acoustic treatment, stands significantly improve the stereo image and definition in the low-midrange. This isn’t just a luxury for large studios. You’ll notice the difference right away, even in a home studio.
- Desk resonance: causes phase shifts and coloration in the lower midrange
- Isolation pads: dampen mechanical vibrations, improve sound clarity
- Monitor stands: raise the tweeter to ear level and completely isolate it from surfaces
- Combination: stands plus acoustic treatment yields the best results
Pro-tip: Don’t use isolation pads just for height adjustment. Their primary function is mechanical decoupling. Choose pads with a foam layer or viscoelastic material for the best vibration-damping effect.
You can find suitable isolation pads, such as the Auralex MoPad, directly at I4studio.
How do you properly calibrate studio monitors for a consistent workflow?
Calibration ensures that your monitors deliver the flattest possible frequency response in your specific room. Without calibration, you’ll be mixing based on a colored image, and your mixes won’t sound right on other systems. A structured approach yields the most reliable results.
Step-by-Step Calibration
- Set the reference level. For a home studio, work consistently at 79–82 dB SPL (C-weighted, slow). Professional control rooms use 85 dB SPL. Consistency in level is more important than the exact number, because your ears respond differently to different volume levels.
- Use a measurement microphone. Place a calibrated measurement microphone at your listening position. Send pink noise or test tones from your DAW to the monitors.
- Use calibration software. Programs such as Sonarworks or Genelec GLM measure the frequency response and correct deviations using a correction filter. Calibration software improves the linear frequency response in imperfect rooms, but it does not replace physical acoustic treatment.
- Balance left and right. Set both monitors to the same volume. Use an SPL meter to check that the left and right channels are balanced at your listening position.
- Use the room control switch. The low-shelf EQ or room control on the back of your monitor corrects the boundary boost caused by proximity to walls or a desk. This is not a general tone control, but a room correction.
- Document your settings. Make a note of the positions of all switches and the calibration values. This will allow you to quickly restore the setup after moving it.
Overview of Calibration Parameters
| Parameter | Home Studio | Professional control room |
|---|---|---|
| Reference Level | 79–82 dB SPL | 85 dB SPL |
| Measurement method | C-weighted, slow | C-weighted, slow |
| Calibration Software | Sonarworks, Genelec GLM | Genelec GLM, others |
| Room control | On near walls | Depending on the room |
| Recalibration | After each relocation | Periodically |
Always recalibrate after moving the monitors or after making major changes to the room layout. A one-time calibration does not guarantee long-term accuracy.
What are some common mistakes made when setting up a monitor?
The most common mistake is placing monitors too close to walls or in corners. Walls and corners greatly amplify low frequencies, making you think your mix has enough bass when, in reality, it doesn’t. The result is a mix that sounds too thin on other systems.
A second common problem is a lack of symmetry. If the left monitor is farther from the side wall than the right monitor, the stereo image will sound off-center. You’ll subconsciously compensate for this in your mix, which leads to poor decisions.
Objects on or in front of the monitors are an underestimated source of interference. A screen, a book, or a coffee cup in front of the monitor causes reflections and absorbs certain frequencies. Keep the area directly in front of and to the sides of the monitors clear.
Reflections from the desk cause delayed sound waves of 8–15 ms that blur the stereo image and distort the frequency response. Raising or tilting monitors helps prevent early reflections at the listening position.
Extreme EQ adjustments are not a solution to acoustic problems. Adjustments greater than 6–10 dB indicate an acoustic problem that is best addressed physically. Sound-absorbing panels and diffusers solve the problem at the source. Software cannot fully compensate for this.
- Monitors placed too close to walls or corners: leads to bass buildup
- Asymmetrical setup: distorts the stereo image
- Objects in front of or on top of monitors: cause reflections
- Desk Surface Without Insulation: Phase Shifts and Coloration
- Extreme software fix: masks the problem without solving it
What additional tools can improve your workflow and listening experience?
Calibration software is the most direct complement to a good physical setup. Sonarworks SoundID Reference and Genelec GLM measure the frequency response of your room and apply a correction filter. They work best when the physical setup is already as good as possible. Use them as a supplement, not as a replacement for a well-designed studio setup.
Reference headphones serve as a second point of reference alongside your monitors. Always check your mix on both your monitors and headphones. Discrepancies between the two indicate where your mix has issues that are masked by the room.
Monitor presets are useful if you work with different workflows. Some monitors offer adjustable EQ profiles for mastering, mixing, or reference listening. Switch between presets intentionally and keep track of which ones you use and when.
Ergonomics is an aspect of workflow that producers often overlook. A good sitting posture, with your ears at tweeter height, reduces fatigue during long sessions. Adjustable monitor stands or desks give you the flexibility to adjust your listening position without disrupting the setup.
- Calibration software: Sonarworks SoundID Reference, Genelec GLM
- Reference Headphones: A Second Reference Point Alongside Monitors
- Monitor presets: customizable EQ profiles for each workflow
- Ergonomics: tweeter at ear level, adjustable stands or desk
Musicians who are active in the performing arts and music industries know that a consistent listening environment directly affects the quality of the final product.
Key insights
The most reliable studio monitor setup combines an equilateral triangle, a tweeter at ear level, isolation pads, a reference level of 79–82 dB SPL, and physical acoustic treatment as the foundation for every mix.
| Item | Details |
|---|---|
| Equilateral triangle | The distance between monitors is equal to the distance from the monitor to the ear, typically 1–1.5 meters. |
| Tweeter at ear level | Use monitor stands or isolation pads to position the tweeter exactly at listening height. |
| Reference Level | Work consistently at 79–82 dB SPL in a home studio to create mixes suitable for translation. |
| Tackle the physical issues first | Solve acoustic problems with panels and diffusers, not with extreme EQ corrections. |
| Document Settings | Write down all calibration parameters so you can quickly restore the setup. |
Why Consistency Is More Valuable Than Perfect Calibration
After years of working with different studio spaces and setups, one thing has become clear: the best mix doesn’t come from the perfect space, but from the space you know inside and out. I’ve seen producers spend weeks perfecting their calibration, while their mixes only improved when they simply started working at the same volume and from the same position every day.
You don’t make the biggest difference with expensive calibration software, but with isolation pads and a good setup. Many producers don’t realize until much later that phase shifts caused by contact with the desk are throwing off their mixing decisions. It’s a silent saboteur that you can’t hear, but you can definitely feel it in the results. Put your monitors on stands, place isolation pads underneath them, and you’ve already achieved 80% of the improvement.
Acoustic treatment is the step that most home producers put off. A few acoustic wall panels placed at the primary reflection points will do more for your mix than any plugin ever could. I always recommend tackling the physical space first before using calibration software.
My practical advice: Measure your setup thoroughly once, document everything, and then make as few changes as possible. Consistency gives your ears a chance to get to know the space. That’s the fastest way to better mixes.
– harold
I4studio can help you set up your monitor
Setting up a good monitor system starts with the right products and expertise. I4studio not only supplies acoustic diffusers and insulation materials, but also works with you to plan the entire layout of your studio. From monitor stands to acoustic panels: you’ll find it all at I4studio.

A powerful studio PC is the foundation of any modern music production workflow. Check out I4studio’s best studio PC configurations and pair them with a well-thought-out monitor setup for a complete and reliable workspace. Or read more about what you need for a home studio that really works.
Frequently Asked Questions
How far away from the wall should studio monitors be placed?
Monitors should be placed at least 0.5 meters from the back wall. Increasing the distance further reduces bass buildup and results in a flatter frequency response.
What is the best reference level for a home studio?
A reference level of 79–82 dB SPL (C-weighted, slow) is recommended for home studios. Consistency in level is more important than the exact number.
Are isolation pads really necessary under studio monitors?
Isolation pads are necessary because a desk surface transmits mechanical vibrations that color the low midrange. They improve sound definition immediately and measurably.
When should you use the room control switch on your monitor?
Use the room control switch when the monitor is placed close to a wall or desk. It compensates for the boundary boost caused by proximity to hard surfaces.
How often should you recalibrate your studio monitors?
Recalibrate after each time the monitors are moved or after major changes to the room layout. A one-time calibration is no longer valid if the setup changes.