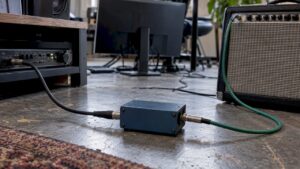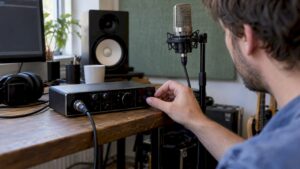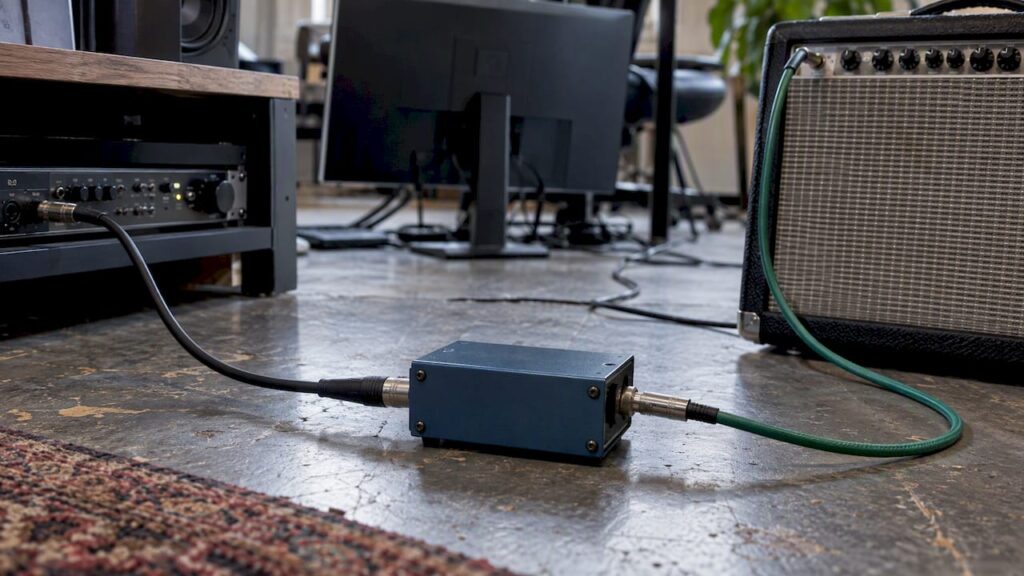
Re-amping means sending a dry DAW track through a reamp box to an amplifier or effects pedals and then re-recording the result. You’ll need a reamp box (or an interface with a reamp output), a free output on your interface, and a microphone. Route the output from your DAW through the reamp box to the amp, place a microphone in front of the speaker, and record the sound.
Briefly:
- Always save the dry guitar track and make a copy; route it via a split before the fader to a free line output, not through the monitor output.
- An interface with a dedicated output for reamping can replace a separate unit, but a standalone signal converter offers its own level control and impedance matching.
- A dynamic microphone produces a direct, aggressive sound; a condenser microphone captures more detail in the high frequencies, while placing it at the edge of the speaker softens the sound.
- Start with low trim and amplifier gain; record a short clip first, and then check for clipping, timing, and phase before making multiple recordings.
- Also run the vocals or keyboard through an amplifier and gently mix the result into the dry recording so that the attack is preserved.
Table of contents
- What equipment and cables do you need for re-amping?
- How do you connect a reamp box, step by step?
- What do level, impedance, and gain staging mean in re-amping?
- How do you position the microphone near a re-amped amplifier?
- What creative things can you do with re-amping?
- What problems do you run into with re-amping, and how do you solve them?
- Why I always record a dry DI first
- Where can you find the right gear and advice for your re-amping setup?
- Frequently Asked Questions
- Sources
What equipment and cables do you need for re-amping?
A reamp box converts the line-level signal from your interface to instrument level and adjusts the impedance. According to Muziek Mixen Masteren, this conversion also prevents hum and ground loops. Without this adapter, your amplifier receives a signal that’s too loud and has too low an impedance, which results in a thin or distorted sound.
Here’s what you’ll need:
- An interface with additional outputs. Use an available line output or a dedicated reamp output, as explained in emastered. Avoid the monitor outputs: they are intended for your speakers, and their level is linked to your monitor volume.
- A reamp box or an interface with a built-in reamp output. Whether the built-in option is sufficient is a recurring debate, as you can read on Gearspace. In any case, a standalone box gives you your own trim control.
- Cables. Use balanced TRS or XLR cables from the interface to the reamp box, and a standard TS instrument cable from the box to the amp. Balanced connections pick up less interference over long cable runs.
- A DI box. Handy if you still need to record the dry track and don’t want to plug your guitar directly into the interface.
- A wired microphone with a stand for the amp’s speaker.
Check out our selection of audio interfaces and microphones if you want to expand your setup. You can find an overview of the basics in our checklist of what you need for a home recording studio.
How do you connect a reamp box, step by step?
The process is the same everywhere: send the dry track out, through the box to the amp, and back into the DAW via the microphone. PureMix describes the same workflow and emphasizes that microphone selection and placement are the most important variables.
- Save the dry DI track in your project and make a copy of it so that the original remains intact.
- Create a separate output or bus in your DAW and route the dry track to it. Use a pre-fader send so that your fader movement doesn’t affect the level sent to the amp.
- Connect the selected line output on your interface to the input on the reamp box.
- Connect the output of the reamp box to the input of your amp or pedal. If there are pedals in the signal chain, the box should be placed before the pedals.
- Place a microphone in front of the amp’s speaker and connect it to a preamp input on your audio interface.
- Set the reamp box’s trim and the amp’s gain to low, and don’t turn them up until the track is playing.
- Create a new audio track, set the recording input to the microphone channel, and mute the original “wet” track.
- Press “Record” and play back the dry track. Record several takes with different amp settings.
- Afterward, check the timing and phase between the dry track and the reamped track.
Pro tip: First, record a short clip, listen to it critically, and then record the rest of the song.
If you want to check your recording chain beforehand, our recording setup guide will help you get started.
What do level, impedance, and gain staging mean in re-amping?
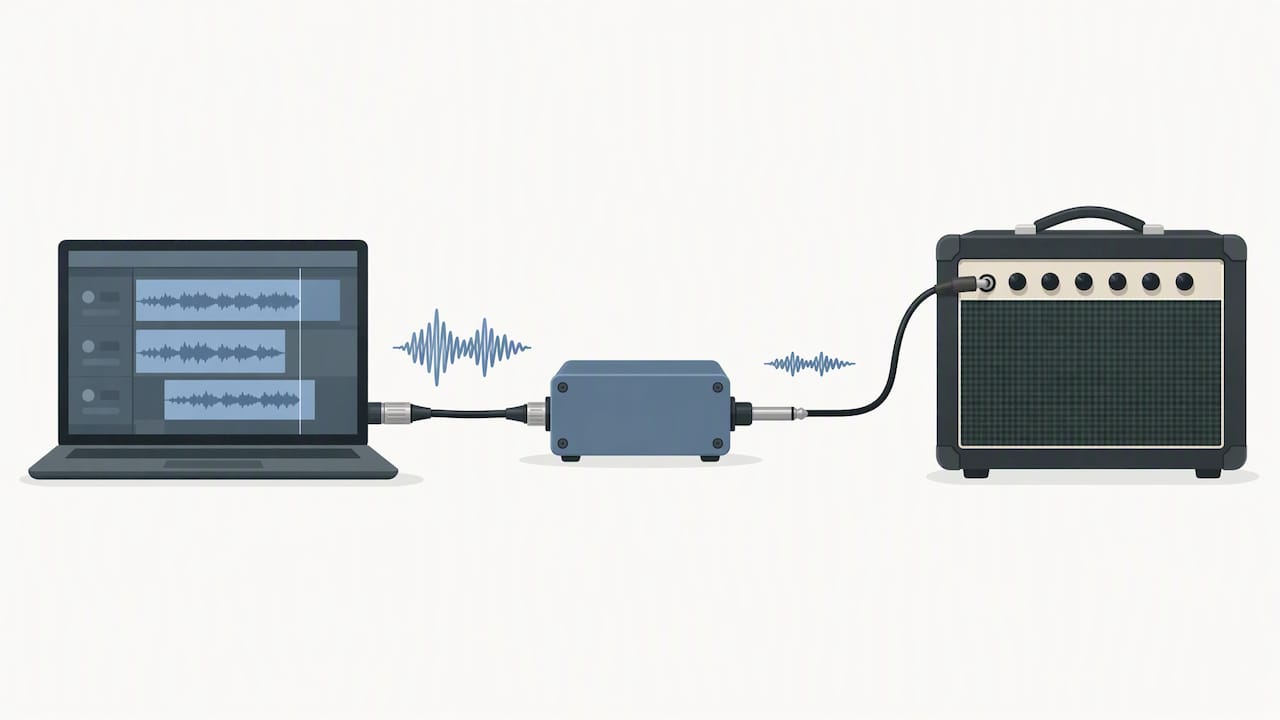
A guitar produces a weak signal with high impedance. Your interface, on the other hand, sends a strong line-level signal with low impedance. If that signal goes directly into an amp, the first tube or transistor stage is overloaded, and the result sounds louder and less dynamic than you intended. The reamp box resolves both of these issues, and according to Muziek Mixen Masteren, it also suppresses hum.
Use these rules of thumb:
- Don’t set the DAW output to the highest level. Leave some headroom, and adjust the level using the reamp box’s trim control instead.
- Start with a low level and build up from there. You can adjust a signal that’s too quiet, but a signal that’s too loud will sound distorted right away.
- Keep an eye on the clip indicators on your interface when monitoring the microphone.
- Never use the monitor output as the reamp output. Choose a dedicated line output whose level doesn’t fluctuate with your monitor volume.
- Keep the dry track consistent: if you change the level halfway through, the amp will sound different too.
How do you position the microphone when using a reamped amplifier?
The microphone plays a major role in the final result, and this is just as true for re-amping as it is for live performance. Choose a dynamic microphone for an aggressive, direct sound, and a condenser microphone for more detail in the high frequencies.
Useful starting points:
- On-axis, close to the driver. Produces the most direct and clear sound.
- Off-axis or toward the edge of the speaker. Softens the highs and makes them less sharp.
- A second microphone placed at a distance. Use it to capture the room sound and mix it in to your liking.
- Close- or room-miking. Close miking works in a room that doesn’t sound great; a mic placed further away only works if the room sounds good.
Set the preamp gain so that the peaks don’t clip, and use a low-cut filter if necessary to remove rumble. If you’re using two microphones, always check the phase: toggle the phase polarity switch and choose the setting that sounds full. A reflection filter, such as the sE Electronics GuitaRF, can help if your room has a lot of reverberation. You can read more about room sound in our article on studio acoustics.
What creative things can you do with re-amping?
Re-amping isn’t limited to guitar. Anything recorded “dry” can be run through an amp or effects pedals to add character.
- Run vocals through an amp or pedal. A slight overdrive or a small amp adds edge and saturation to the voice.
- Keyboards and synths. A harsh digital sound gains more body and organic color when played through a speaker.
- Stereo layering. Send the dry track to two reamp buses with different amp settings and pan the two results left and right.
- Multiband re-amping. Split the track into frequency bands and route each through its own amp. According to emastered, this also works with amp simulations, and it’s especially effective if a single amp makes your mix sound too full or too harsh.
Pro tip: Gently apply the thinned layer beneath the dry track. This way, you preserve the patina and simply add color.
What problems do you run into with re-amping, and how do you solve them?
Most problems can be fixed quickly if you know where to look.
- Hum or ground loop. Check the grounding, use short cables, and try a DI box or a ground lift. A reamp box already reduces this, as described in *Music Mixing and Mastering*.
- Timing and latency. Check your DAW’s buffer settings and place a click or marker at the beginning of the dry track. That way, you’ll immediately see if the reamped track is out of sync and can align it.
- The signal is too loud or too weak. Adjust the trim on the reamp box or the send level in your DAW. A pad on the box can help if the amp cuts out at low levels.
- Acoustic reflections. If you hear a hollow room in the recording, dampen the walls around the amp or move the microphone closer to the speaker.
If your computer is stuttering when using low buffer sizes, it’s worth investing in a stable studio computer for audio.
Why I Always Record a Dry DI First
My recommendation is simple: always record a dry DI, even if you’re already happy with the amp. Re-amping gives you the flexibility to change your mind later, and that’s worth more than a take you can never adjust. Be sure to test your levels and microphones first before spending hours on takes. Taking the time to experiment at the beginning can prevent frustration later on. For equipment and advice, reach out to the team at i4studio.
– harold
Where can you find the right gear and advice for your re-amping setup?
We offer all the components you need for a complete setup: audio interfaces, studio equipment such as DI boxes and cables, and custom-built studio PCs that remain stable even at low latency. If you’re unsure what’s right for your setup, please contact us. We’d be happy to help you figure it out, from your first interface to a complete studio.
Frequently Asked Questions
What exactly does a reamp box do?
A reamp box converts the line-level signal from your interface to instrument level and adjusts the impedance for your amp or pedal. According to Muziek Mixen Masteren, it also reduces hum and ground loops.
Do you always need a separate reamp box?
Not always. Some interfaces have a dedicated reamp output that does the same thing, and opinions vary on when that’s sufficient, as evidenced by a discussion on Gearspace. A standalone box does, however, give you your own trim control and reliable impedance matching.
Can I use the monitor output on my interface?
We don’t recommend that. The monitor output is linked to your monitor volume, so the level sent to the amp changes as soon as you turn the knob. Choose a free line output that you can control independently.
Can I also reamp vocals or keyboards?
Yes, anything you’ve recorded dry can be sent through an amp or pedal. This adds saturation to vocals and more body to keyboards, but start with a low level to protect the amp.
Sources
- How It Works: Re-amping | Music Mixing and Mastering
- What Is Reamping: When and How to Use It?
- How to Reamp: Thinking Outside the Box